Layering Mask Tips with Butterflies and Blooms | Card Making Tutorial
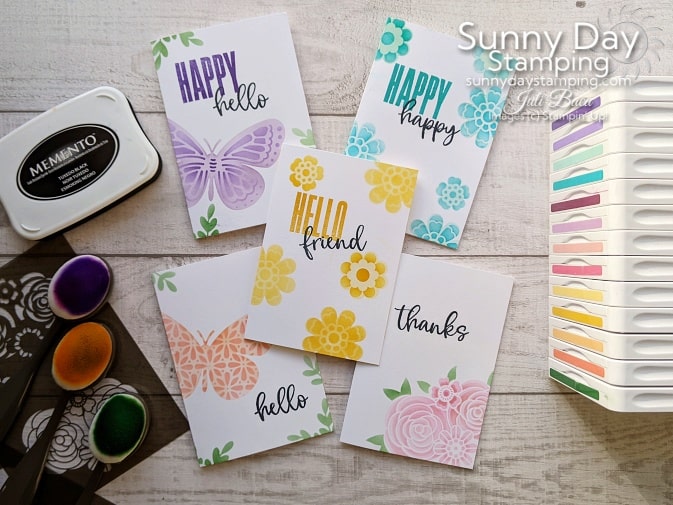
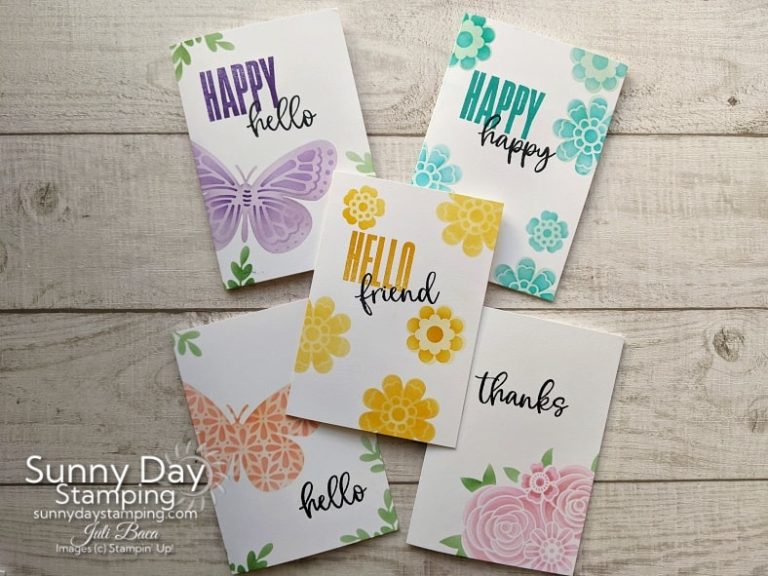
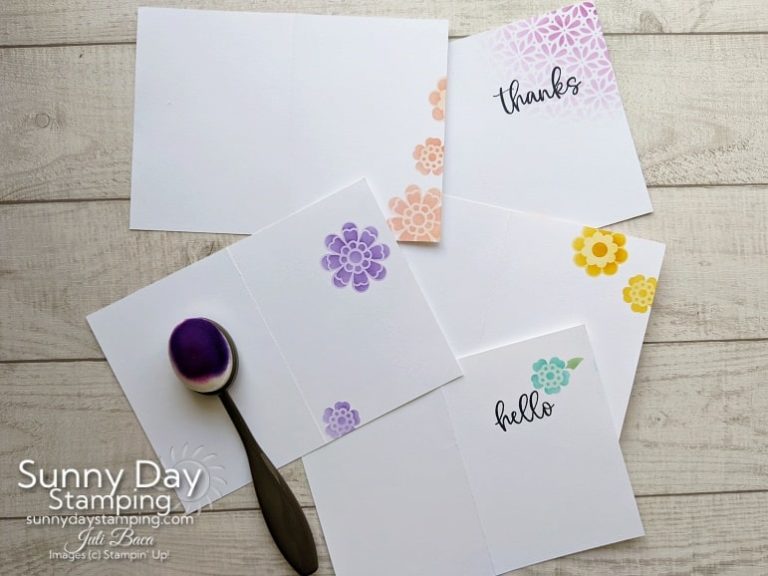
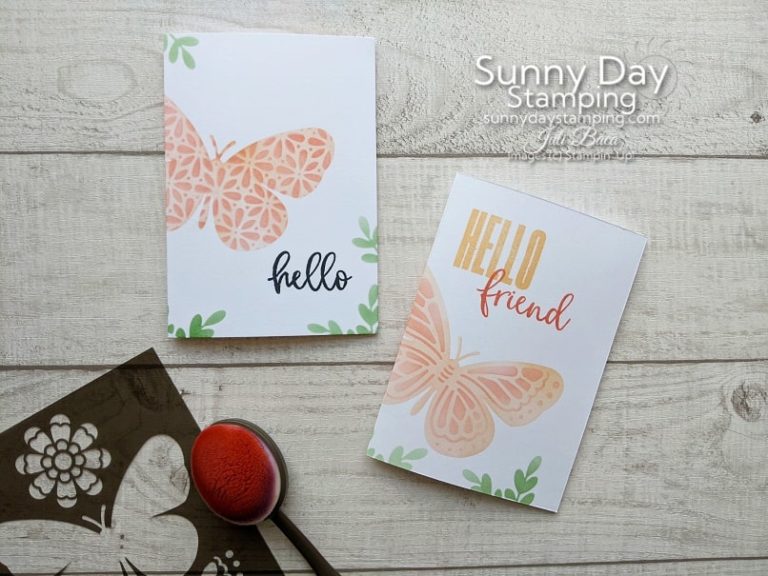
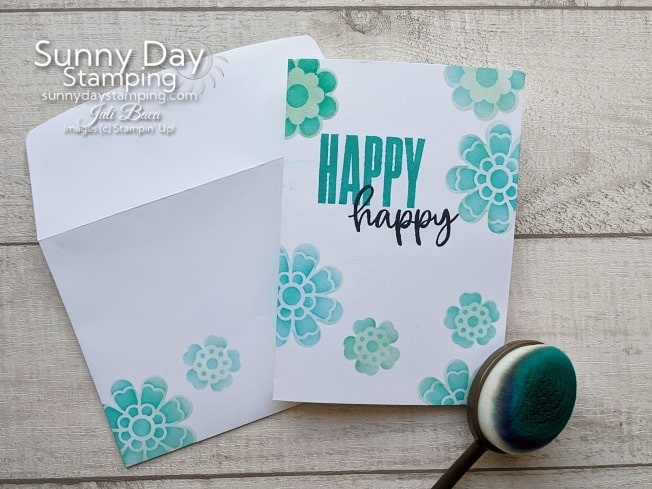
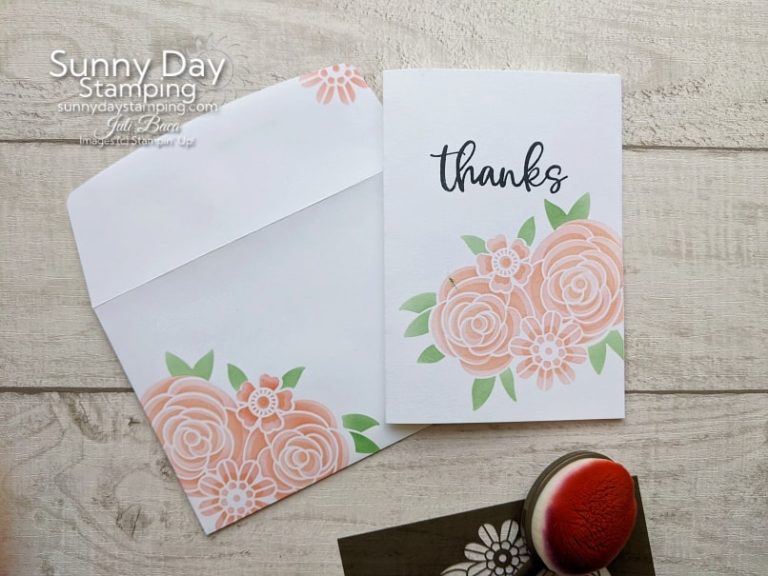
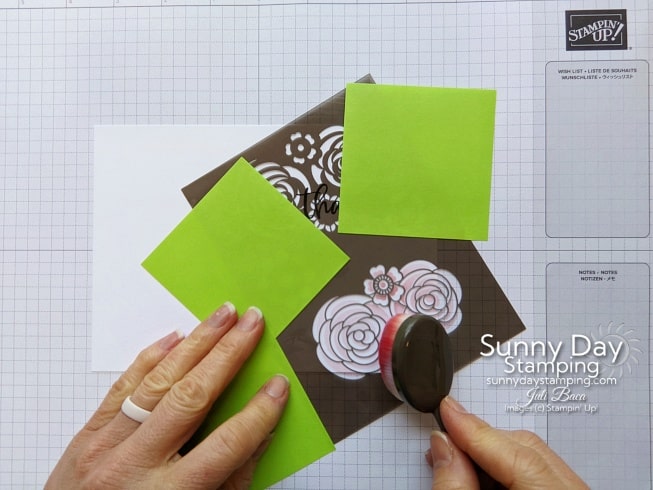
No measuring, cutting or gluing! I’ve got lots of tips to show you on how to use layering masks to make these great cards! Grab a couple of your favorite color inks and follow along!
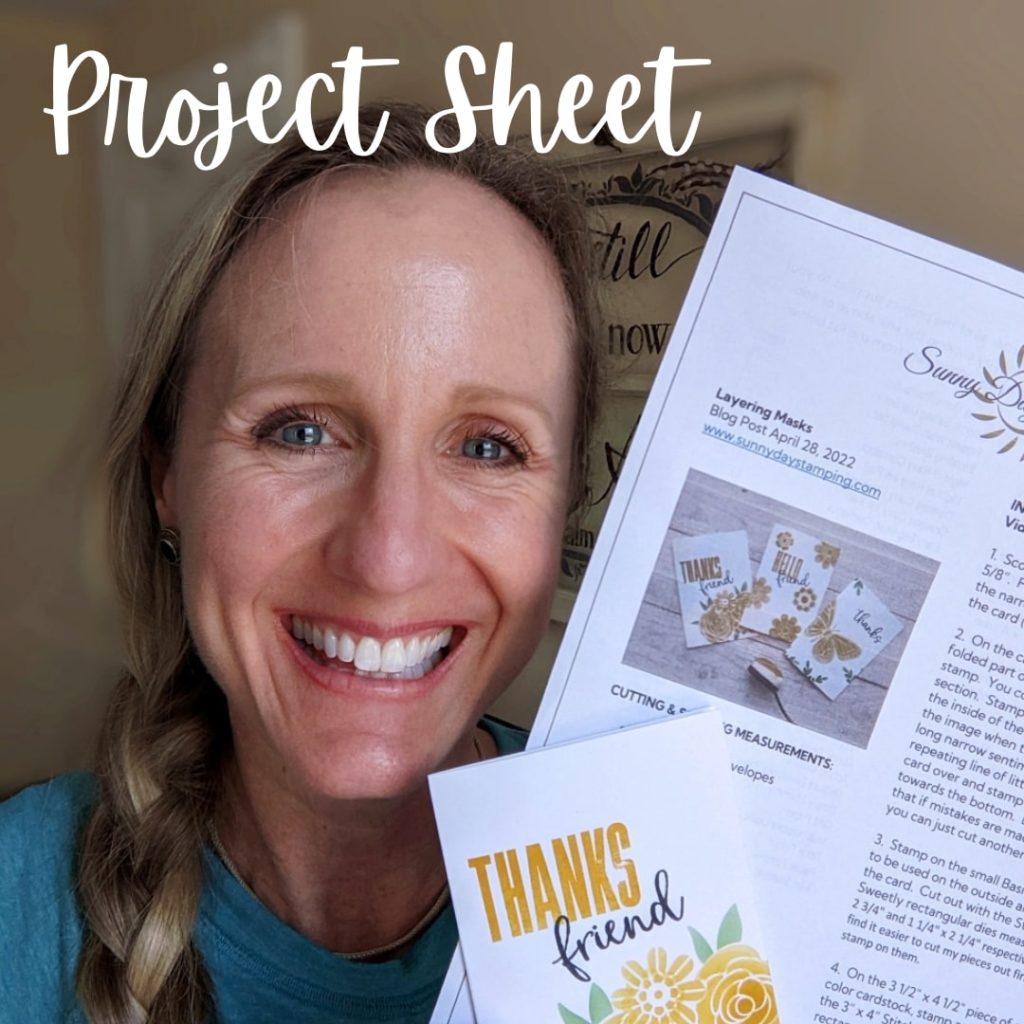
Sign up for my free email and get project sheets delivered right to your inbox every week! If you are already an email subscriber and would like past project sheets, just let me know! Thank you for subscribing!
Easily Customizable
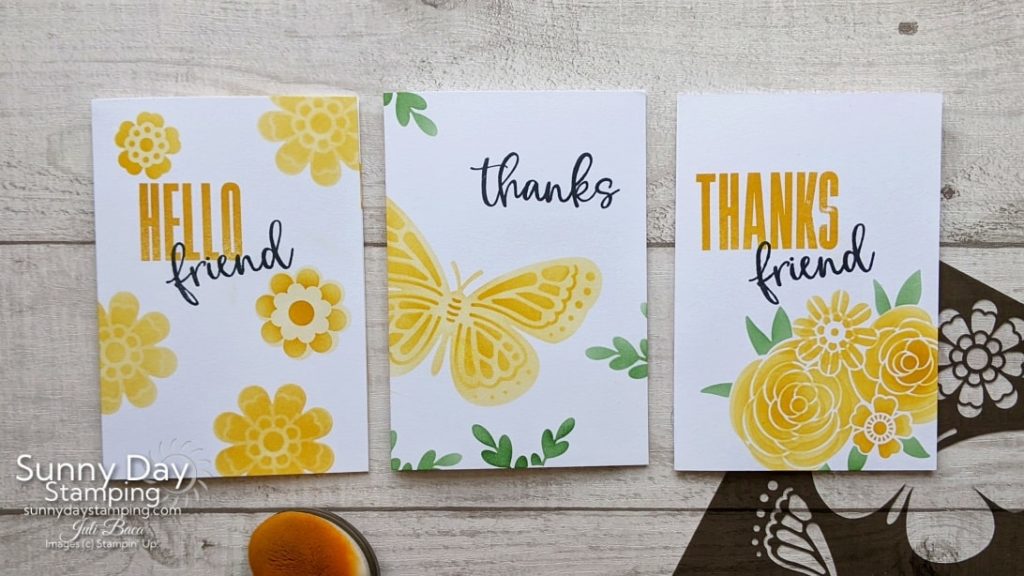
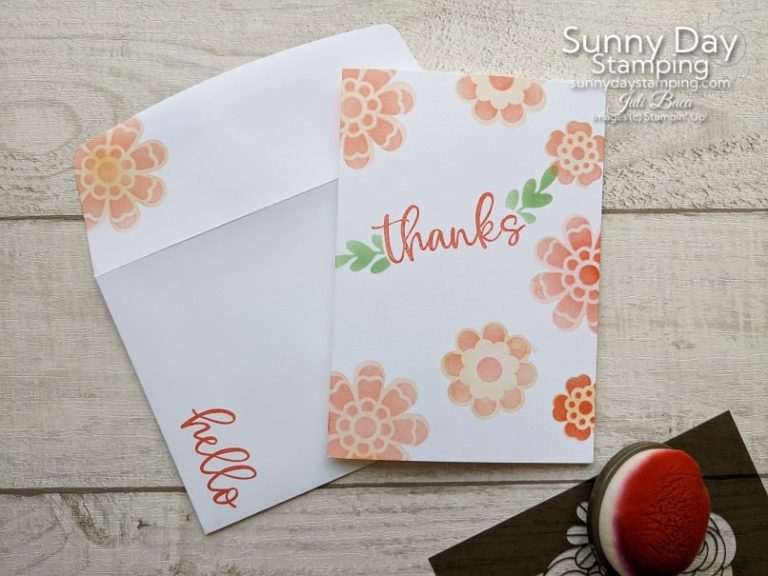
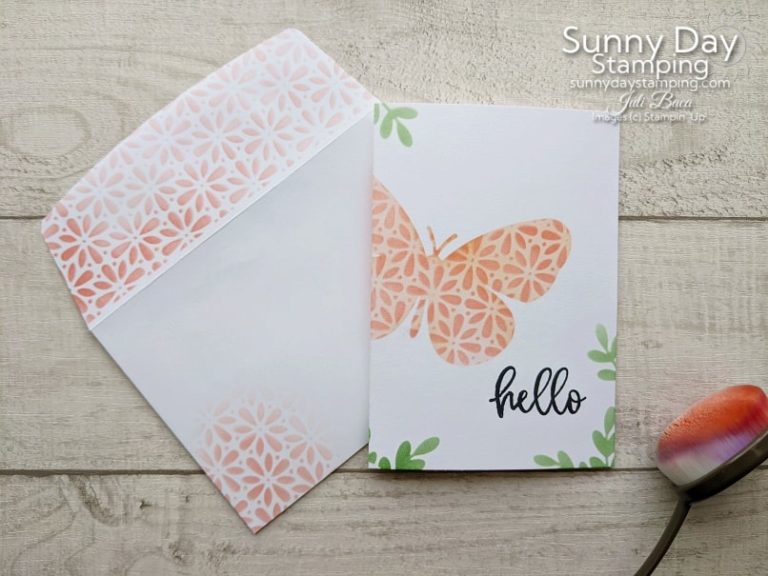
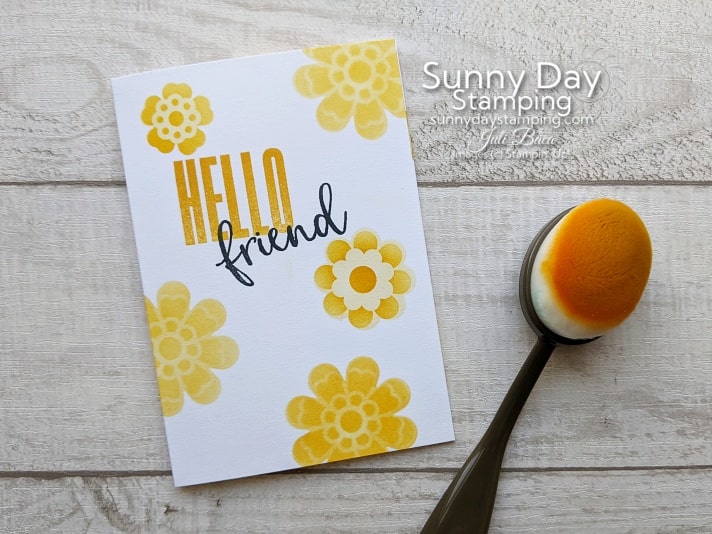
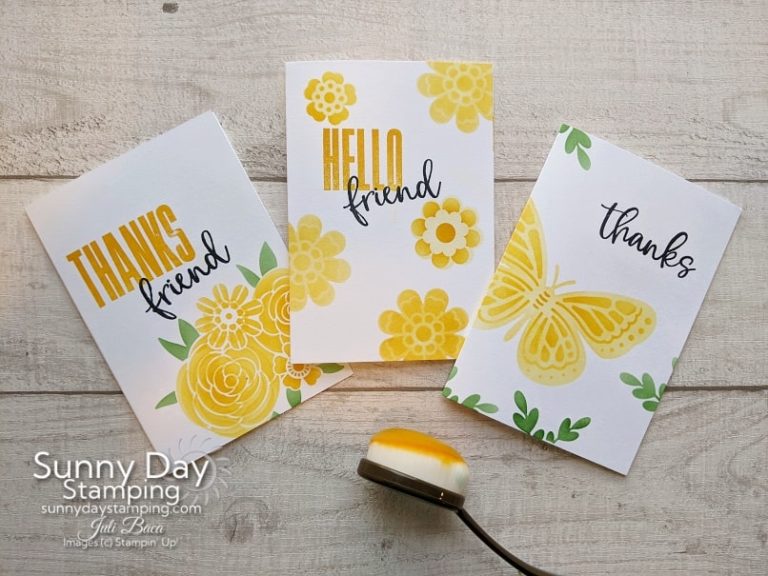
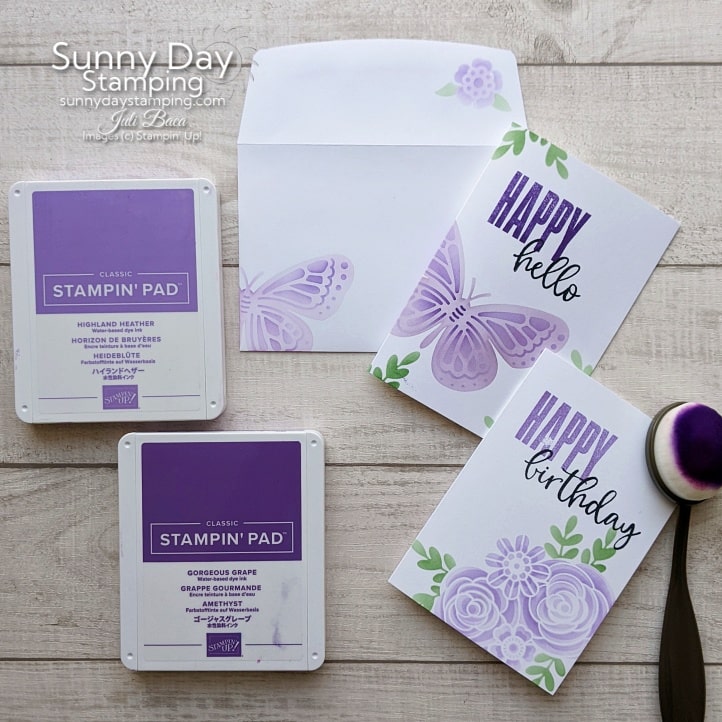
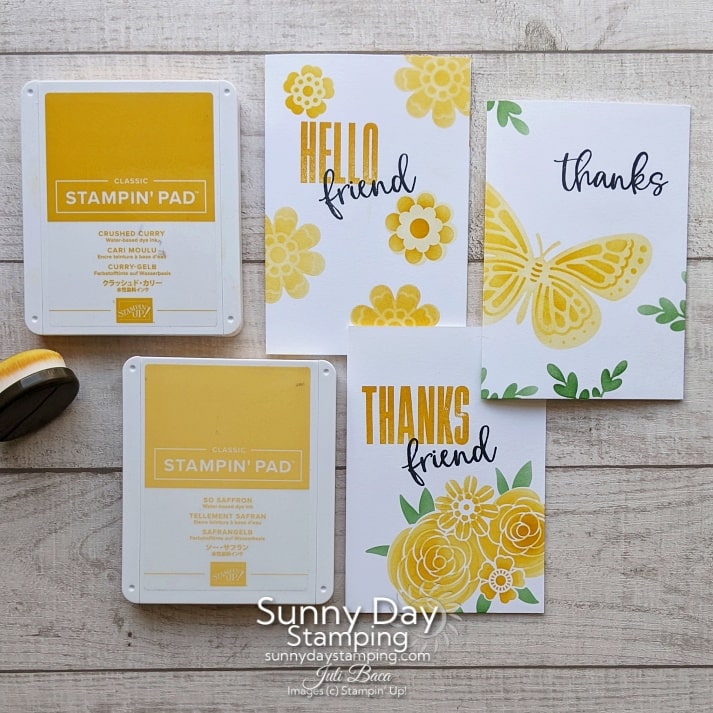
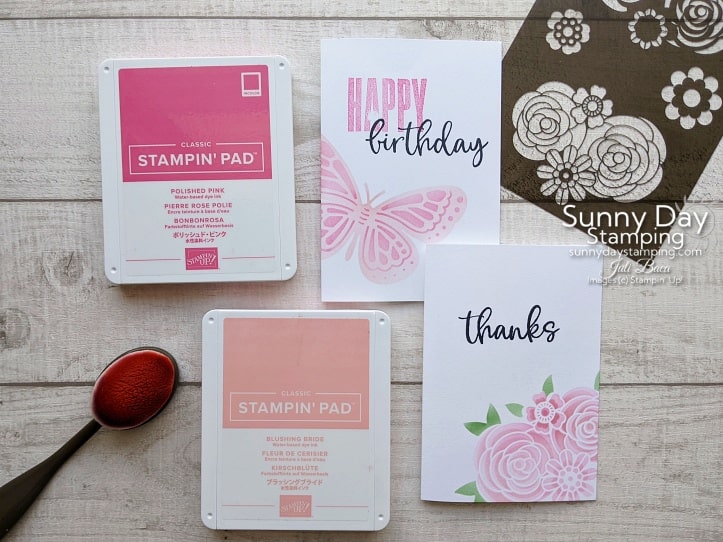
Pick two colors out of the same color family – one light and one dark. Add a green ink for leaves (I used Garden Green for all the cards) and black for the sentiments!
Save
Save
Save
Save
Save
Save
Save
Save
Save
Save
Save
You can make all of these cards with the Butterflies & Blooms layering masks! Above are some examples, but I’d love to know what combinations you come up with!