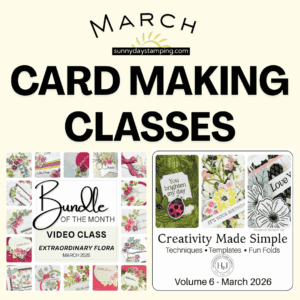
5 Tips to Take Your Handmade Cards from Blah to WOW
Ever had a super cute little cutout you wanted to use on a card, but it just got lost on a big card front? You’re not alone! Here are five easy card-making tips that will instantly elevate your handmade cards and make your small focal point stand out like a pro. Watch the video!
Sign up for my email list to get a new project sheet FREE every week! Visit my tutorial store to purchase previous project sheets bundled by month they were released.
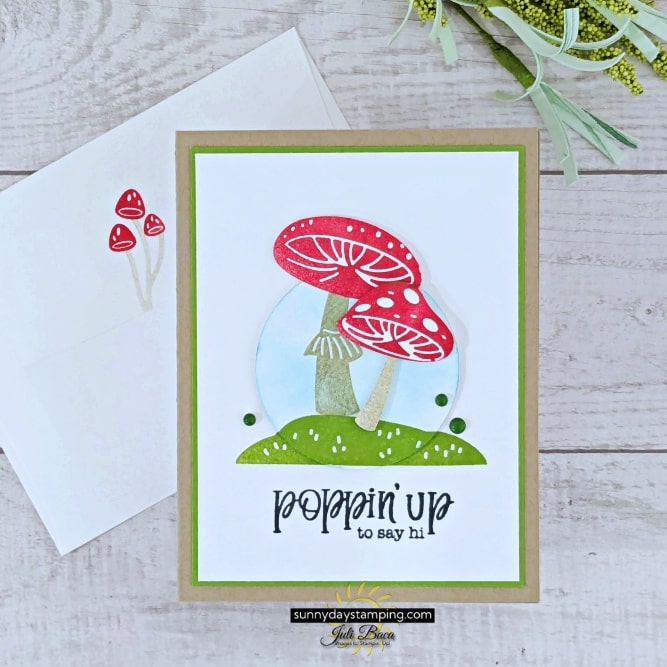
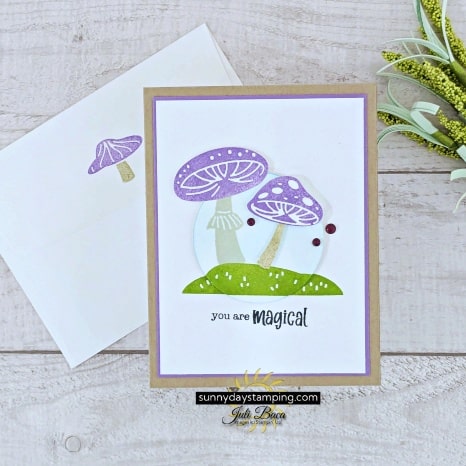
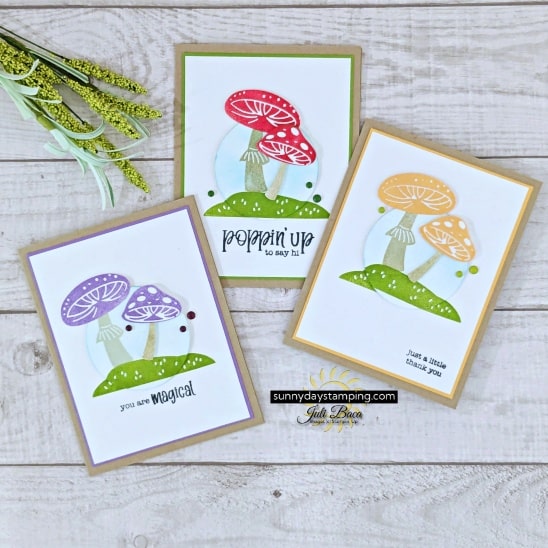
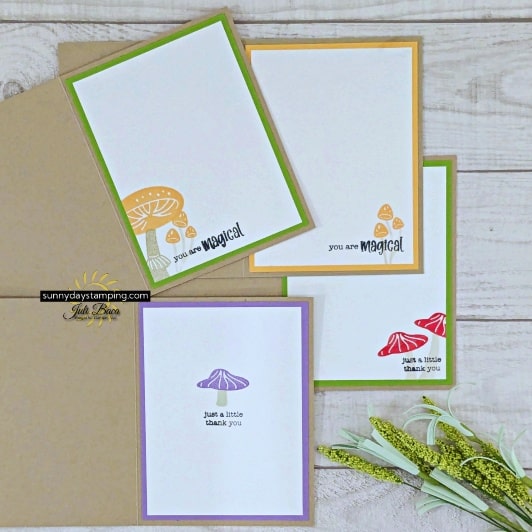
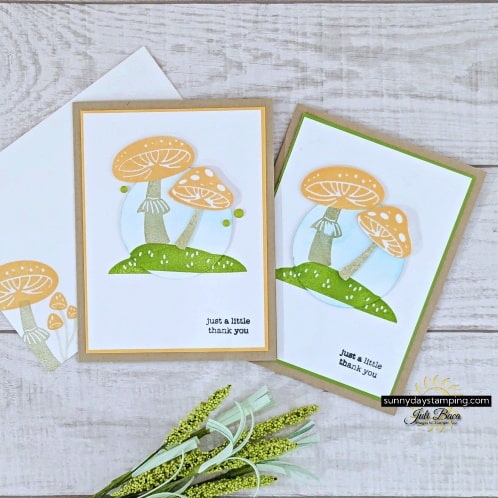
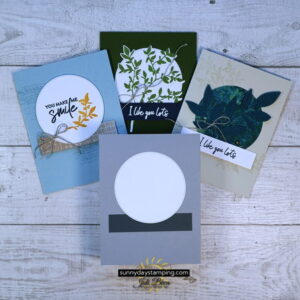
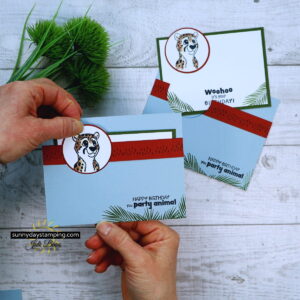
A tiny image floating on a big card can look unfinished. Give it a home! Cut out a circle, square, or any shape to create a base for your small cutie. This helps define the focal point and makes it stand out.
2. Add a Hint of Color with a Blending Brush
Flat shapes can feel dull. To create depth and dimension, use a blending brush to add a slight tint. This subtle shading makes your focal piece pop off the card.
Save
Save
Save
Save
3. Extend the Image Past the Borders
A trick designers use all the time—when attaching your small focal point to the shape, make sure part of it extends beyond the border. This small detail adds movement and makes your design feel more dynamic.
4. Double Up on Dimensionals for a Shadow Effect
To make your focal point really stand out, use Stampin’ Dimensionals. First, pop up the shape, then add even more dimension by lifting the cutout on top. This creates a double-shadow effect for an eye-catching 3D look.
Save
5. Frame It with a Coordinating Background Layer
If your card still feels unfinished, pull one color from your design and add a thin background layer in that shade. This ties everything together and gives your card a polished, professional look.
Final Touch: When you anchor your focal point, your handmade card instantly looks more balanced and visually appealing. Try these tips on your next project and see the difference!
Want to Make These Cards?
Save
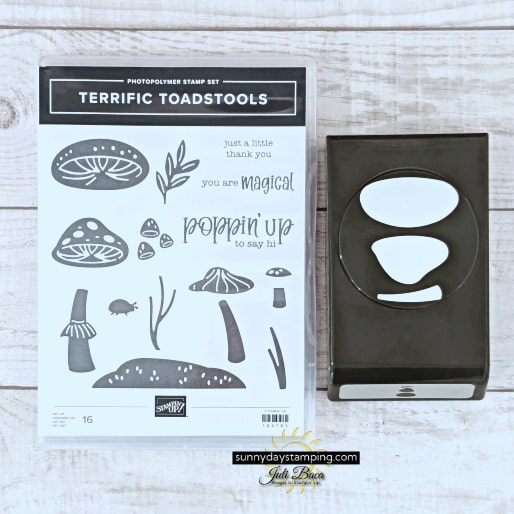
Click the button below for the full list of supplies I used for this project. If you like any of them, simply add them to your cart.
I’m incredibly grateful for my amazing customers, and as a thank you, I’ve created some exclusive tutorials just for you. See my specials below!
I’m happy to help and would love to answer any of your questions. Please reach out to me through e-mail. If you would like to place a Stampin’ Up! order, I would be thrilled if you selected me to be your demonstrator.