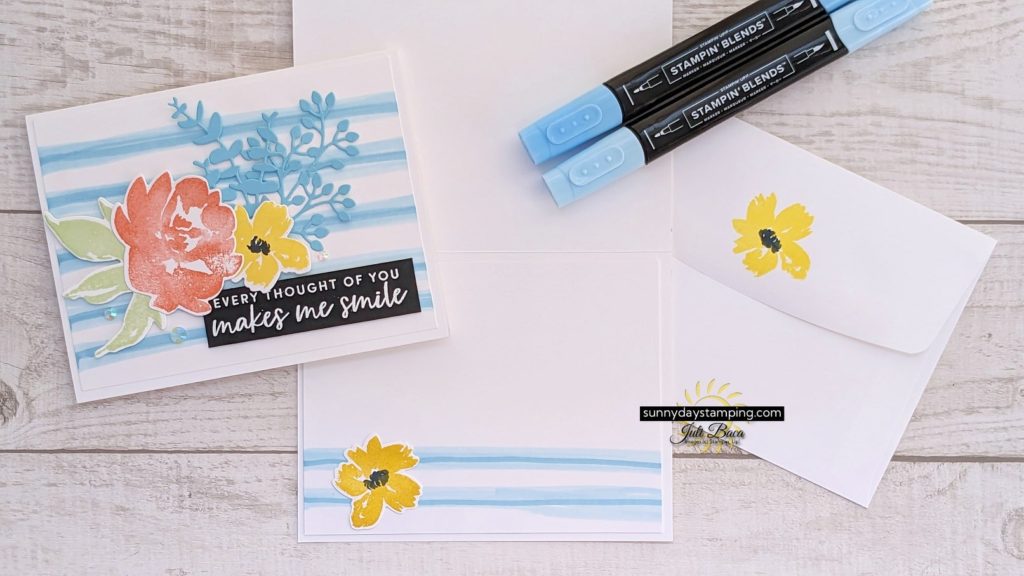
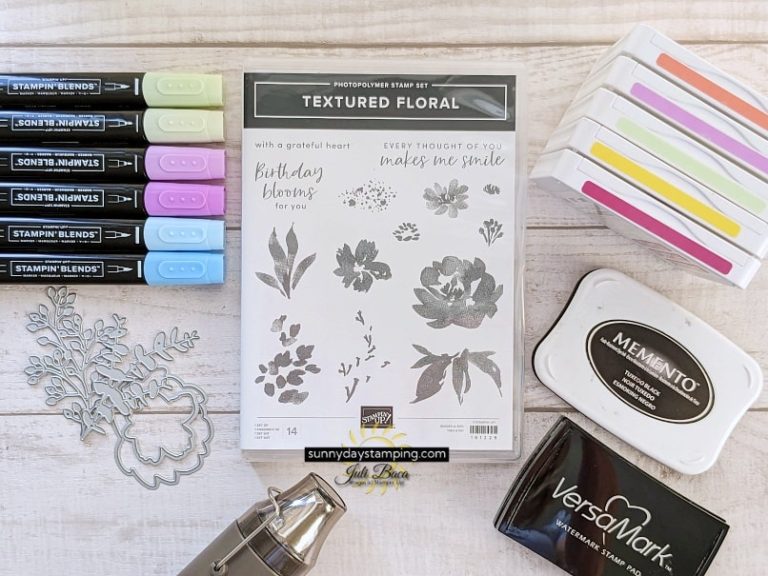
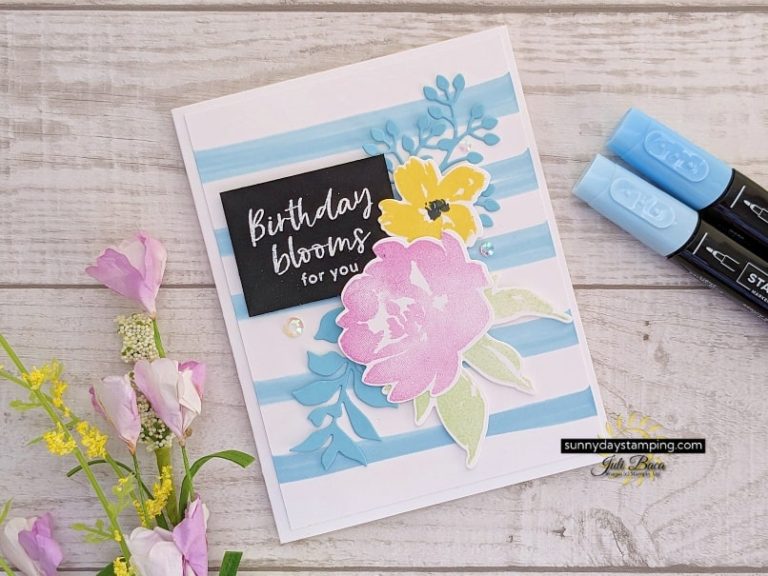
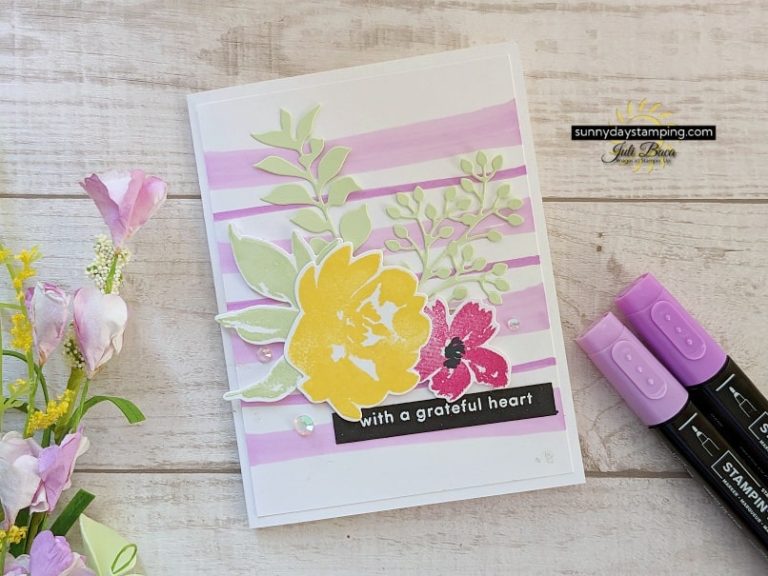
Classic stripes can really set off the focal point of your card, but what if you don’t have striped paper? I’ll show you how to make your own in a flash that perfectly coordinates with the rest of your card!
Choose a Stampin’ Blends marker that coordinates with the colors of your card to create a matching background.
Save
Save
Save
Save
Save
Save
Save
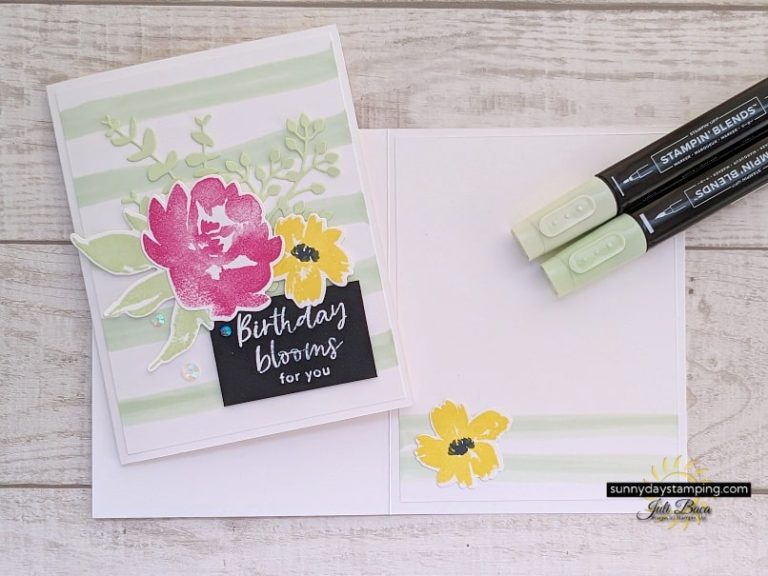
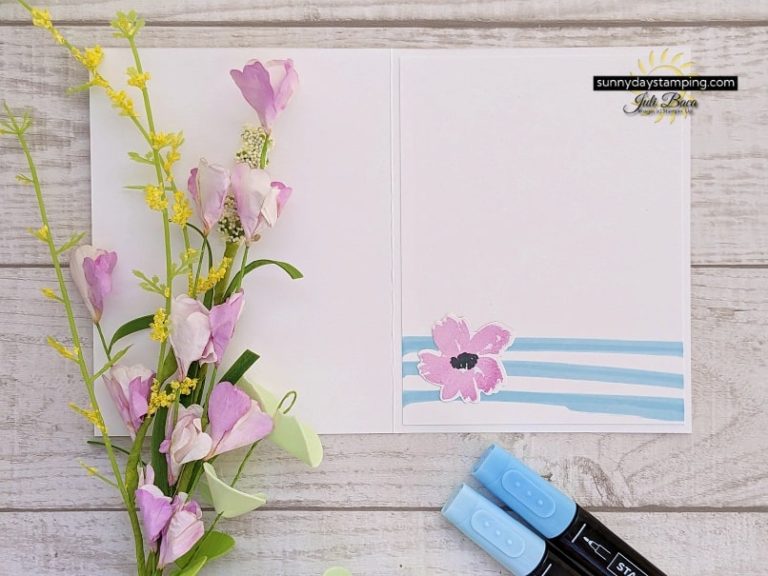
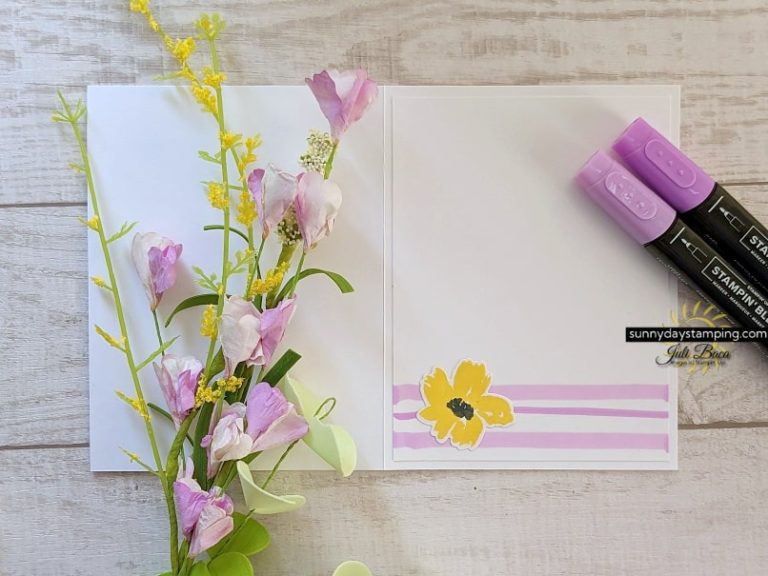
You can create thick stripes, two-tone stripes or a combination of thick & thin! You could even make them diagonal! Have fun with this and don’t stress about them being straight.
Nature's Prints Variation
Save
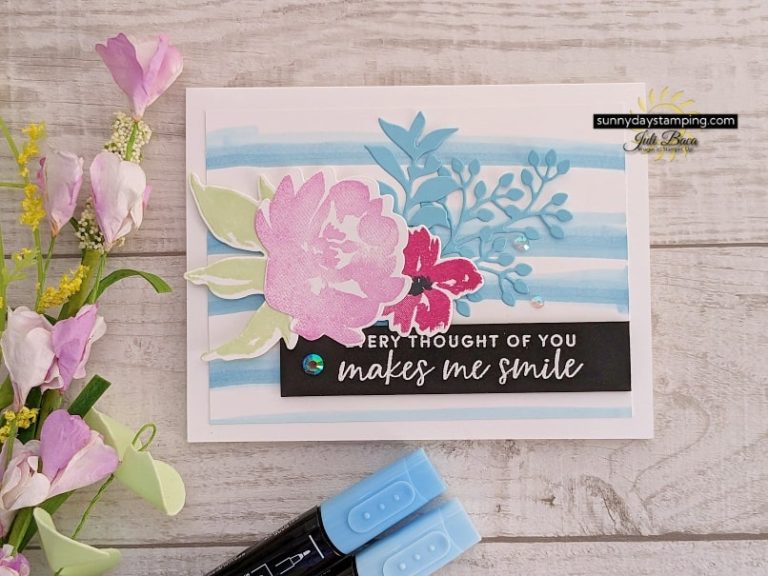
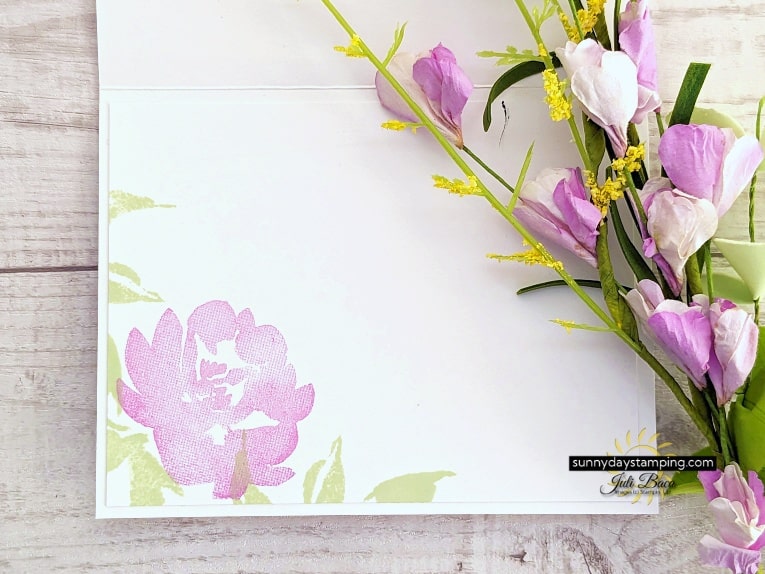
Use this background method for any stamp set! Here’s what it looks like to use the Nature’s Prints stamp and die set.
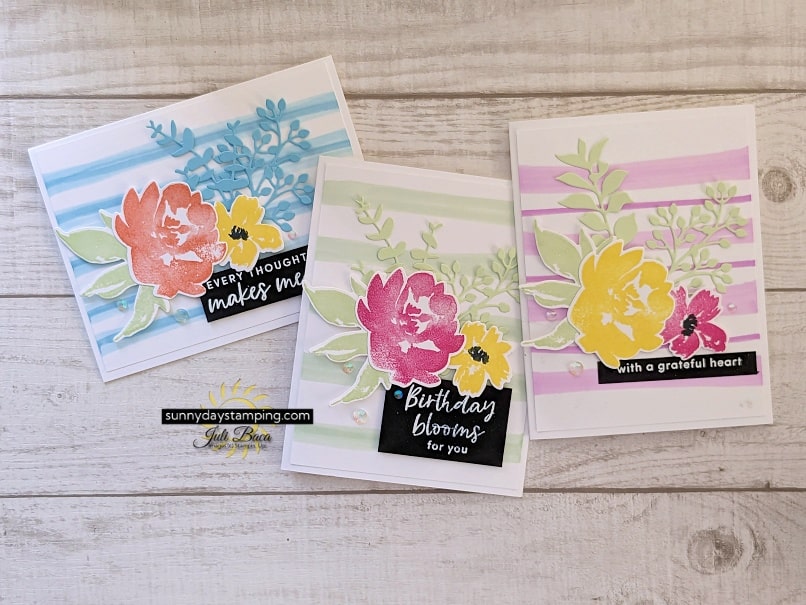
Color Combinations
Save
Left to Right:
Balmy Blue stripes, Balmy Blue die cut foliage, Calypso Coral & Daffodil Delight flowers.
I’m happy to help and would love to answer any of your questions. Please reach out to me through e-mail. If you would like to place a Stampin’ Up! order, I would be thrilled if you selected me to be your demonstrator.