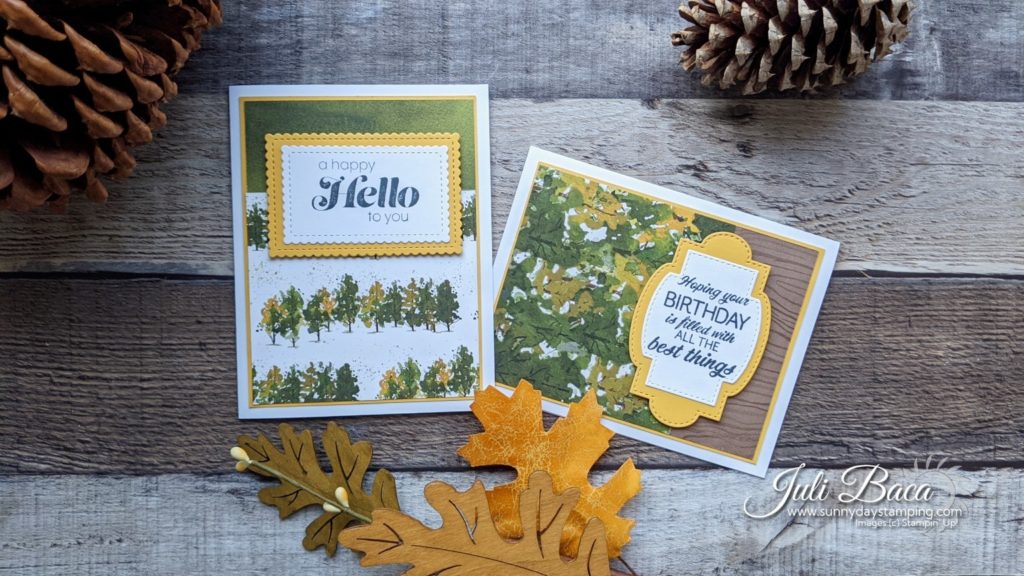
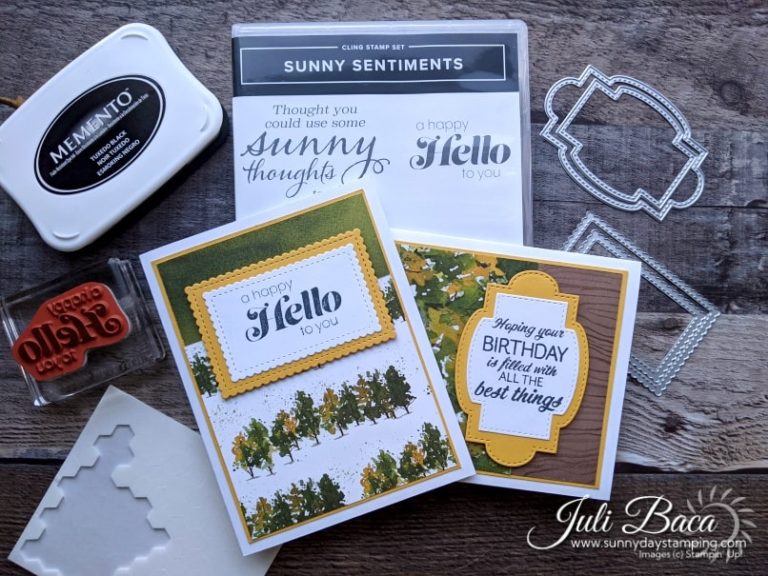
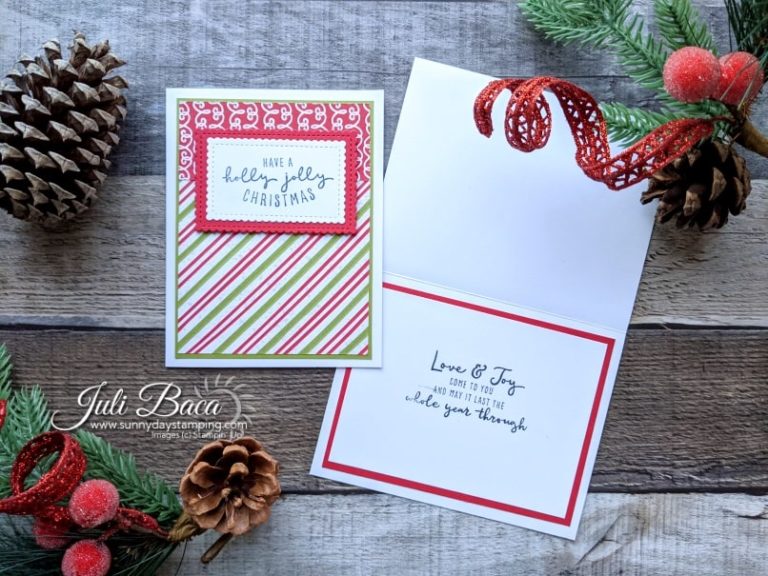
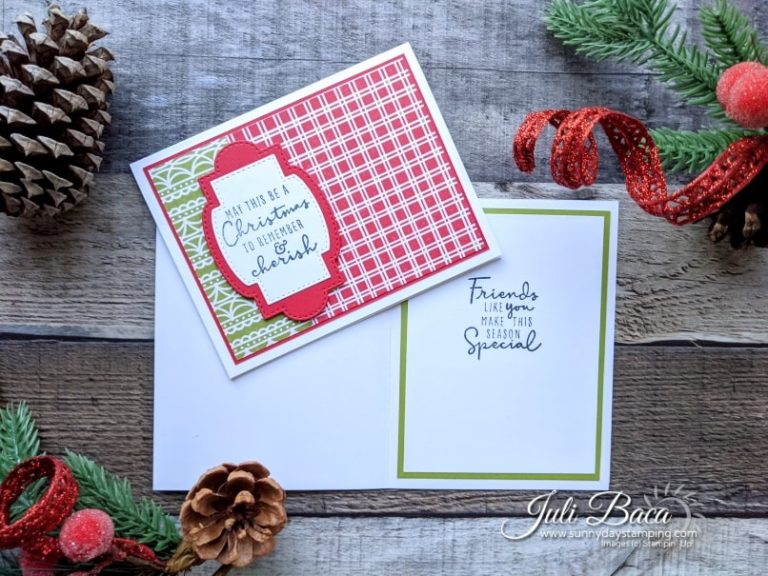
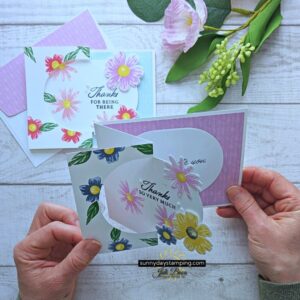
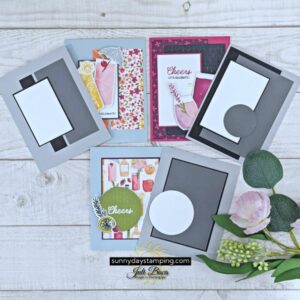
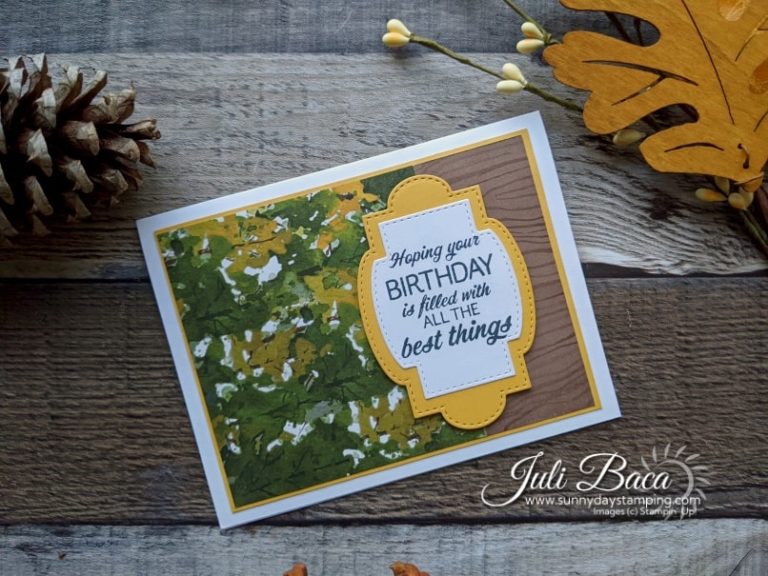
Want a cardmaking time saving tip? Make 2 cards at once! Learn this layout and you can use it for any occasion. We will be using Designer Series Paper, so you know it is going to be perfectly coordinated, colorful and easy! Watch to see how to make fall and Christmas cards two at a time.
Measurements & Supplies
Measurements: To make 2 cards at once, double the above card elements. Mix and match the cardstock and DSP between the two cards to create more variety!
- Basic White cardstock card base: 8 1/2” x 5 1/2” (scored at 4 1/4” and folded)
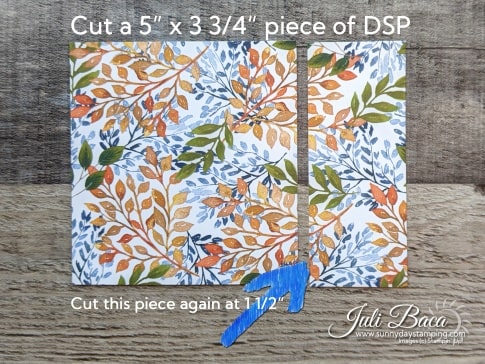
- Designer Series Paper: 5” x 3 3/4” then cut that at 1 ½”
- Colored cardstock (2): 5 1/8” x 3 7/8”
- Colored cardstock scrap for die cut
- Basic White cardstock scrap for stamp and die cut
- Basic White cardstock (inside): 4 7/8” x 3 5/8”
On the supply list, I added all of the colors of cardstock I used, but pick the once that coordinate with your Designer Series Paper. You can also just use one or two colors.
free project sheet downloads at bottom of post
Variations
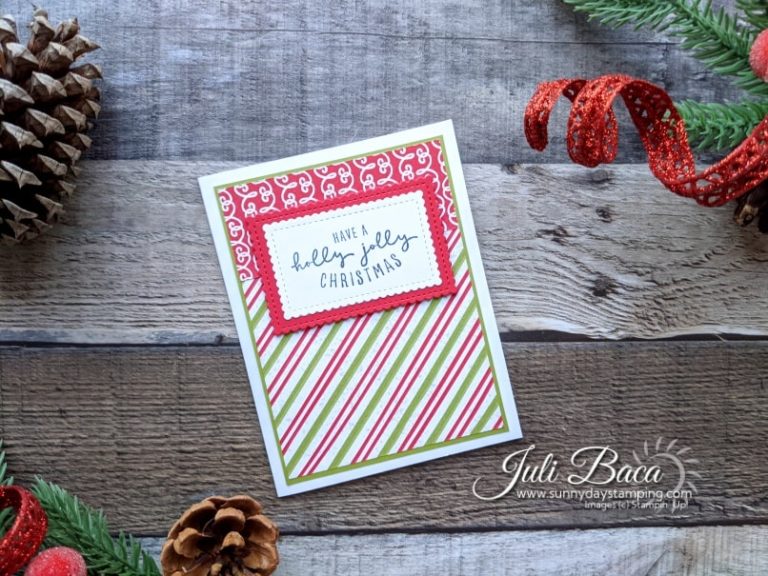
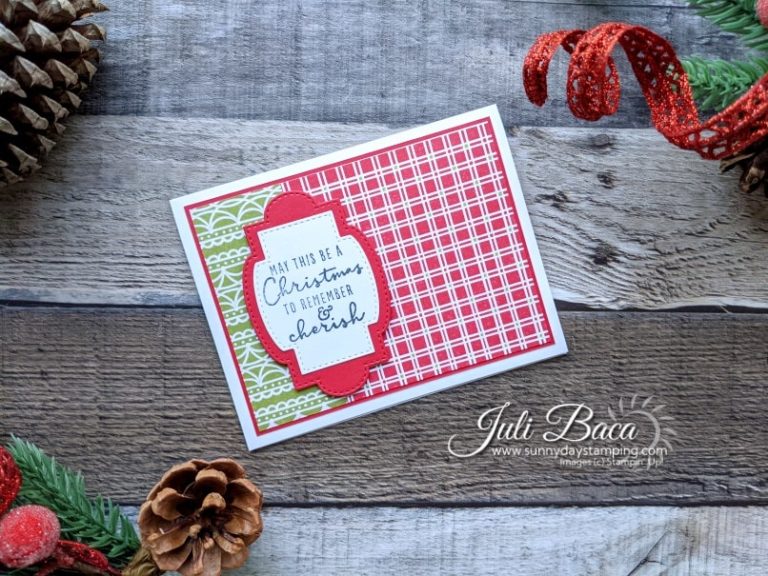
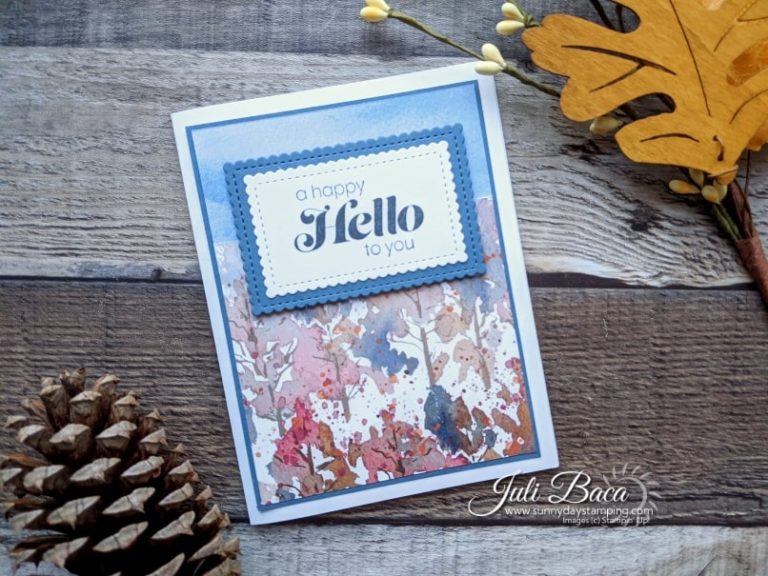
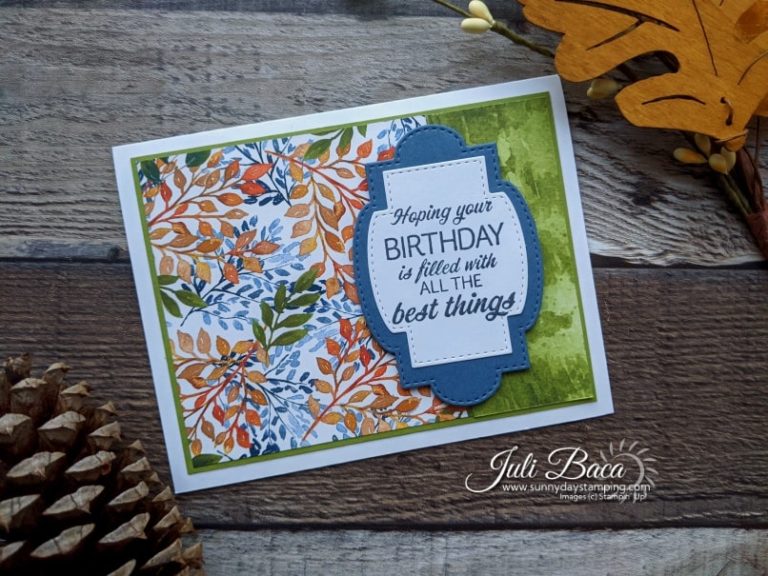
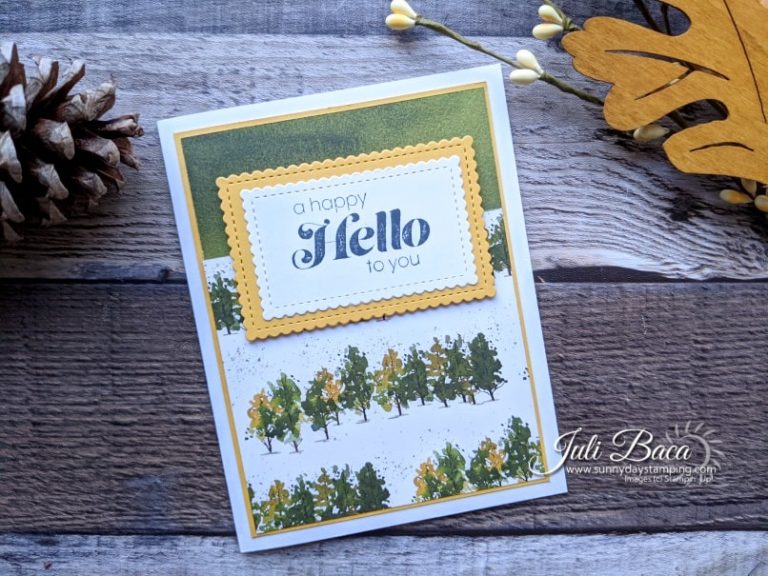
Mix and match different coordinating cardstock and different sides of Designer Series Paper to create a ton of different options!
-
Save
-
Save
-
Save
-
Save
-
Save
-
Save
Let's Get Started!
After you cut all of the colored cardstock. Cut your Designer Series Paper to 5″ x 3 3/4″. Then cut 1 1/2″ off the end of that same piece.
-
Save
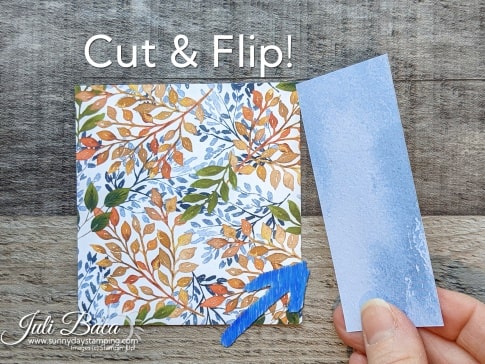
Now for the magic of the double-sided Designer Series Paper…just cut & flip! The colors will be perfectly coordinated with not only that piece of paper, but all of the others in that set.
-
Save
Adhere these two pieces to the colored cardstock of your choice.
Tip: When lining up on your cardstock, if you allowed too much space at the top edge, just overlap the strip of DSP to create the same margin on the other side.
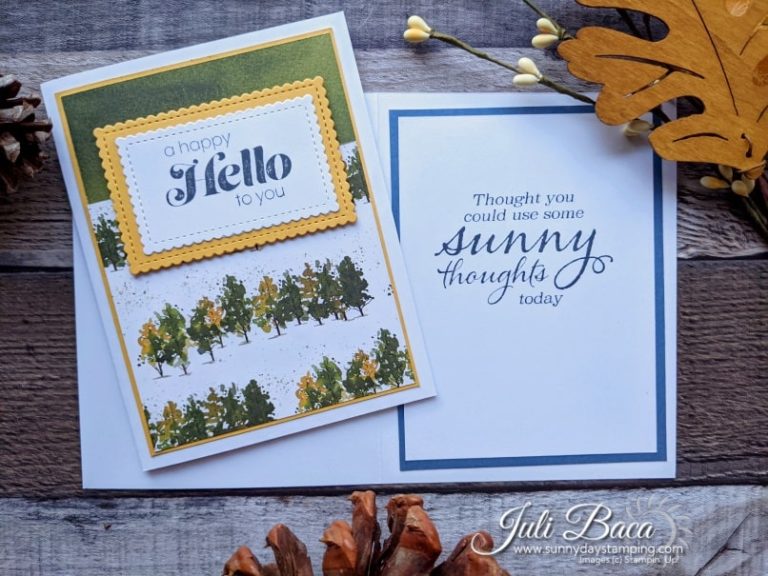
Decorate the Inside of the Card
Adhere the Basic White cardstock to the colored cardstock to create a subtle frame. Stamp a sentient of your choice to finish out the card.

