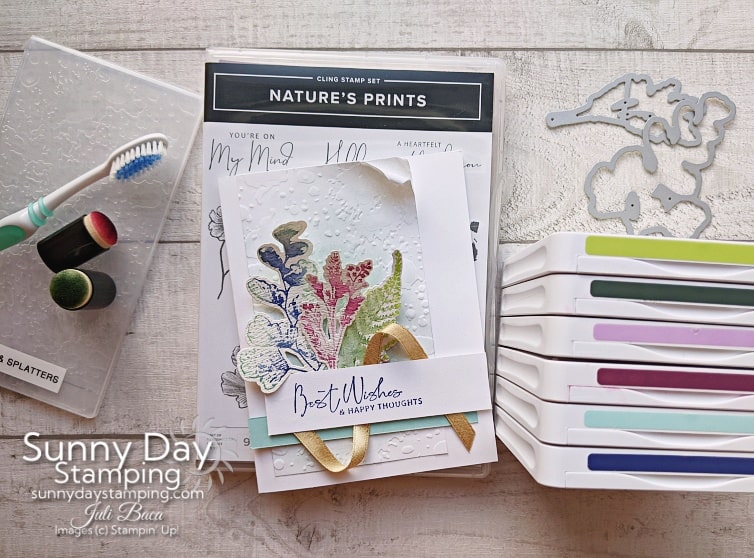
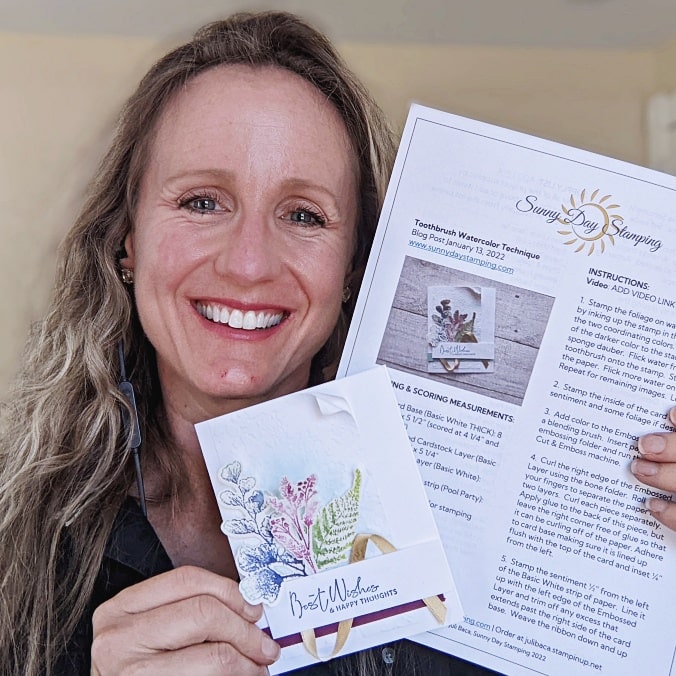
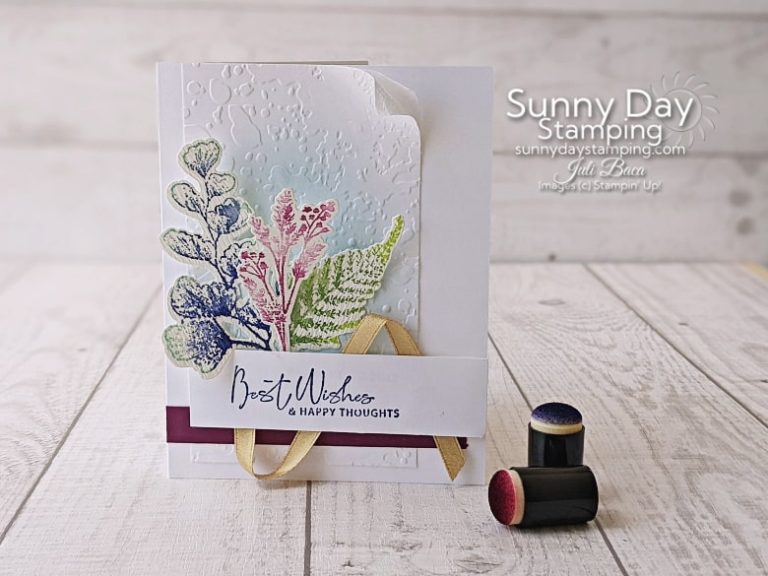
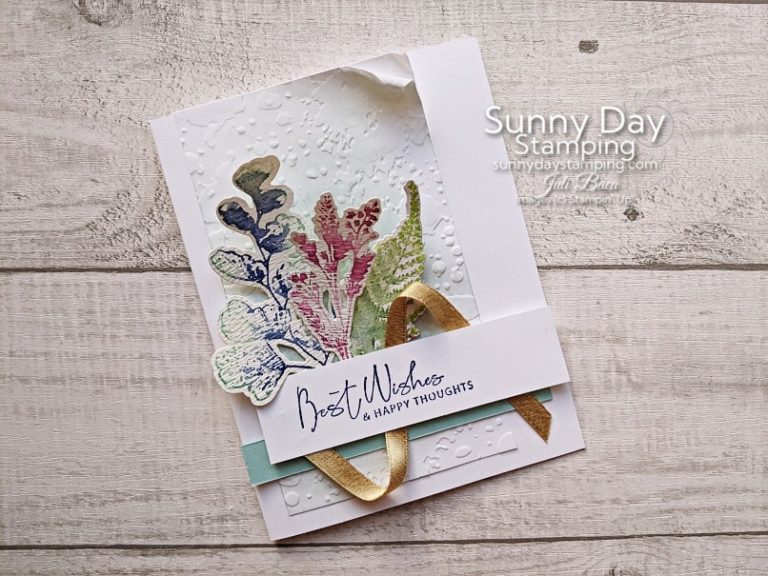
Toothbrush Watercolor Technique | Card Making Tutorial
That’s right! A toothbrush is a very useful (and cheap) crafting tool. I used it to create the watercolor effect in this card. Get all the details in my blog post and video!
Sign up for my free email and get project sheets delivered right to your inbox every week! If you are already an email subscriber and would like past project sheets, just let me know! Thank you for subscribing!
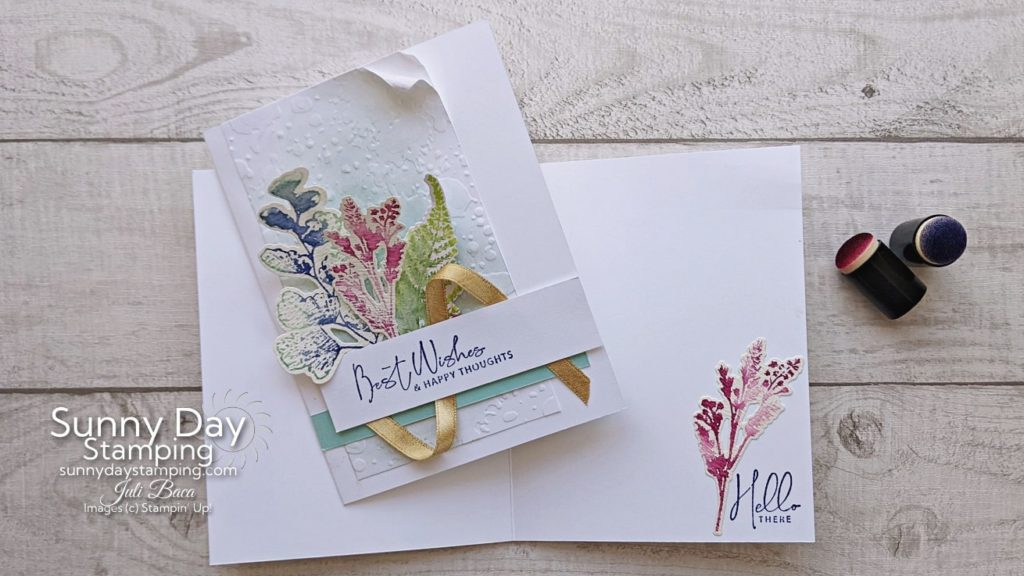
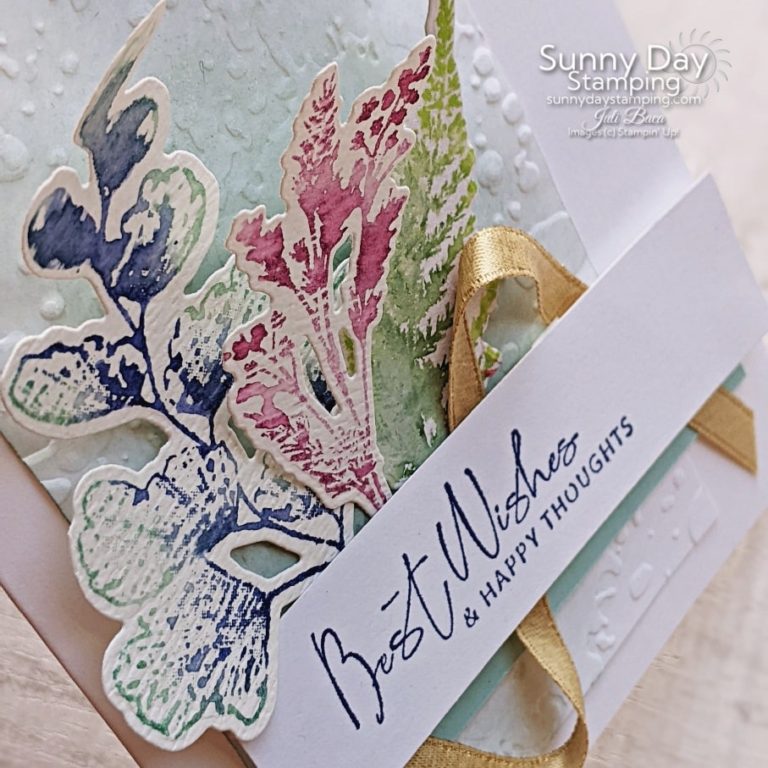
The Beauty of Watercolor
Change the look by using different accent colors!
Save
Save
Save
Toothbrush Watercolor Technique
Save
Save
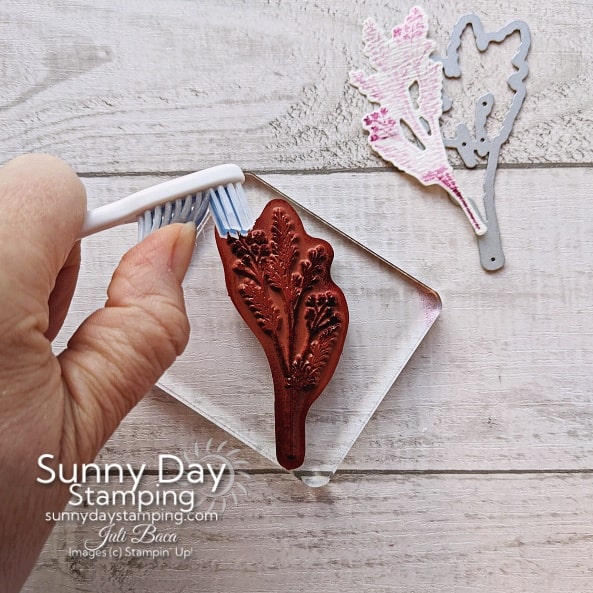
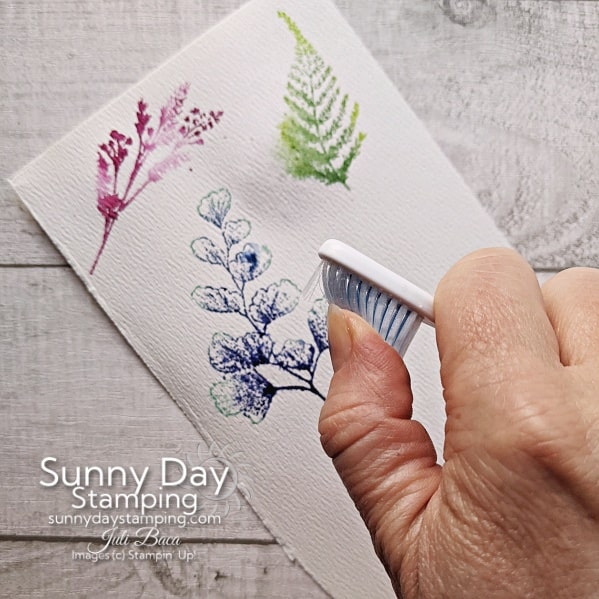
Use a wet (and clean) toothbrush to flick water on the stamp after applying the ink. Add an additional spritz of water to the stamped image. Let it dry!
Adding Interest
Save
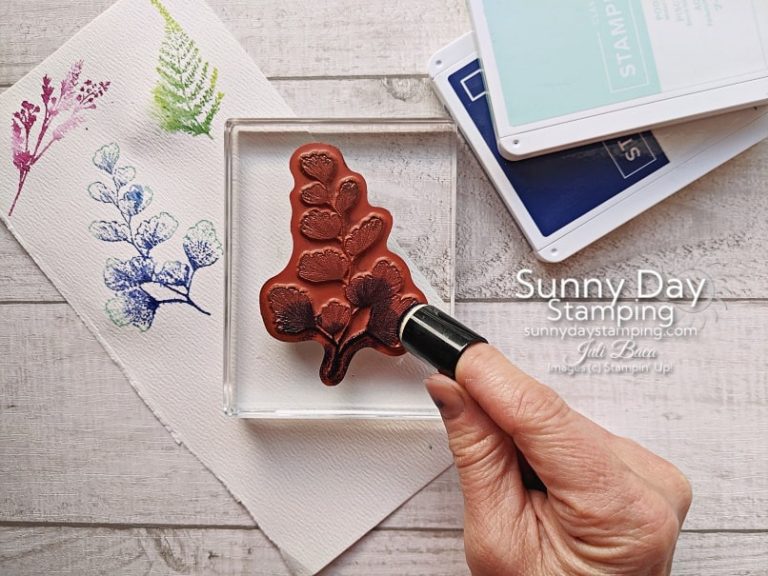
Use a light color and a dark color to add dimension to your stamped images. Ink the stamp up in the light color and then add accents with a sponge dauber from the dark color.
Save
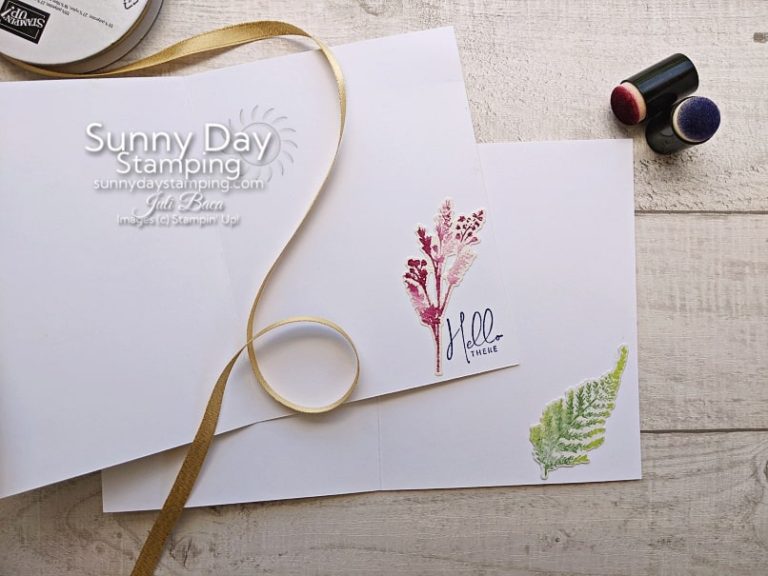
Tape a piece of ribbon to the back of the sentiment layer.