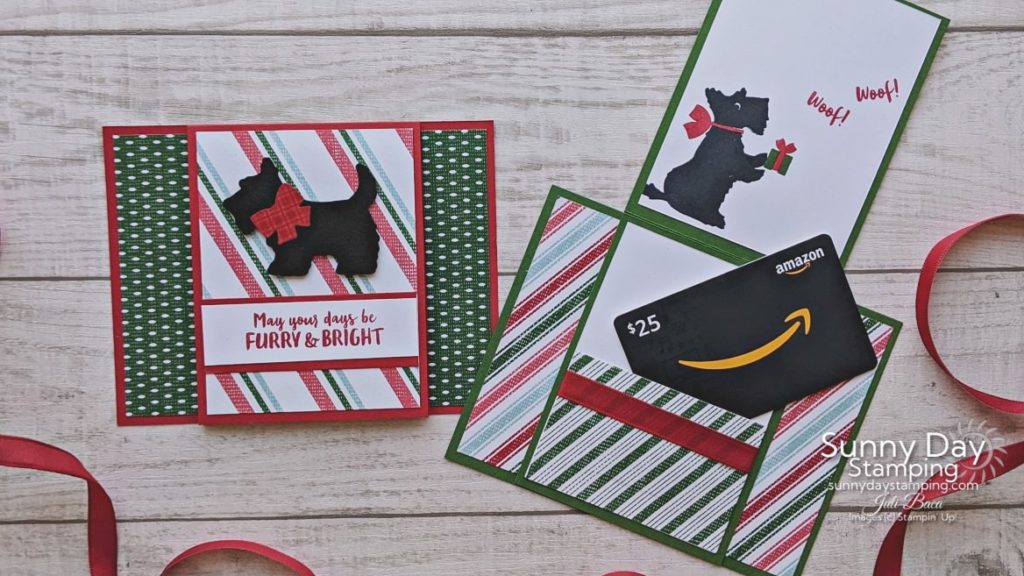
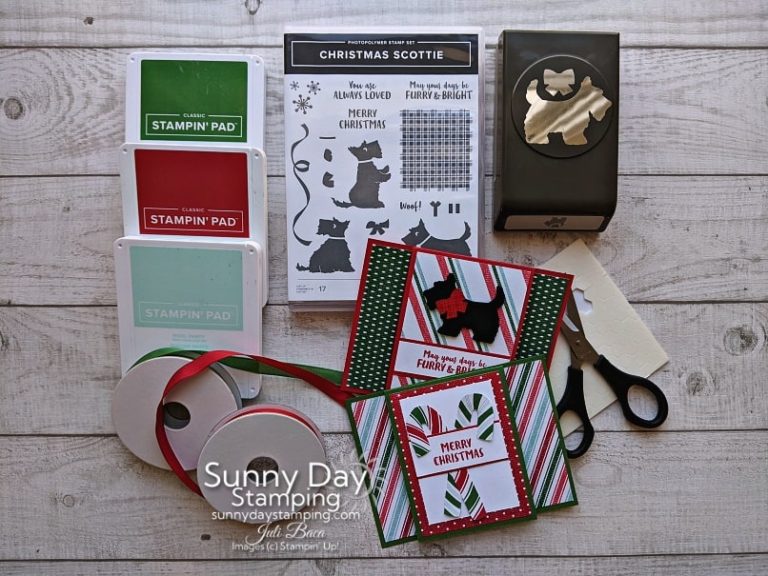
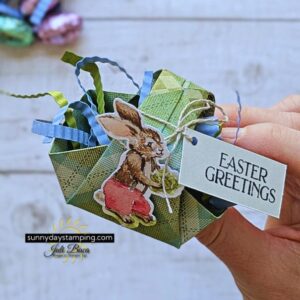
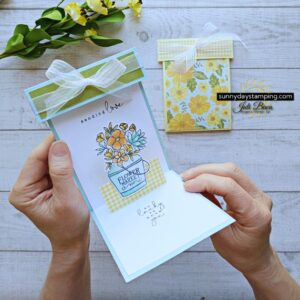
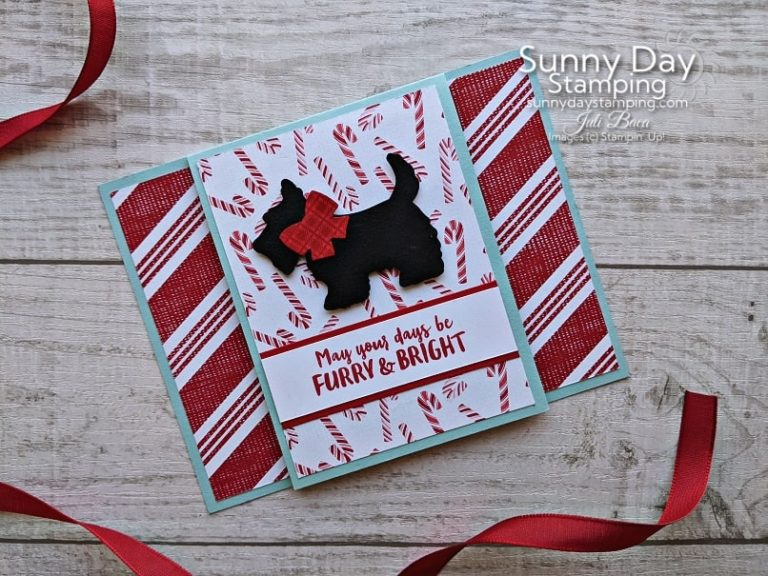
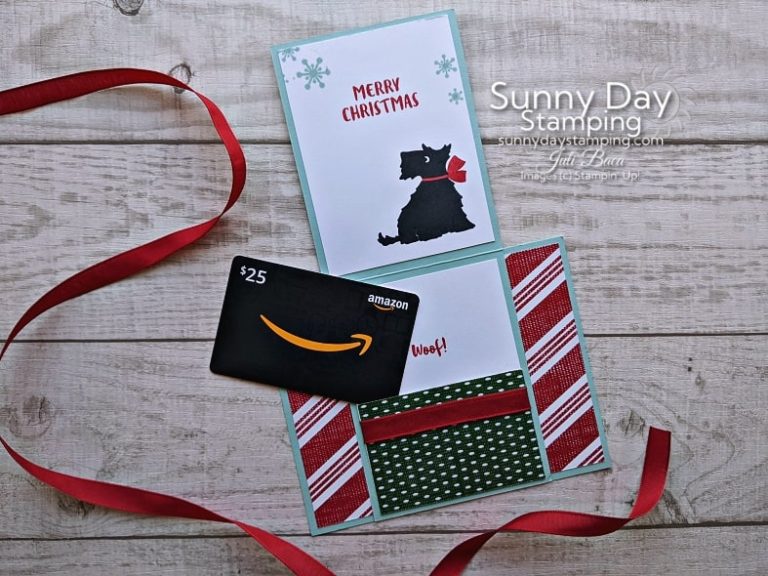
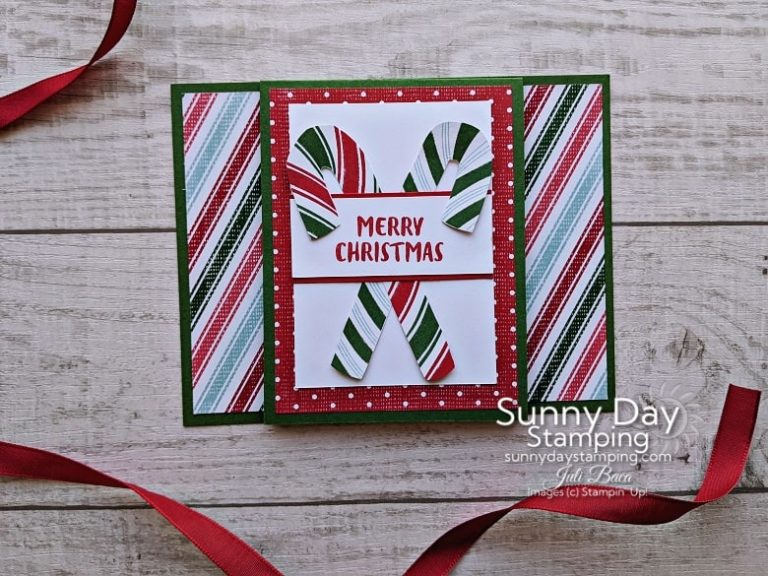
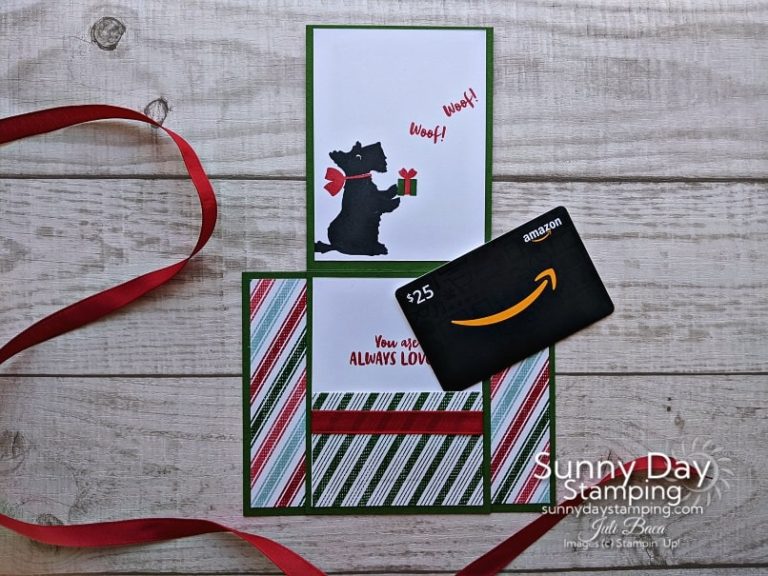
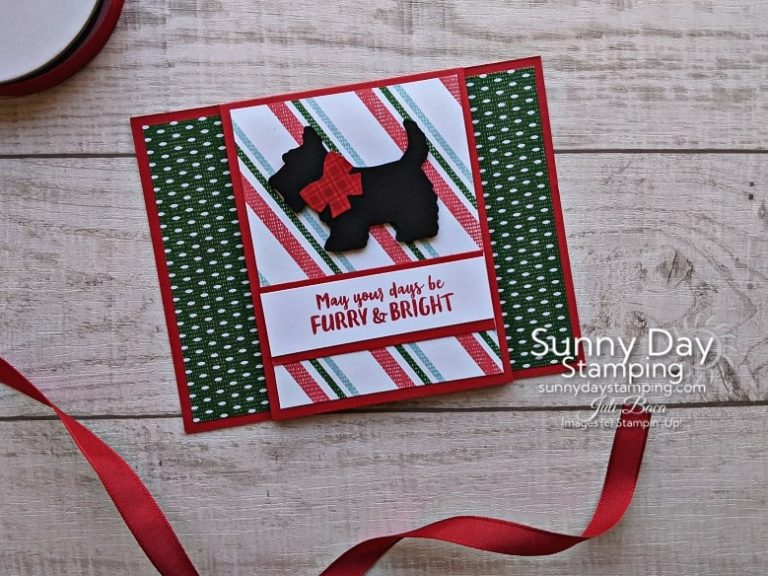
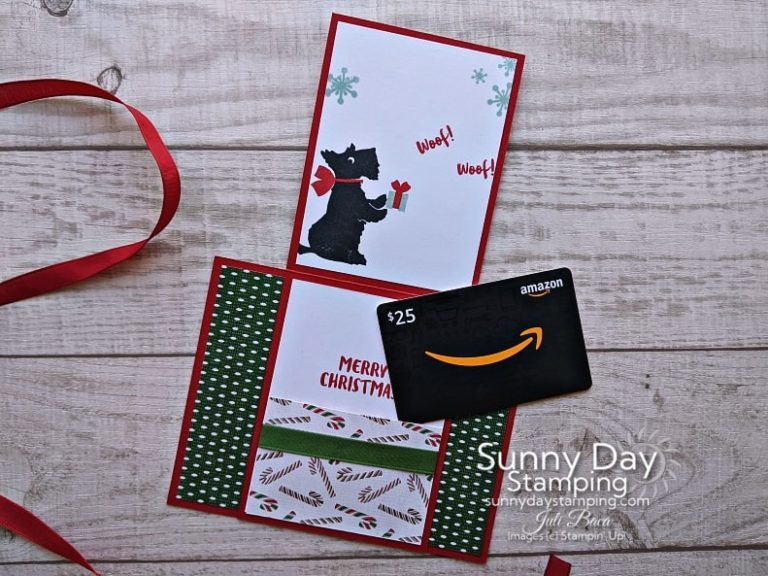
I have a solution for impersonal gift card giving…make an adorable gift card holder! This one has a couple of special details you won’t want to skip. It’s so easy! Watch my video for all the details!
Measurements & Supplies
Cutting & Scoring Measurements:
Card Base: 5 1/2″ x 4 1/4″
Designer Series Paper: 5 1/4″ x 4″
Gift Card Holder Flap (same as card base): 3 1/4″ x 8 1/2″
- scored at 4 1/4″
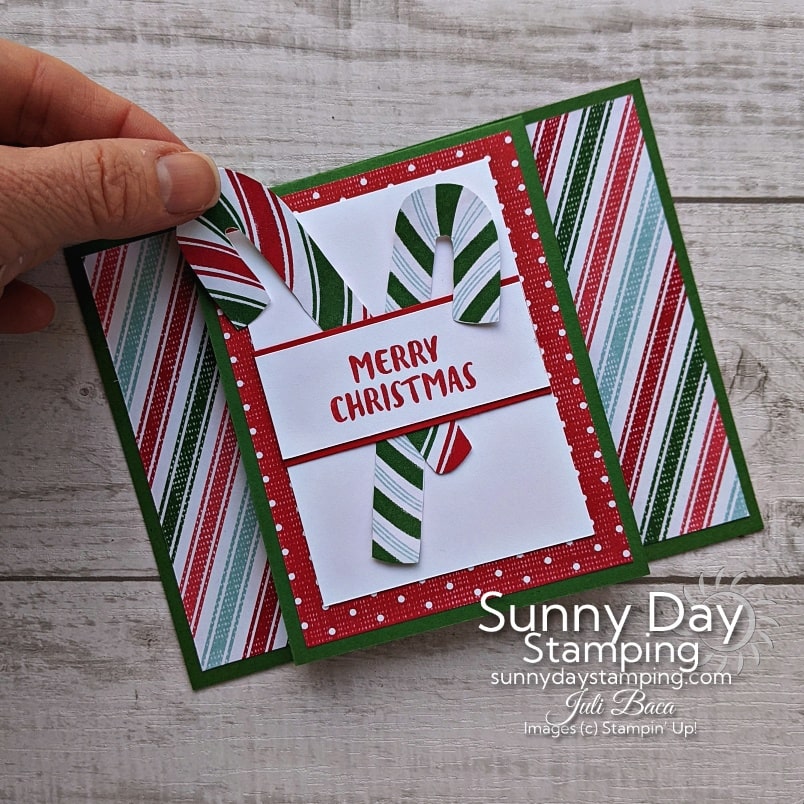
Designer Series Paper for Flap Front: 3″ x 4″ *Candy Cane card needs a 2 1/2″ x 3 1/2″ of Basic White
Sentiment Layer: scrap of Basic White cut to width of flap.
- Scottie Dog version: 3” long
- Candy Cane version: 2 ½” long
Sentiment Layer border: scrap of colored cardstock the width of the Sentiment Layer
Note: Save 10% when you buy the stamp & punch bundle. Click here to see if it is still available at that price.
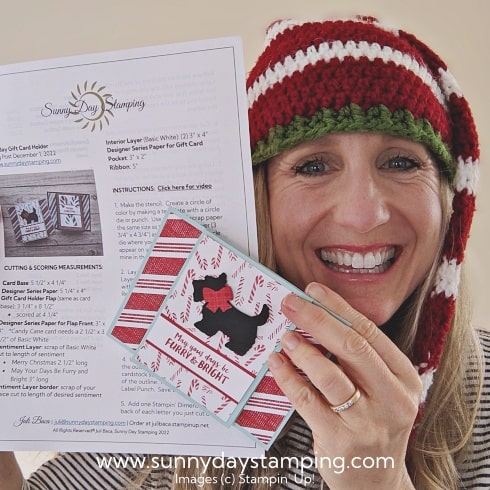
Get the FREE Print & Make Project Sheet
-
Save
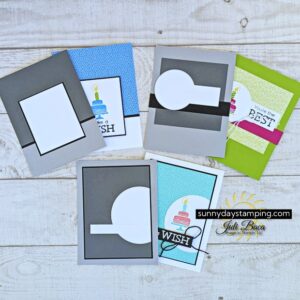
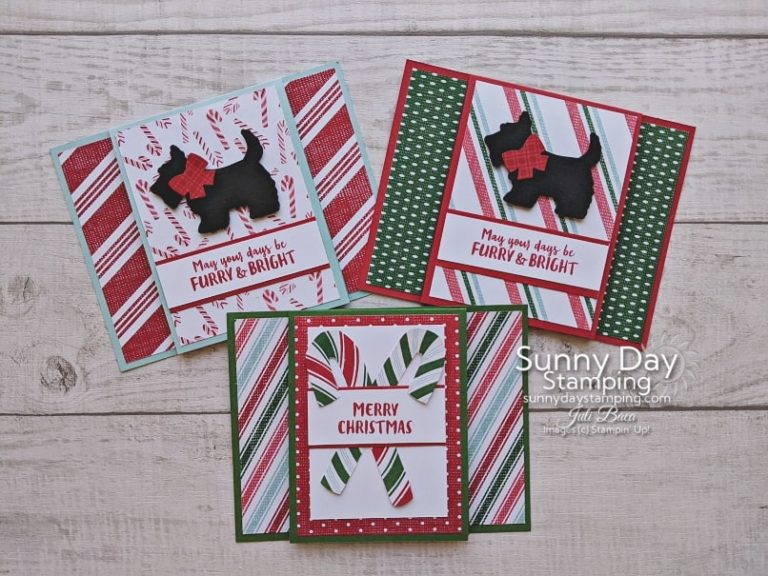
Gift Card Holder Design
You can use this design with any patterned paper or stamp set.
-
Save
-
Save
-
Save
-
Save
-
Save
-
Save
-
Save
Love the Details!
-
Save
-
Save
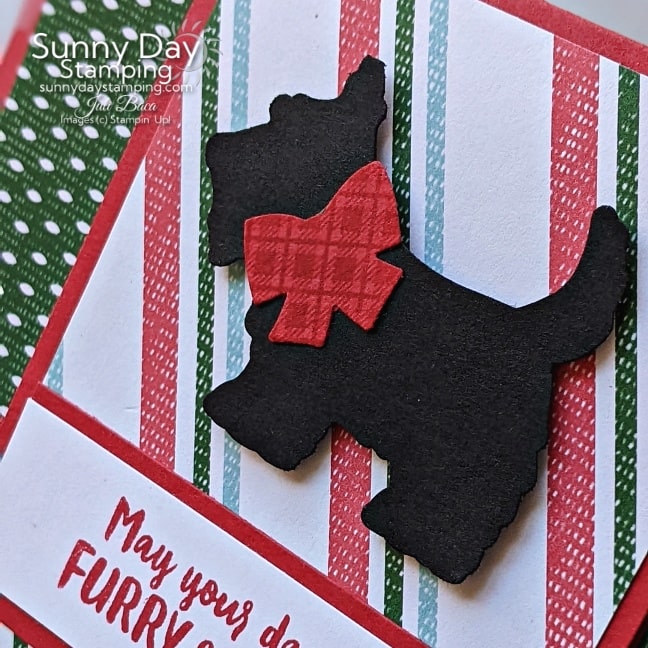
Stamp the bow and pop the whole image up with Stampin’ Dimensionals. It’s worth the extra effort to give the project that extra WOW!
For the Candy Cane version, make sure the candy canes are overlapping the sentiment layer to add interest. If you are giving this to a young one, don’t glue the candy canes down so they can have fun taking the in and out. 🙂
-
Save
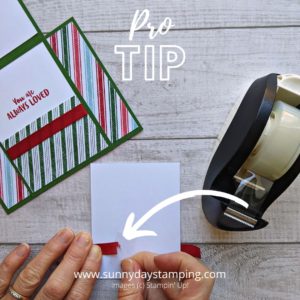
When adding the ribbon detail to the gift card pocket, just tape the ribbon on the back. It’s so much easier than trying to tie a bow!
Important Stuff!
- Shop Stampin’ Up! Products – SHOP NOW
- Check out CURRENT SPECIALS – CLICK HERE
- Request a Stampin’ Up! Catalog – CLICK HERE
- Have a big WISH LIST? Get the Starter Kit! – CLICK FOR DETAILS
- Juli’s Shopper Rewards – CLICK HERE
- Free Print & Make Project Sheets – SIGN UP FOR EMAIL

