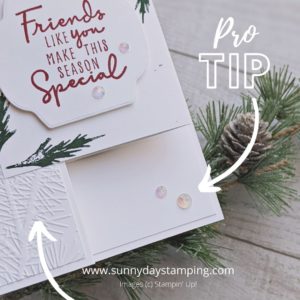
This impressive fun fold card is actually quite simple to make! I break it down into easy steps and give you lots of tips along the way! Watch the video for all the details!
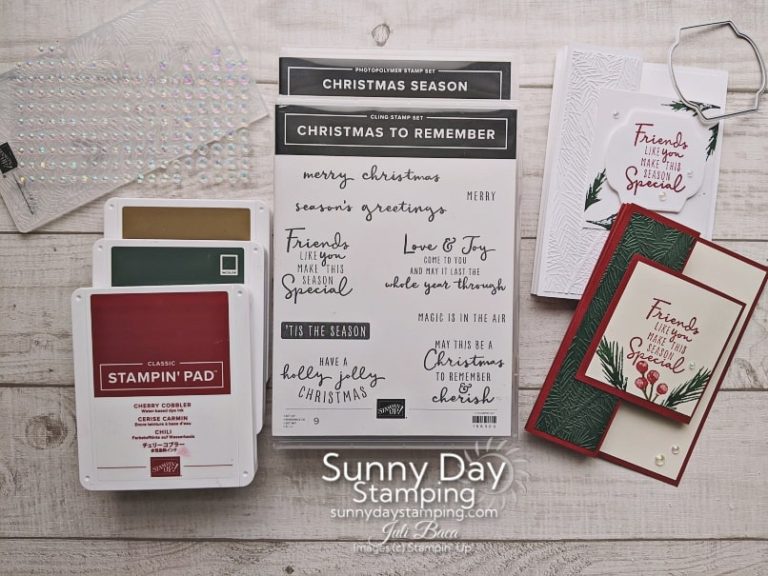
Keep scrolling to see more photos. Click the button to purchase supplies!
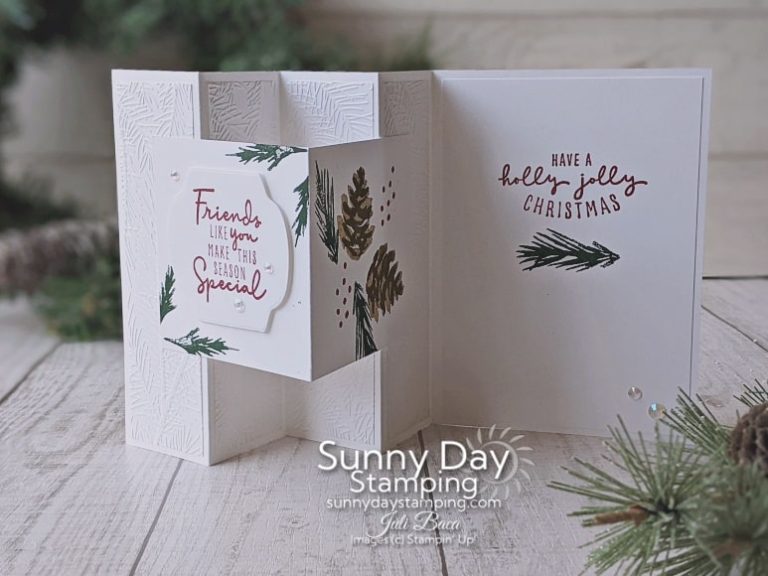
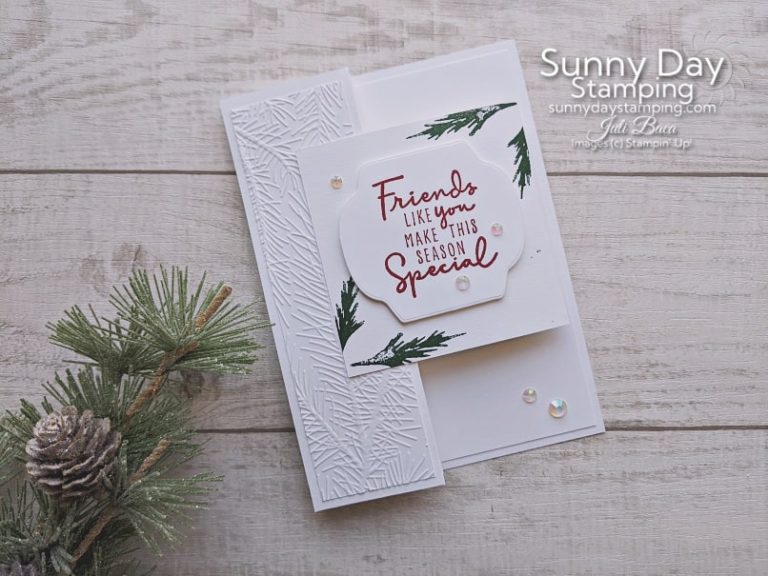
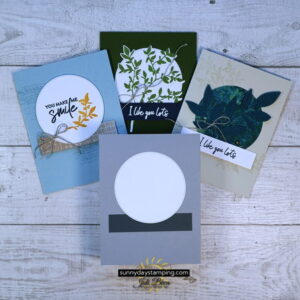
*Note: Basic White card (option 1) uses the Seasonal Labels die set & Stampin’ Dimensionals. Those items are not used in the colored cardstock version (option 2).
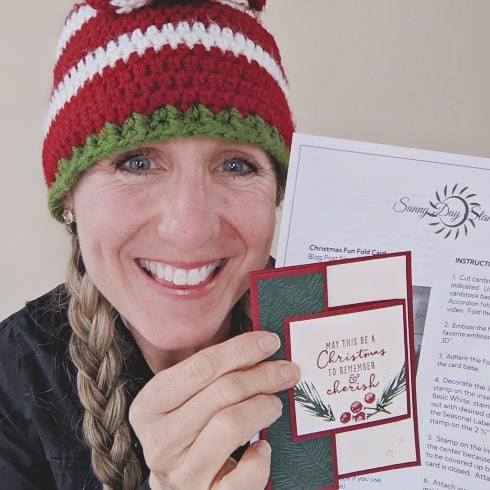
Sign up for my free email and get project sheets delivered right to your inbox every week! If you are already an email subscriber and would like past project sheets, just let me know the name of the ones you want. Thank you for subscribing!
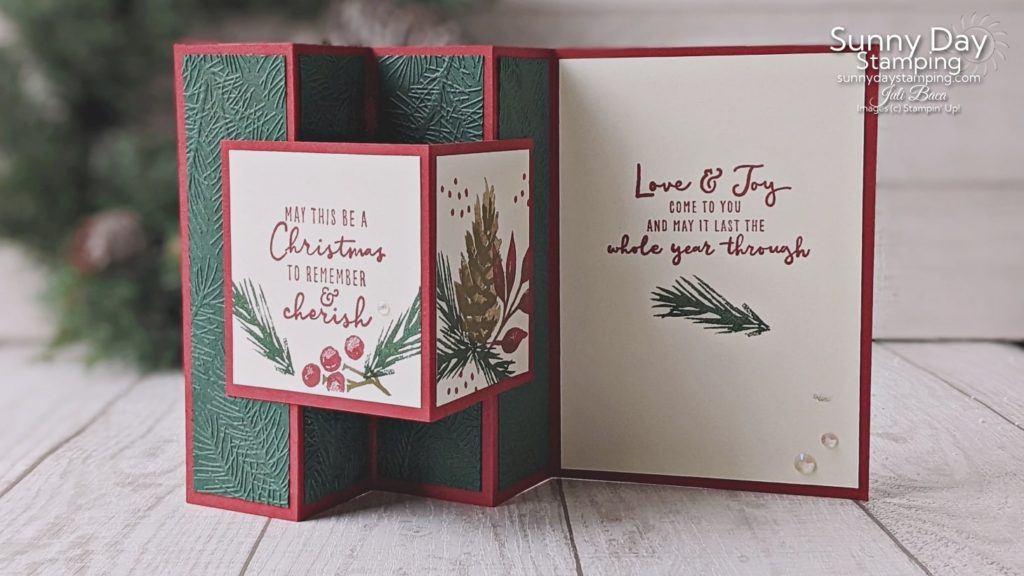
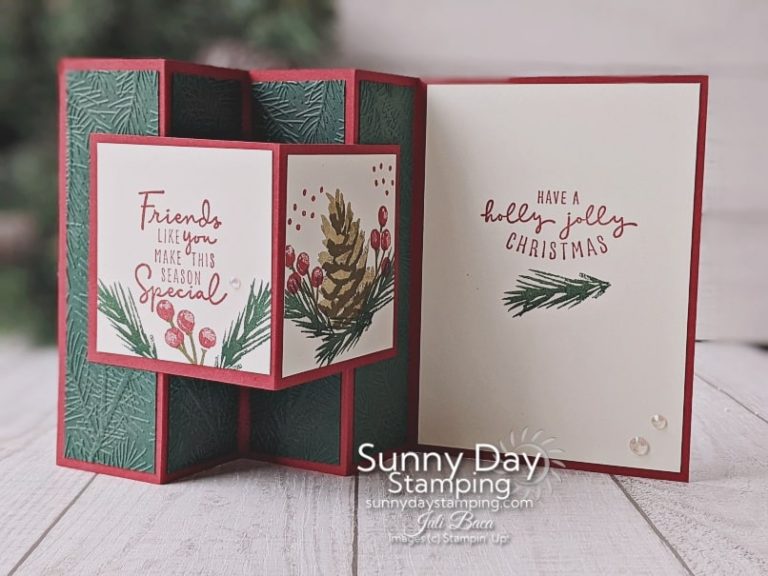
Impressive, but so simple!
This card folds flat to fit in the envelope!
Save
Save
Save
Save
You can use this layout for all kinds of cards throughout the year…not just for the holidays! Just change up the colors and stamps!
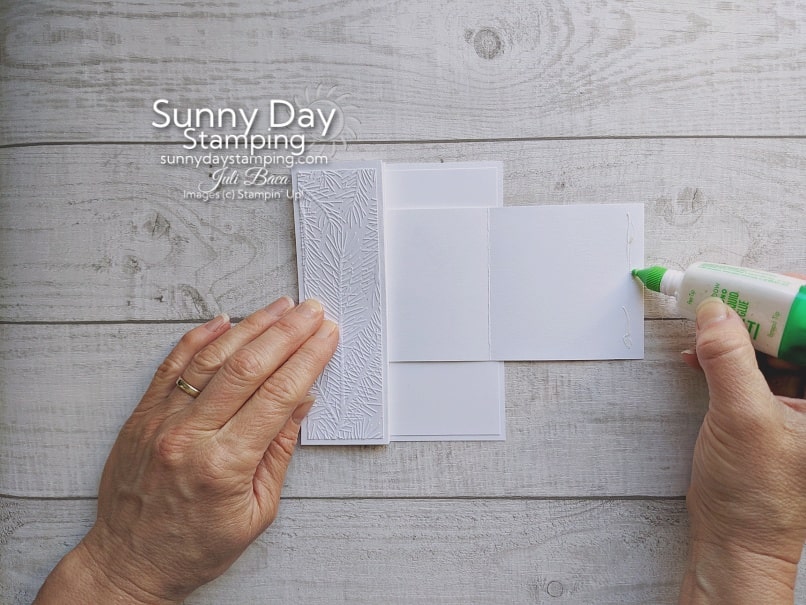
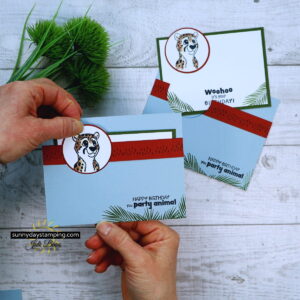
Diagram for Glueing
Save
Save
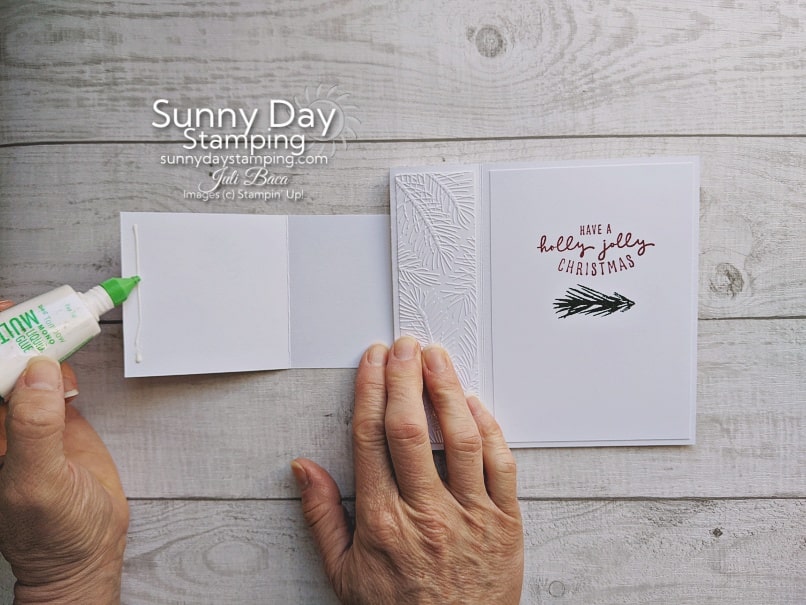
Attach insert by placing glue on the inside edge of the left panel of the insert…the fold will be on the right. Center it on the first panel of the front of the card, make sure that the images on the Interior Layer are going to be concealed and glue in place. Now open the card place glue on the edge of the insert and attach to the last panel…making sure it is lined up with when closed. See video for details.