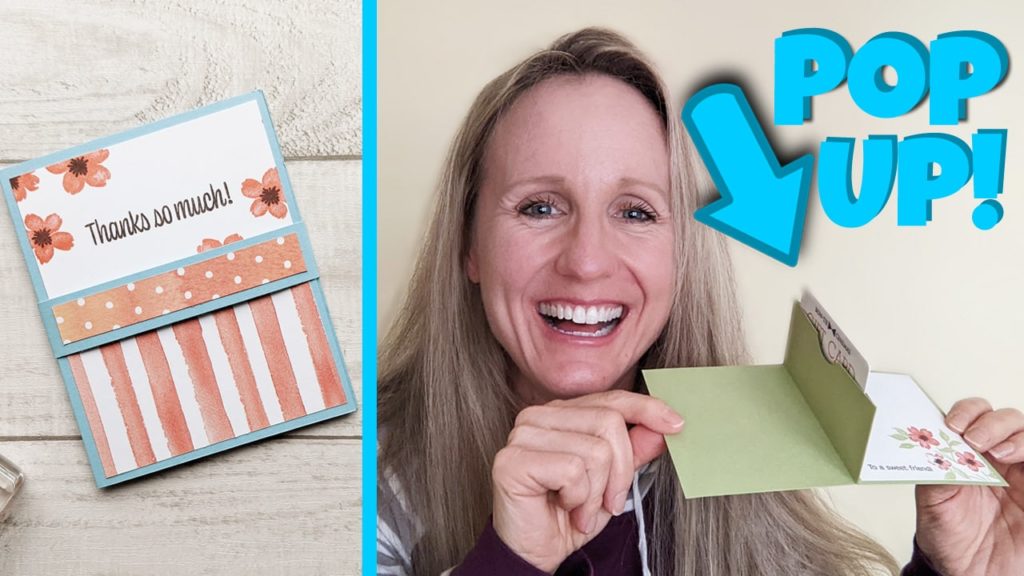
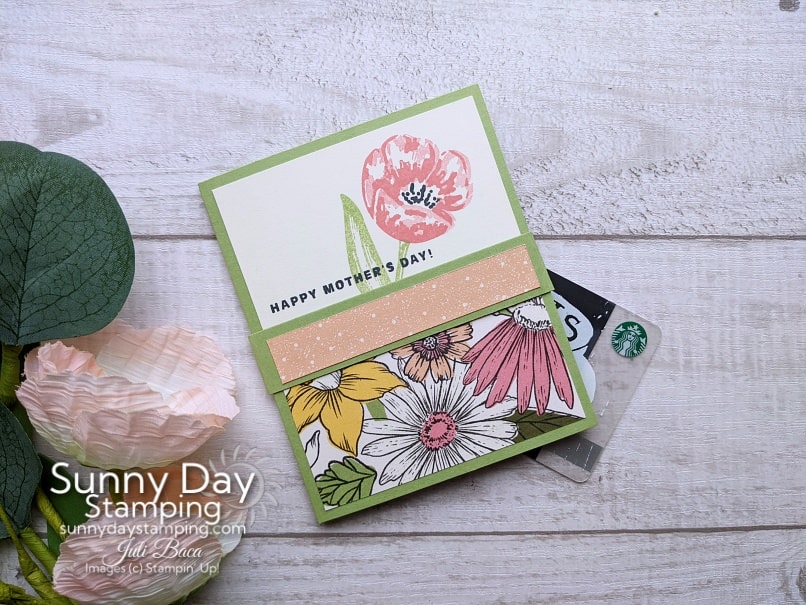
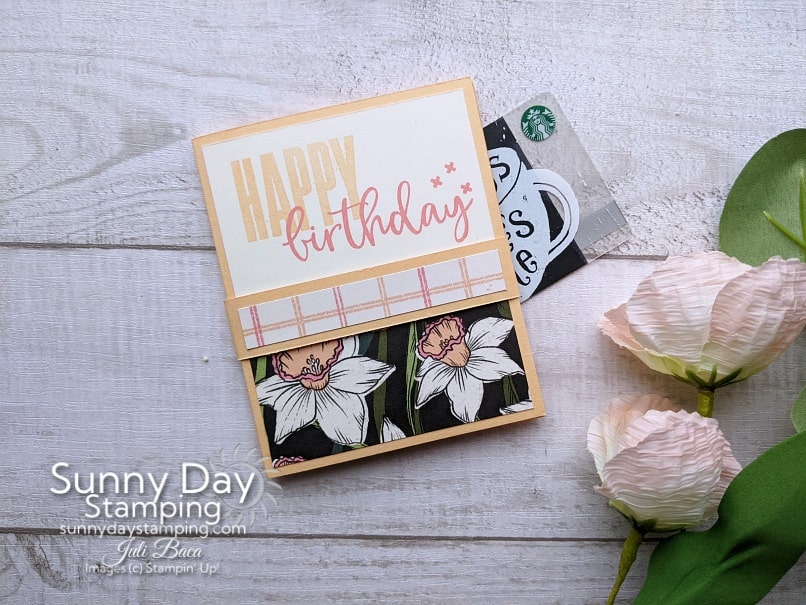
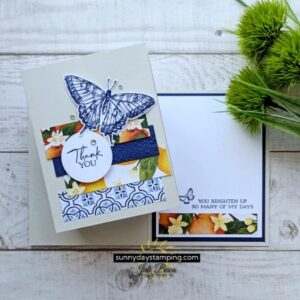
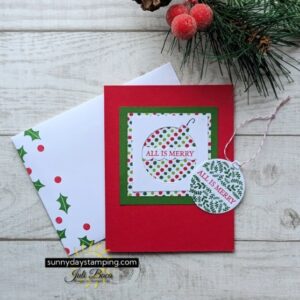
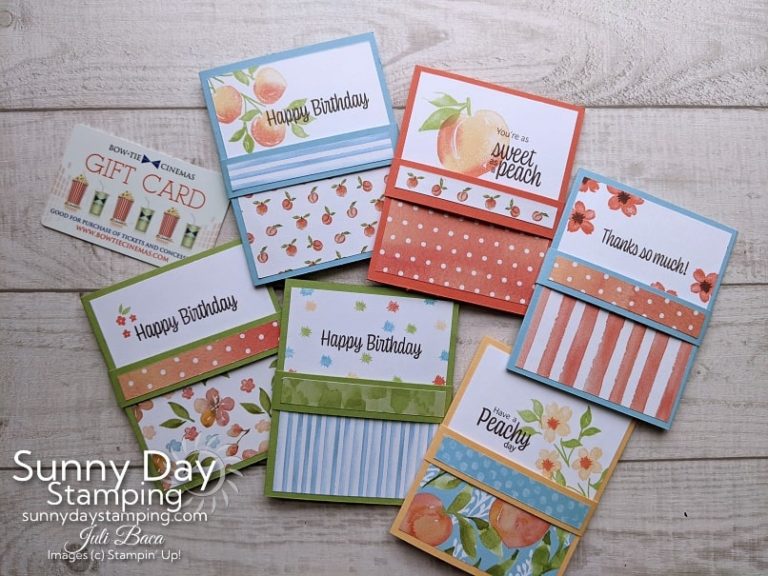
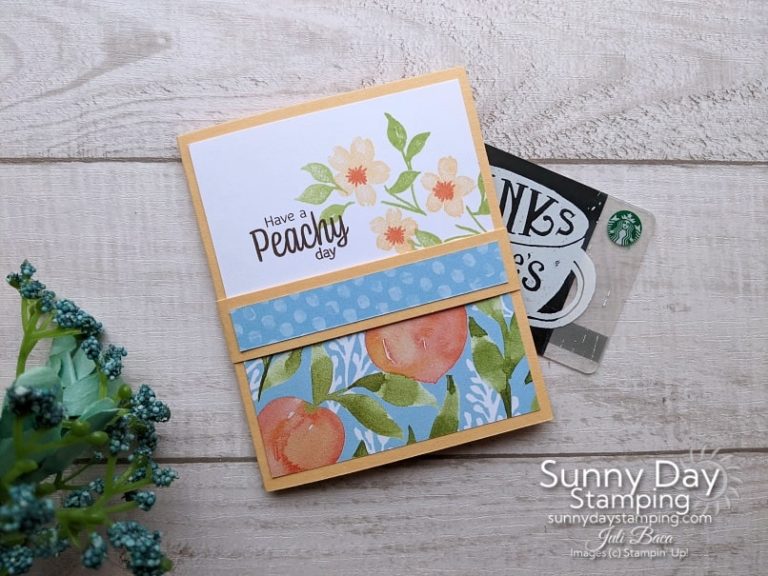
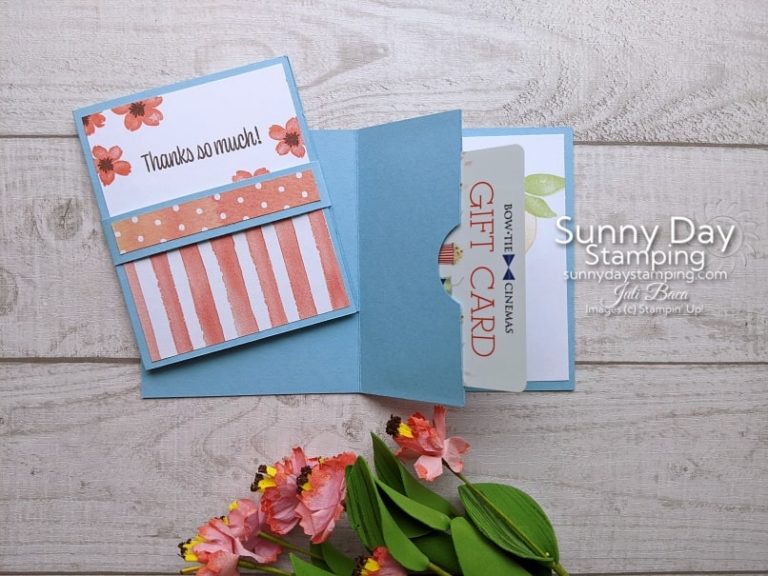
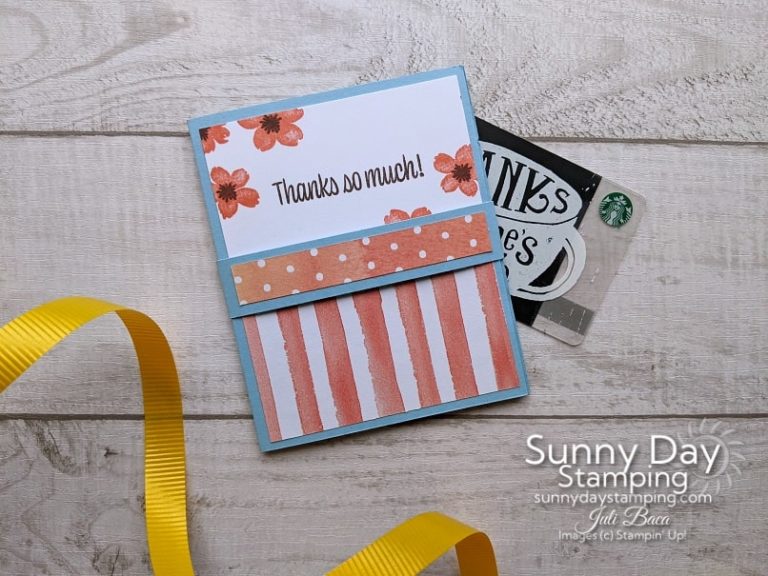
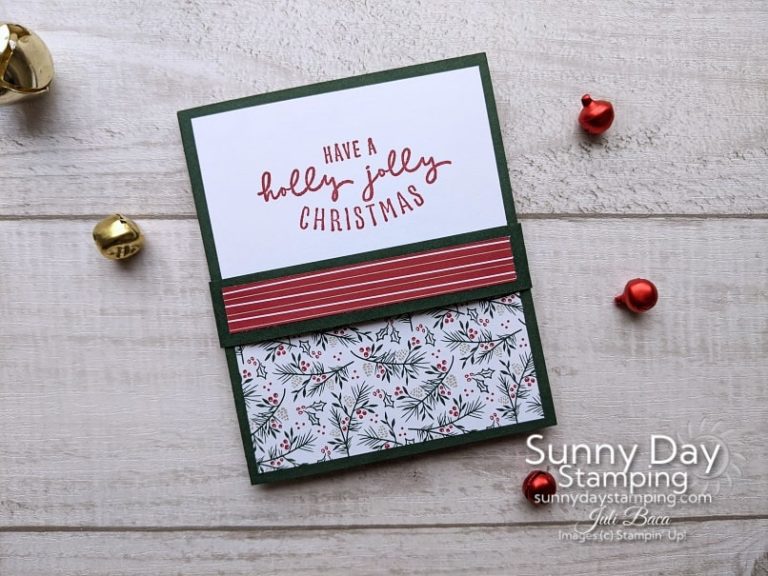
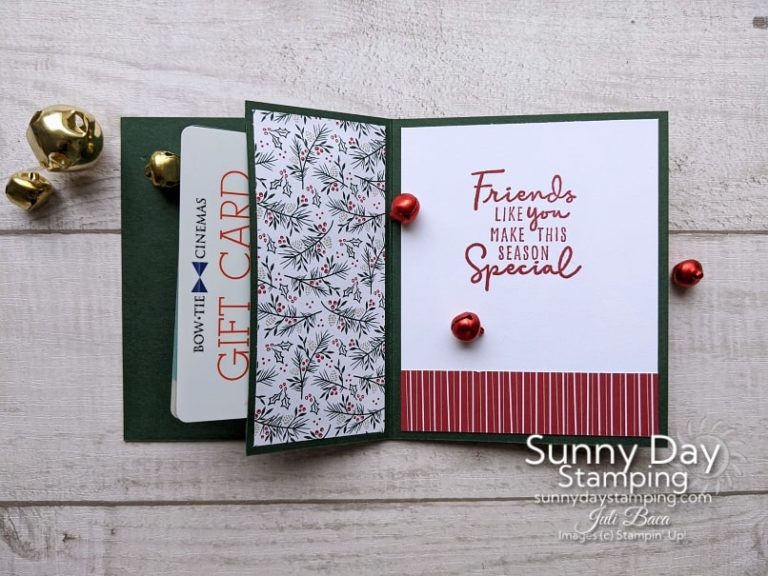
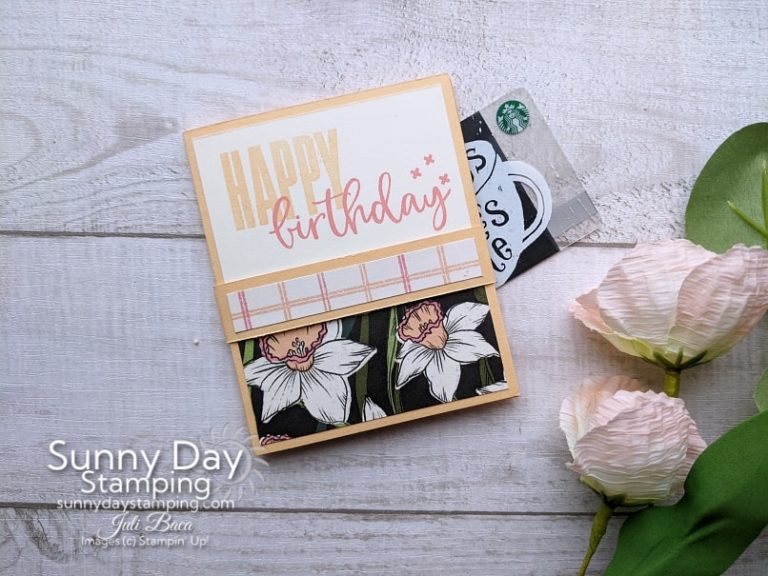
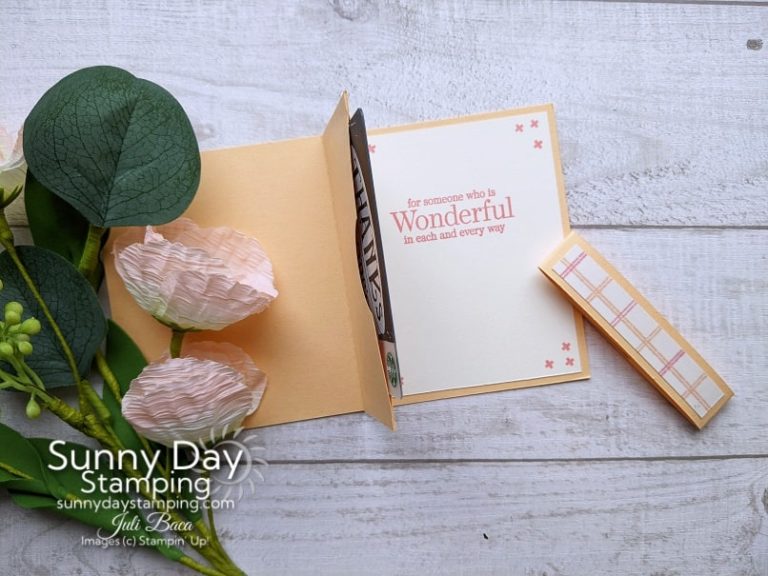
This gift card holder has a pop up sleeve in the center! You won’t believe how easy it is to make. I’ll show you tons of examples to give you ideas on how to make your own!
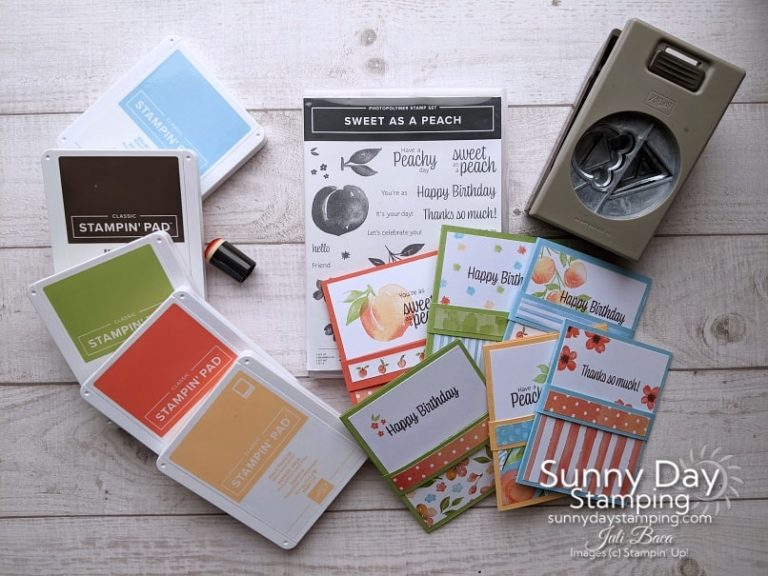
Measurements & Supplies
-
Save
Look for more examples in this post!
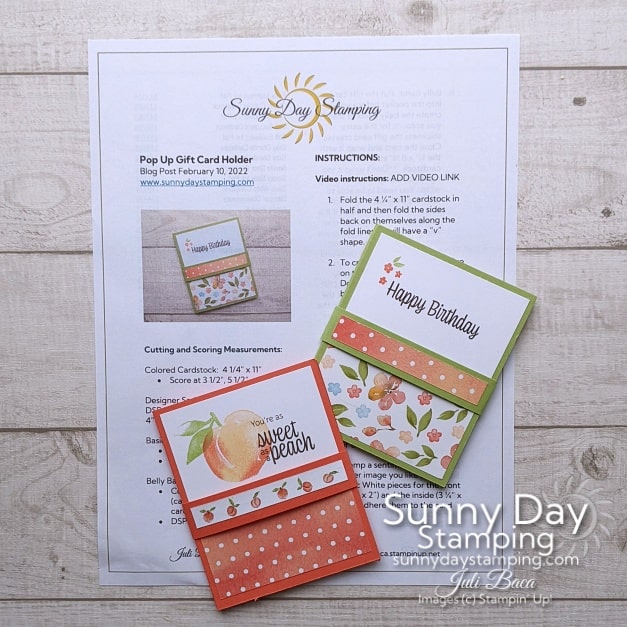
Cutting and Scoring Measurements:
Colored Cardstock: 4 1/4″ x 11”
- Score at 3 1/2″, 5 1/2”, and 7 1/2″
Designer Series Paper (DSP)
- 2” x 3 ¼”
- 1 3/4″ x 4” for optional pocket sides (2)
Basic White cardstock:
- 3 1/4″ x 4 “
- 2” x 3 1/4″
Belly Band:
- Colored cardstock ¾” x 8 1/2” (can be the same color as the card base) cardstock
- DSP piece ½” x 3 1/4”
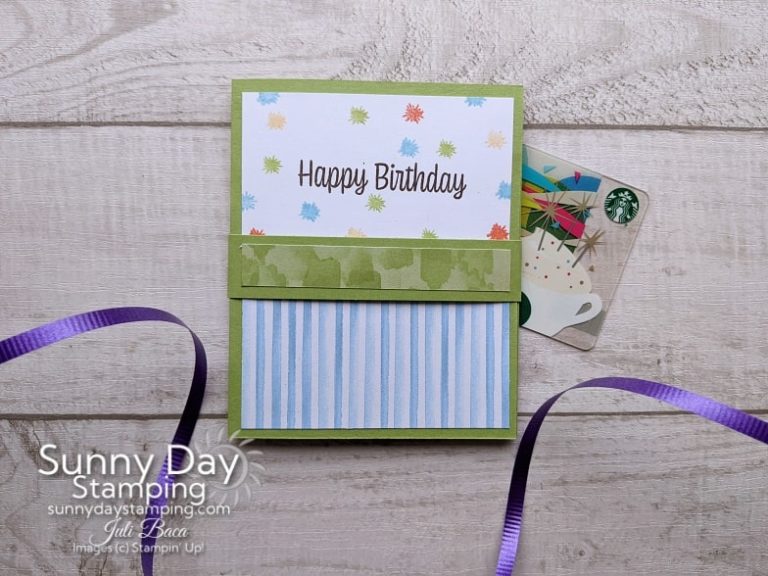
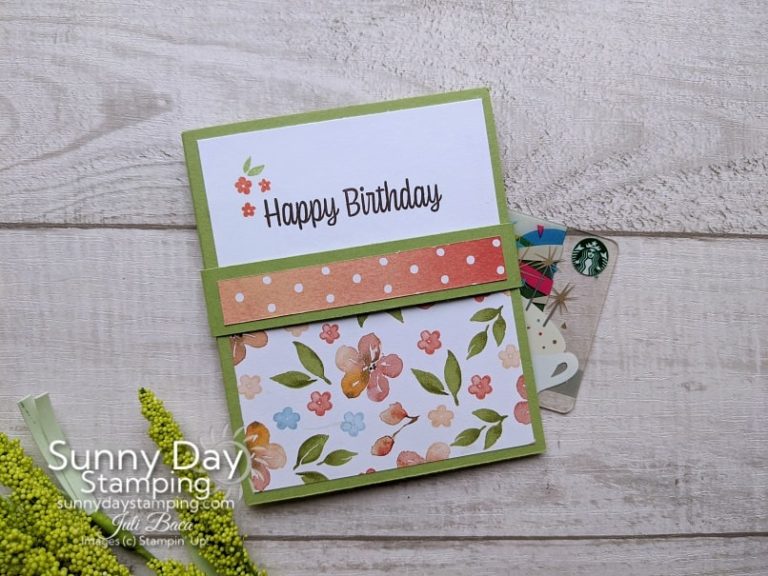
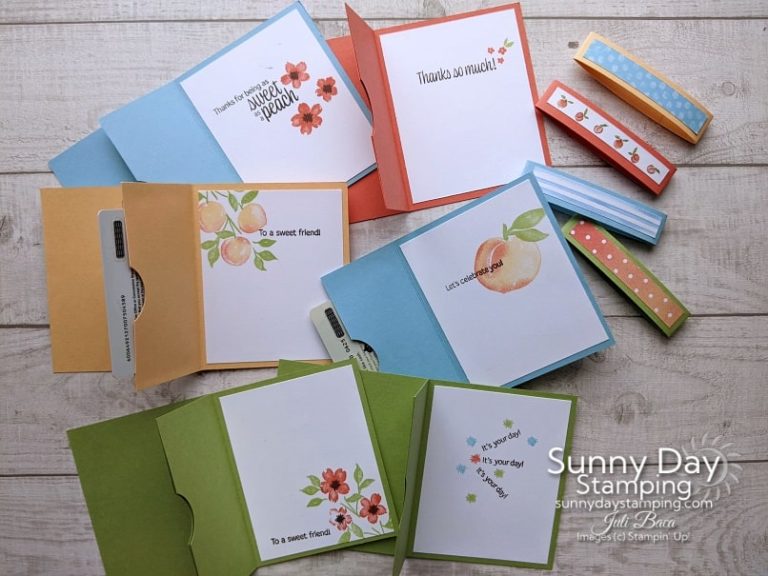
*There are several variations below. Look at the caption for the inks/colors used or the links to see the supply lists for those specific cards.
Included in the supply list are all the inks & cardstock colors I used. Choose your favorites and uncheck the rest to remove them from your cart.
Get the FREE Print & Make Project Sheet
-
Save
Sale-a-bration FREEBIES!
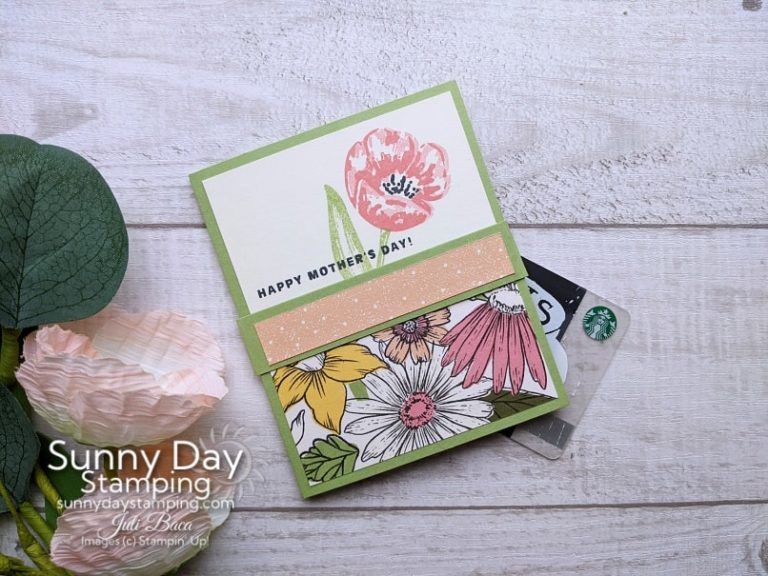
These two gift card holders feature the Daffodil Afternoon Designer Series Paper which you can get for free with a $50 purchase through February 2022.
Easily Customizable
Grab some Designer Series Paper scraps and a stamp set and have fun!
-
Save
-
Save
-
Save
-
Save
-
Save
-
Save
-
Save
-
Save
-
Save
-
Save
-
Save
-
Save
-
Save
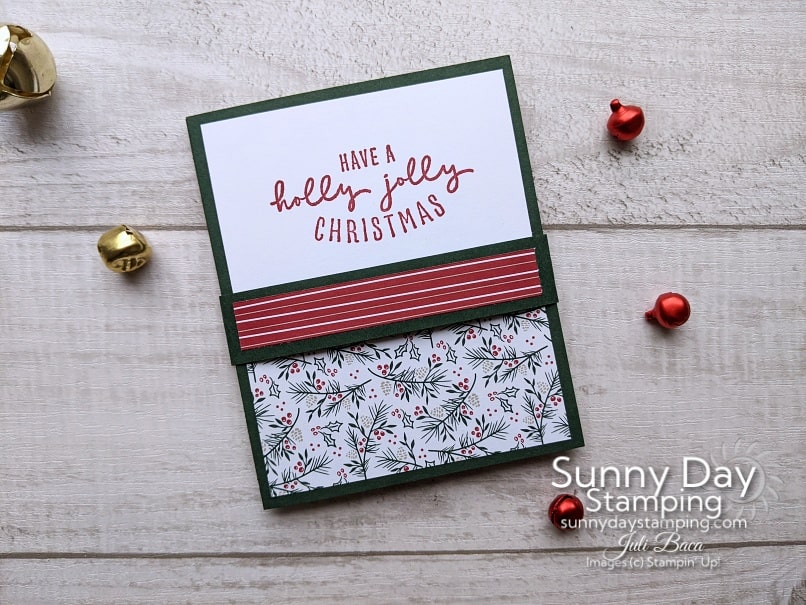
Holiday Variation
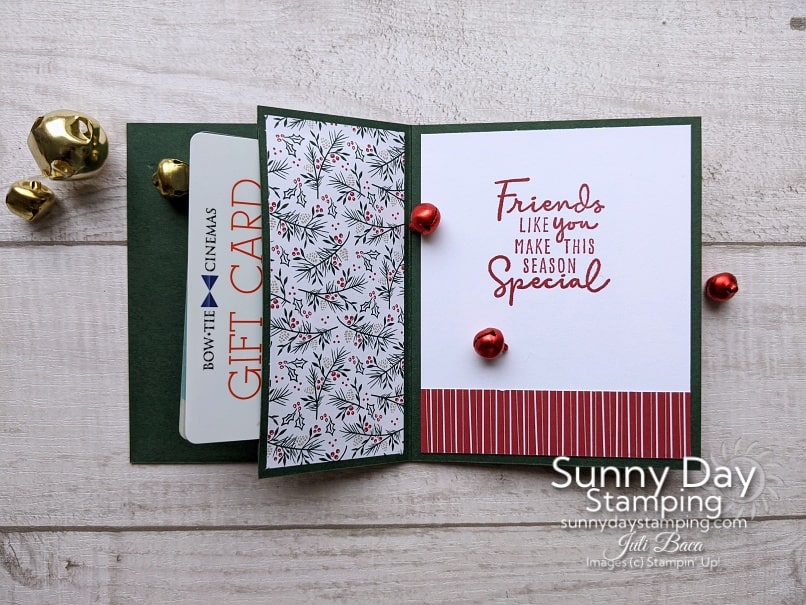
Do you have scraps of Holiday Designer Series Paper (DSP) laying around? Whip up some gift card holders! I added DSP to the inside of the card and the gift card sleeve.
Tips for Creating

-
Save
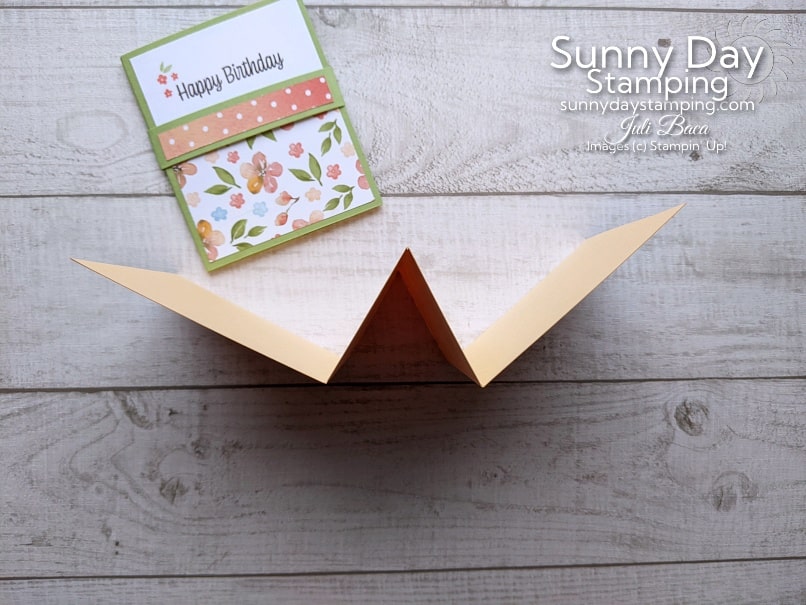
Follow this guide to make it super simple!.
-
Save
-
Save
Fold your paper like a “W”.
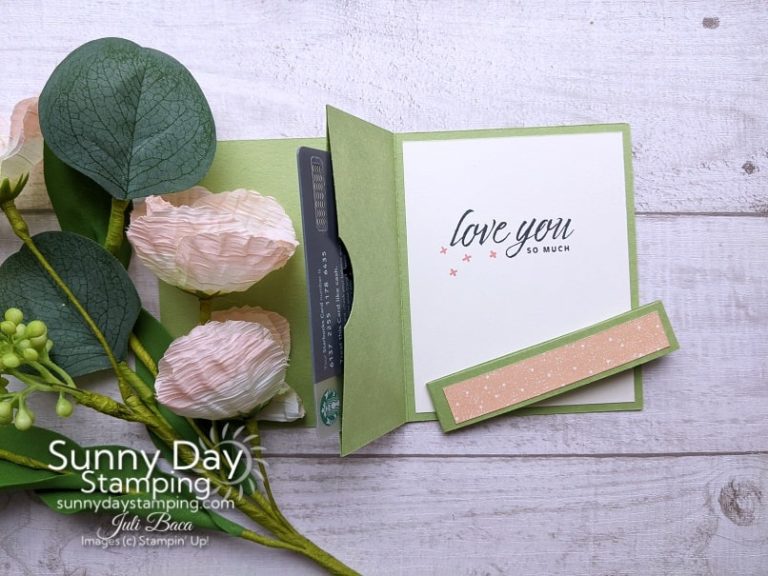
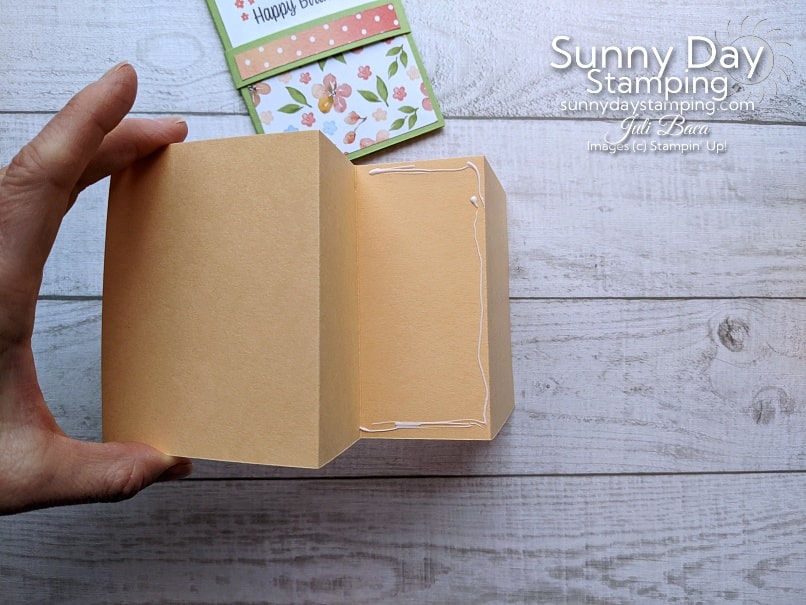
To create the gift card sleeve, only glue the three sides of the folded portion.
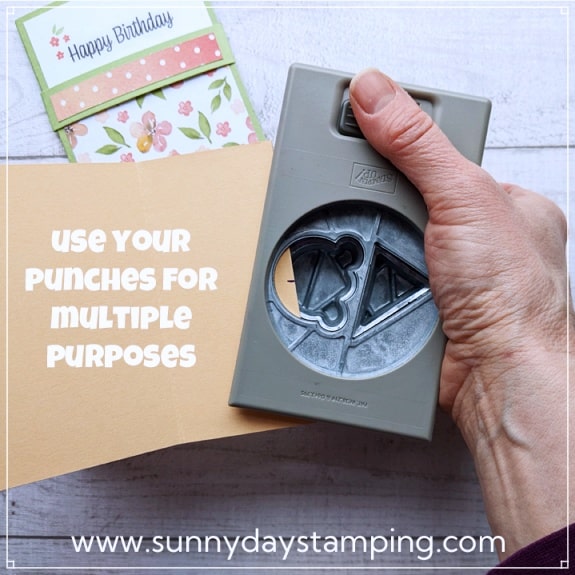
I LOVE, LOVE, LOVE getting more uses out of products I already have! To make a thumb-notch use any punch you have that has a rounded edge. I used my Ice Cream Cone Builder Punch!

