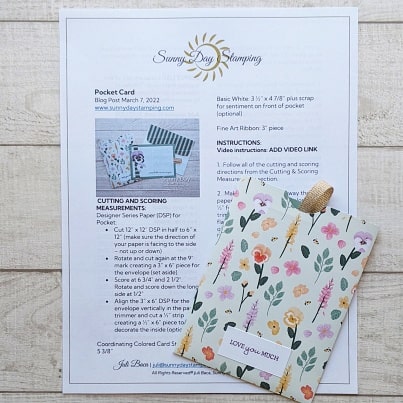
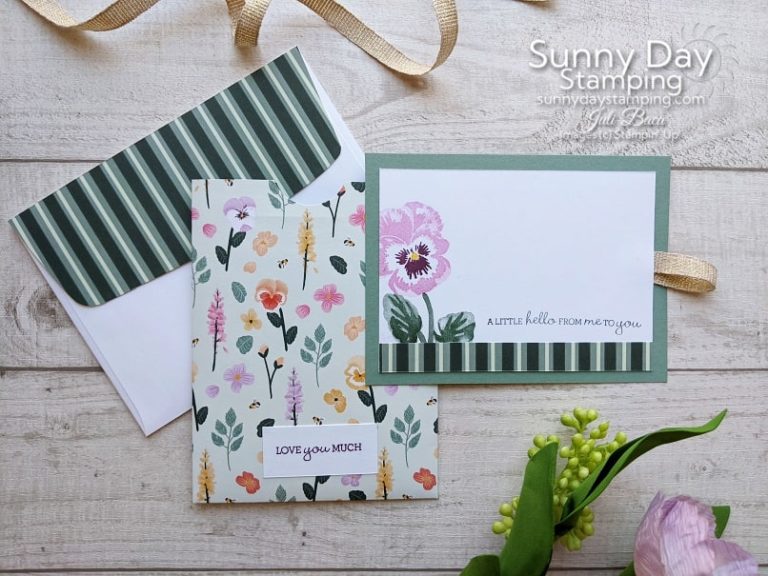
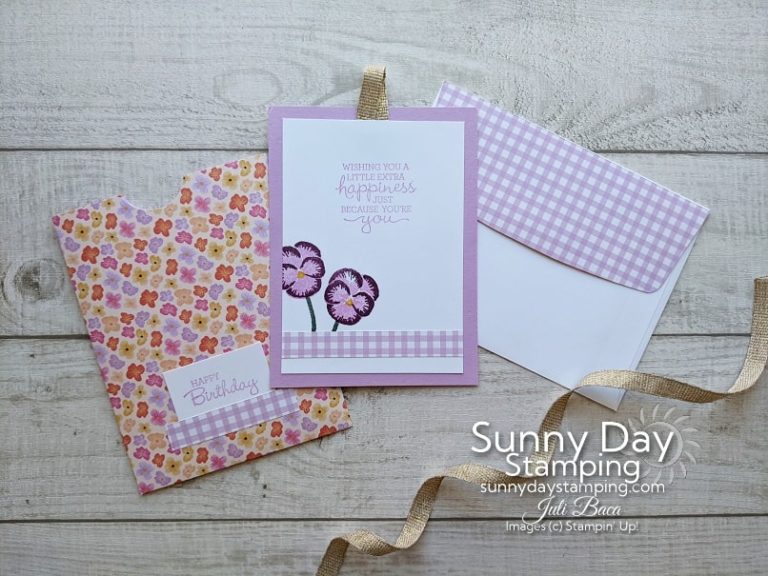
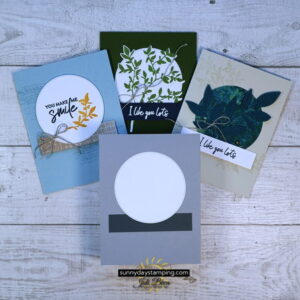
Have you tried making a pocket card? They are so much fun to make! I have a lot of tips to help make it really easy, too! Watch my video for all the details!
Sign up for my free email and get project sheets delivered right to your inbox every week! If you are already an email subscriber and would like past project sheets, just let me know! Thank you for subscribing!
Easily Customizable
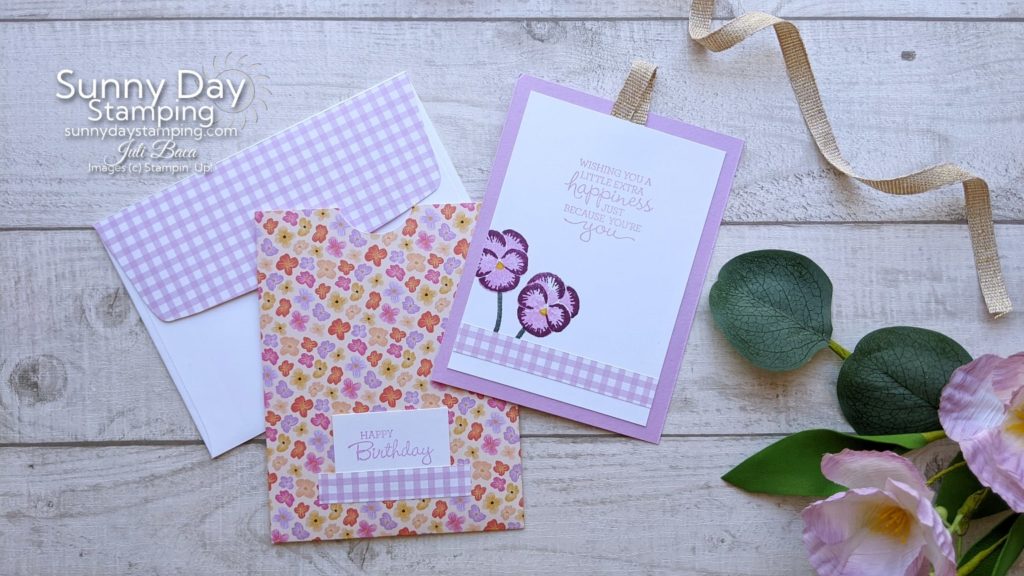
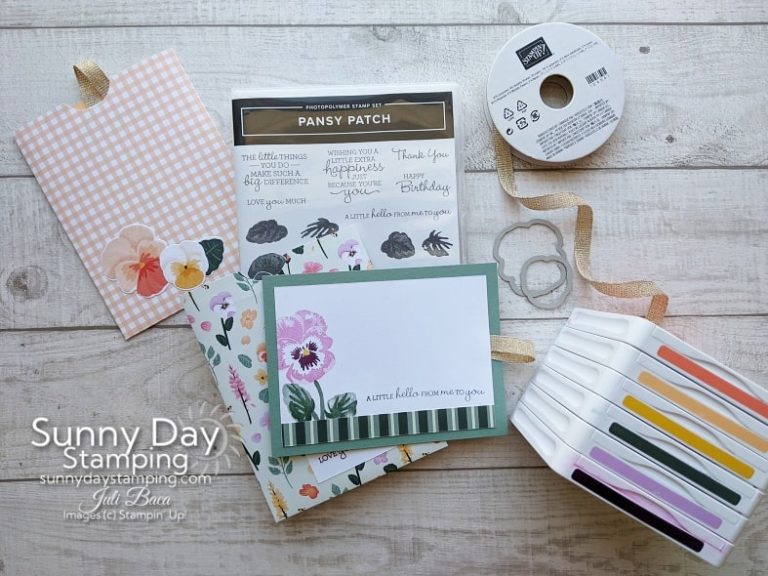
When designing your cards, start by choosing your favorite Designer Series Paper and then add the coordinating cardstocks & inks to match! Your DSP may also have a coordinating stamp and die set! I used the Pansy Patch stamp set, dies and Designer Series Paper that work together so perfectly.
Save
Save
Save
Save
Save
Save
Time Saving Tip
Save
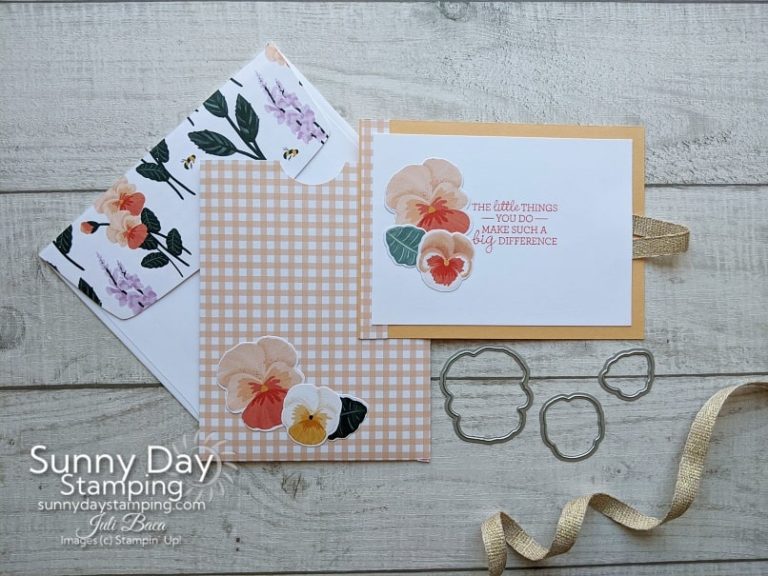
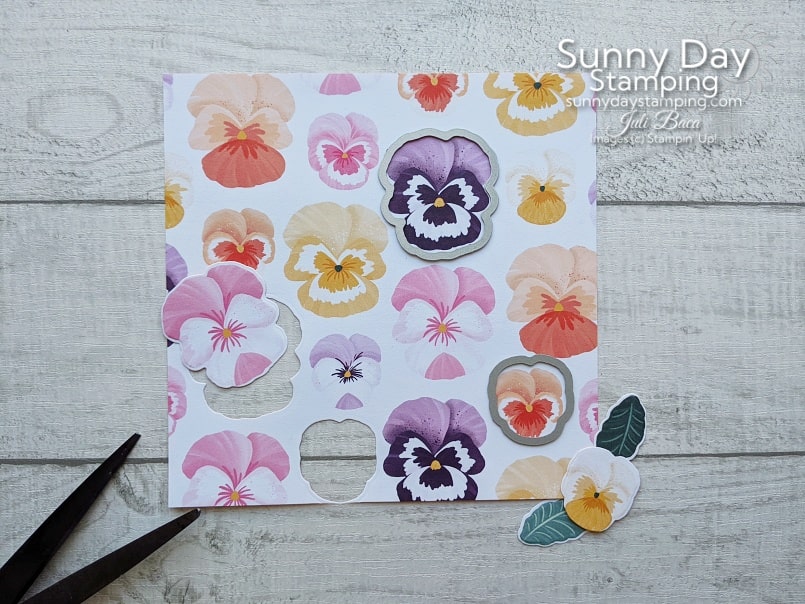
Cut out images from your DSP to decorate your cards. Cut with Paper Snips or to really save time, use the dies that coordinate with your paper. I used the Pansy dies to cut out flowers and leaves. The Pansy Petals DSP is retiring in May 2022, so grab it while supplies last. Click here to purchase.
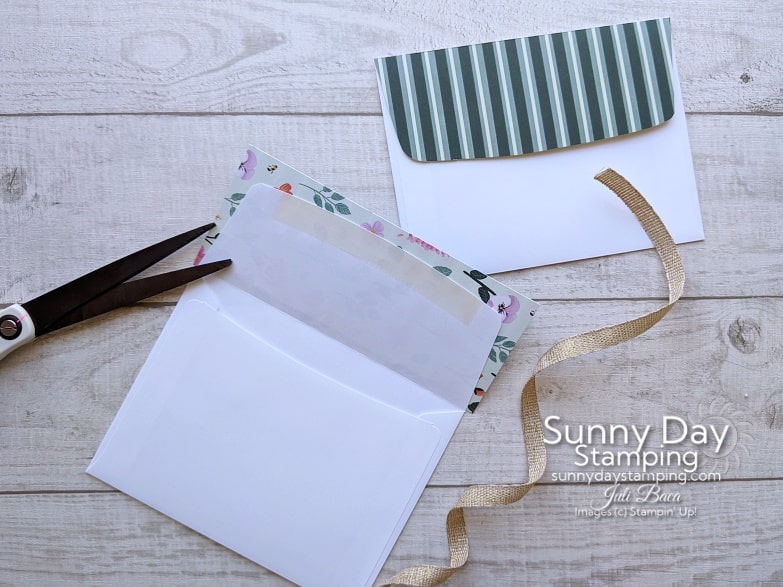
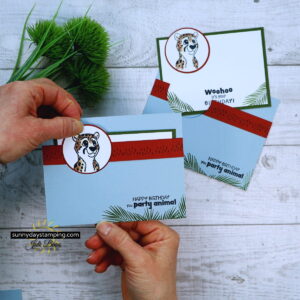
No Naked Envelopes!
Save
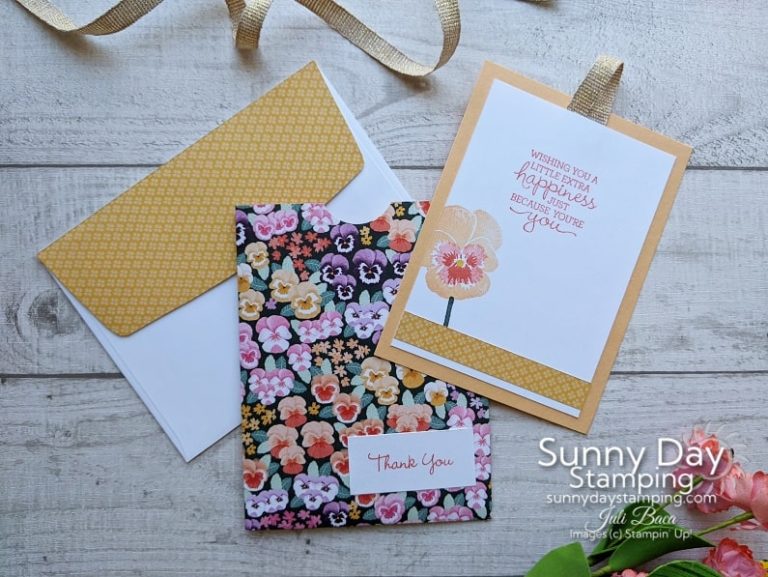
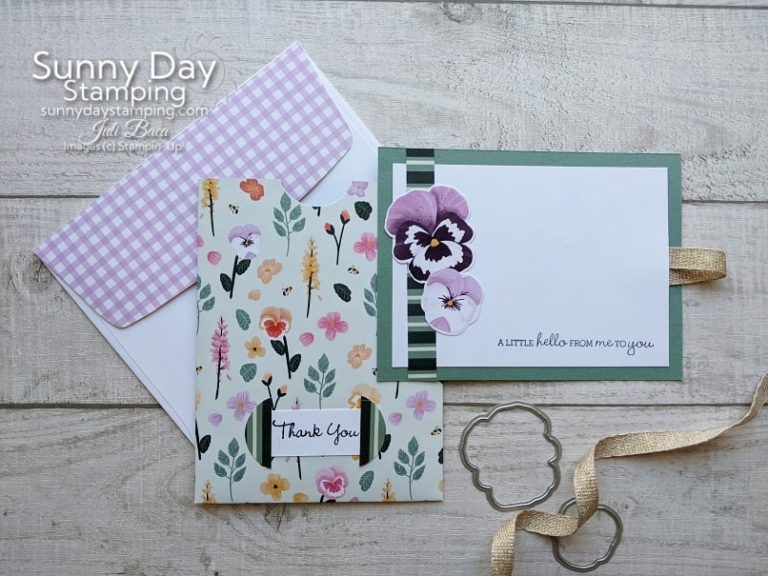
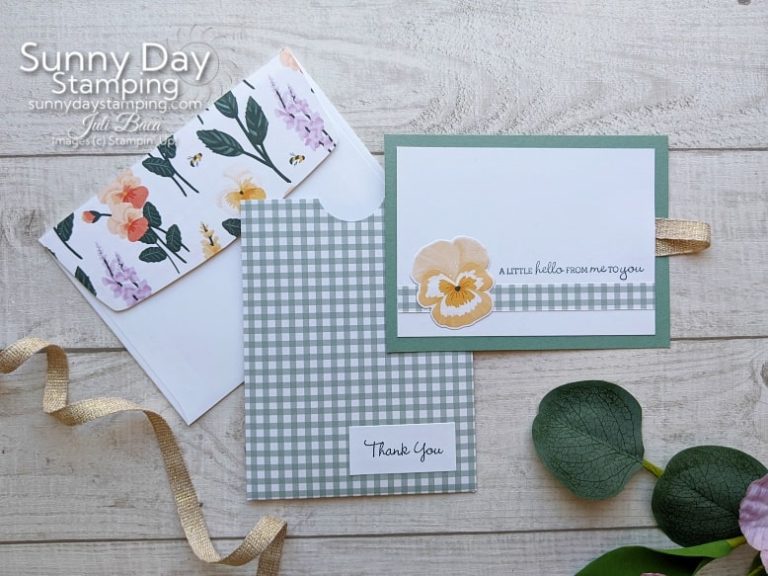
It’s easy to decorate your envelopes with DSP! Place glue on the outside flap of the envelope. Place the DSP on the glue, lining it up with the fold of the envelope flap. Press in place. Now flip it over and trim off the excess, using the envelope flap as your guide. So easy!
I listed the Pansy Patch stamp and sets individually, but if you want to buy them both, save money by buying the bundle (item number 155674). This set is only available as a bundle until May 2022.
Use a circle punch or circle dies to create a thumb notch in the pocket. I used the ice cream cone builder punch because that is what I had.
If you are viewing this blog post/video after May 2022, the Pansy Designer Series Paper, Fine Art ribbon and Ice Cream Cone Builder punch will no longer be available or appear on the supply list. Choose another DSP and add your favorite ribbon to add to your cart!