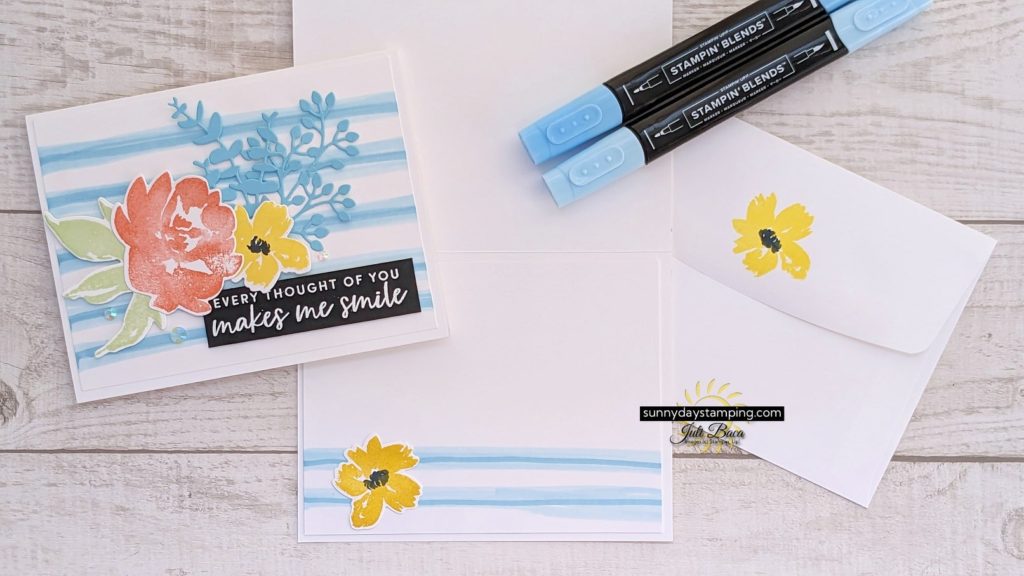
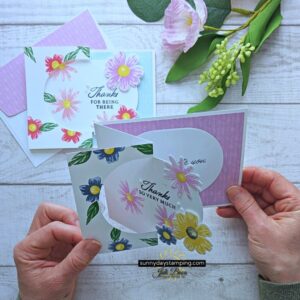
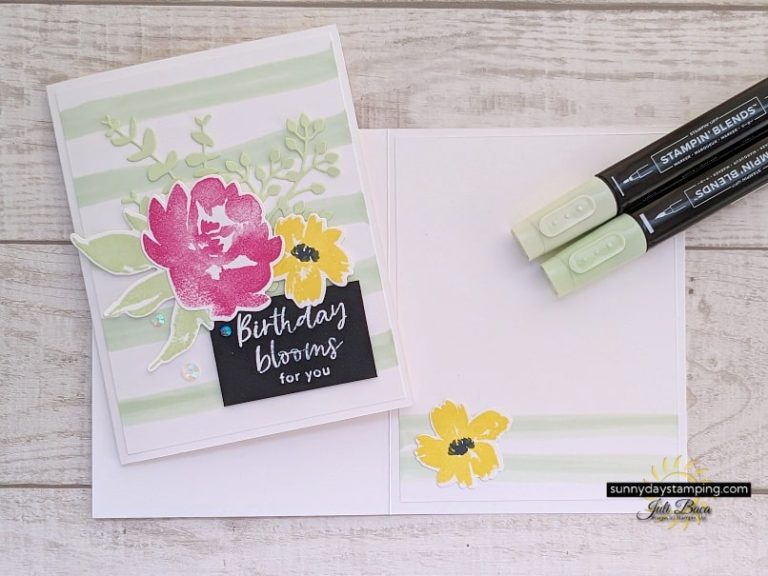
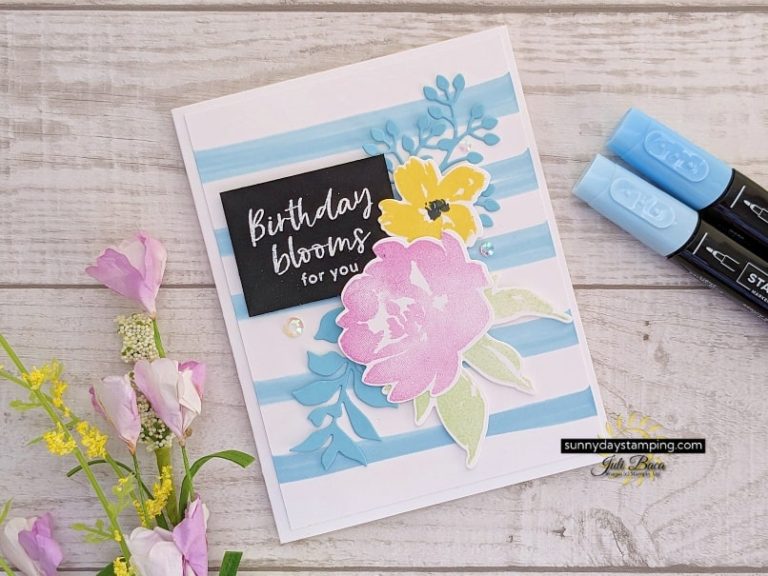
Classic stripes can really set off the focal point of your card, but what if you don’t have striped paper? I’ll show you how to make your own in a flash that perfectly coordinates with the rest of your card!
Measurements
Basic White
- Card Base (THICK): 8 1/2” x 5 1/2” (scored at 4 1/4” & folded)
- Layers: (2) 5 1/4″ x 4”
- Die Cuts: Scraps for stamped images
Balmy Blue
- Die Cuts: Scraps for leaves
Basic Black
- Greeting Layer: scrap (stamp and cut down to size)
Get FREE Project Sheets
Sign up for my email list to get a new project sheet FREE every week! Visit my tutorial store to purchase previous project sheets bundled by month they were released.
Easily Customizable
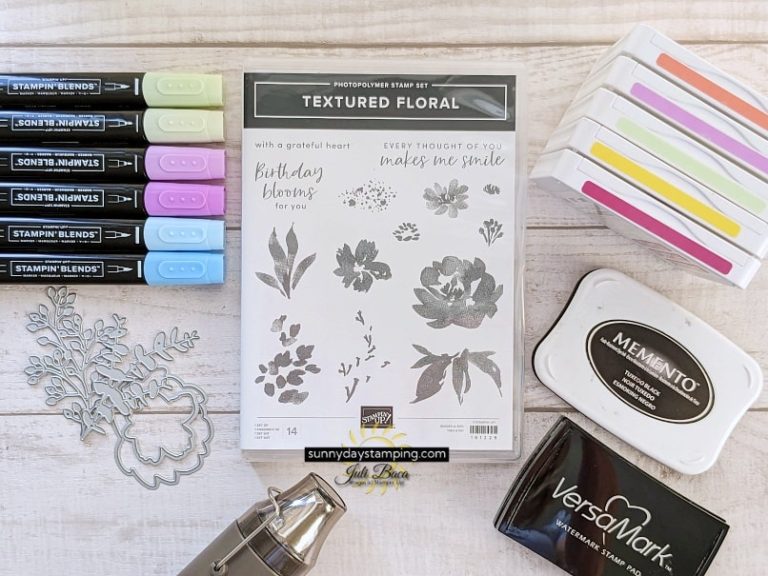
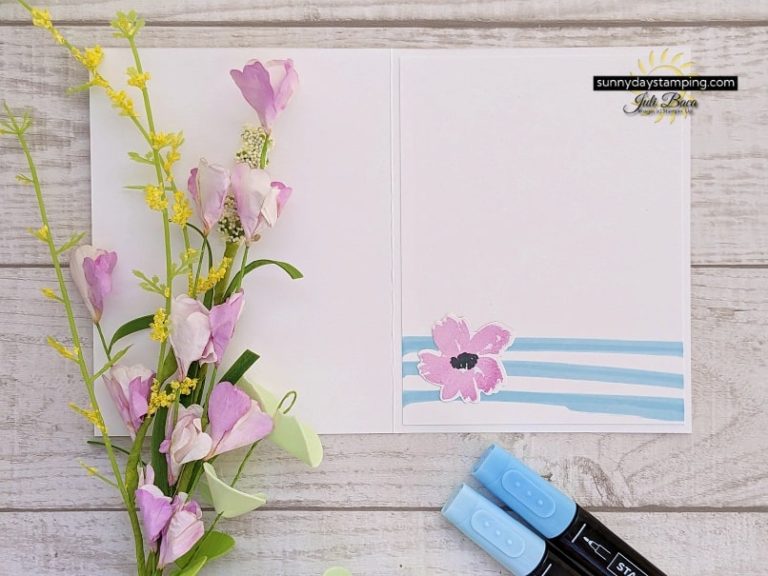
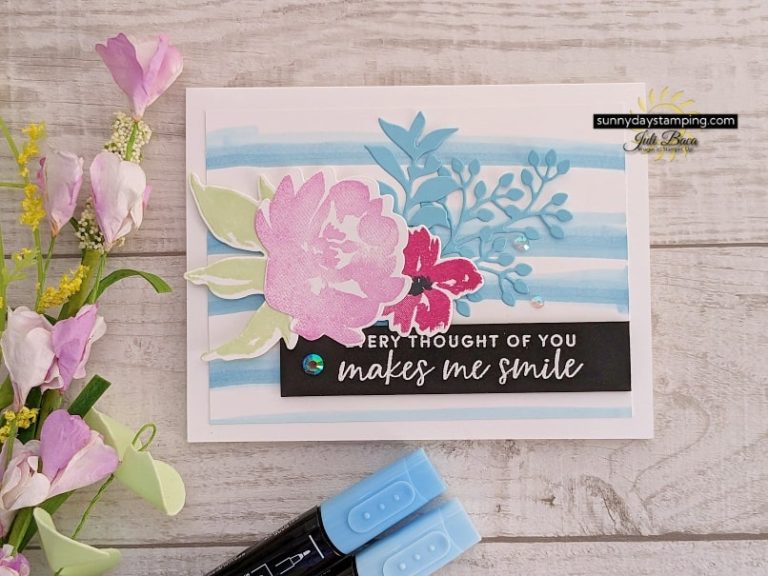
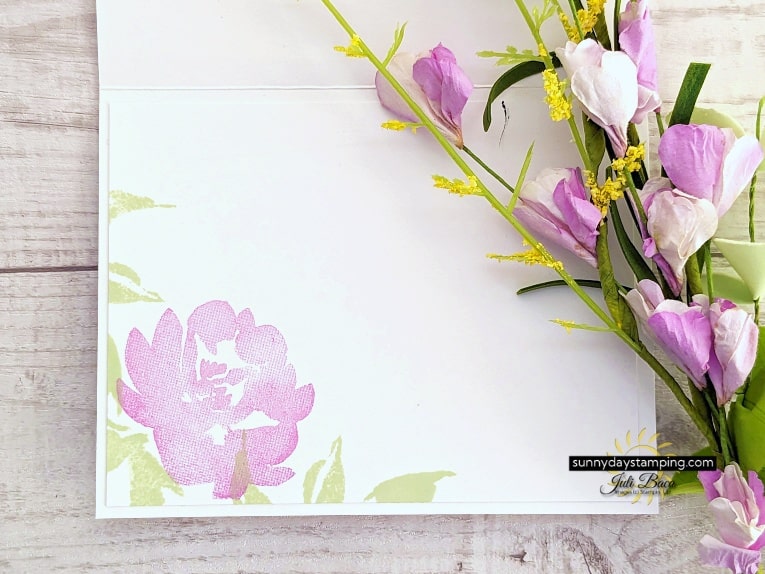
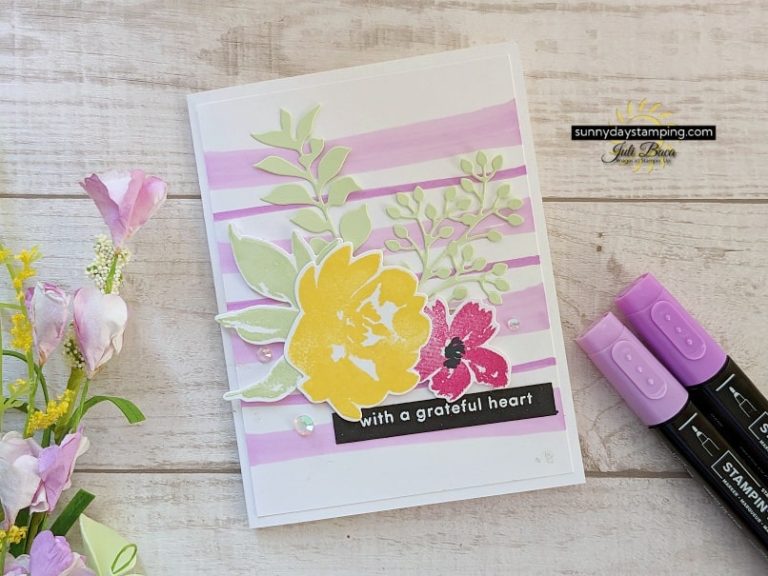
Choose a Stampin’ Blends marker that coordinates with the colors of your card to create a matching background.
-
Save
-
Save
-
Save
-
Save
-
Save
-
Save
-
Save
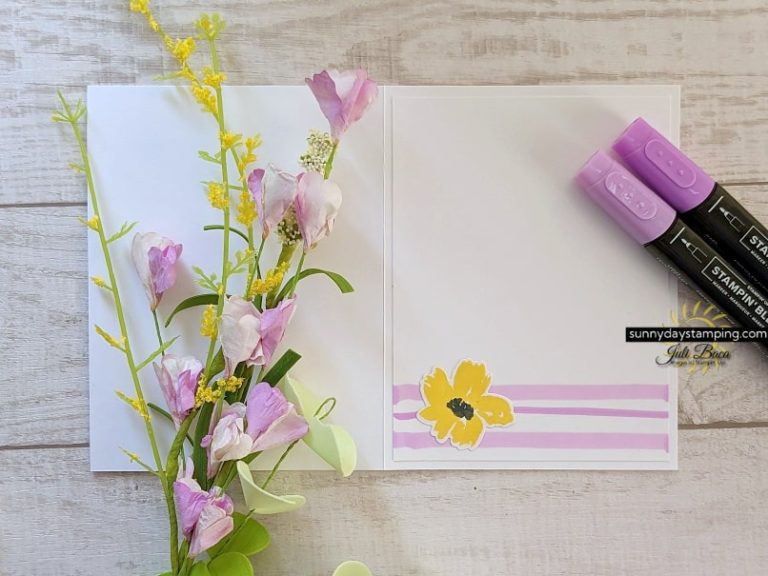
You can create thick stripes, two-tone stripes or a combination of thick & thin! You could even make them diagonal! Have fun with this and don’t stress about them being straight.
Nature's Prints Variation

-
Save
Use this background method for any stamp set! Here’s what it looks like to use the Nature’s Prints stamp and die set.
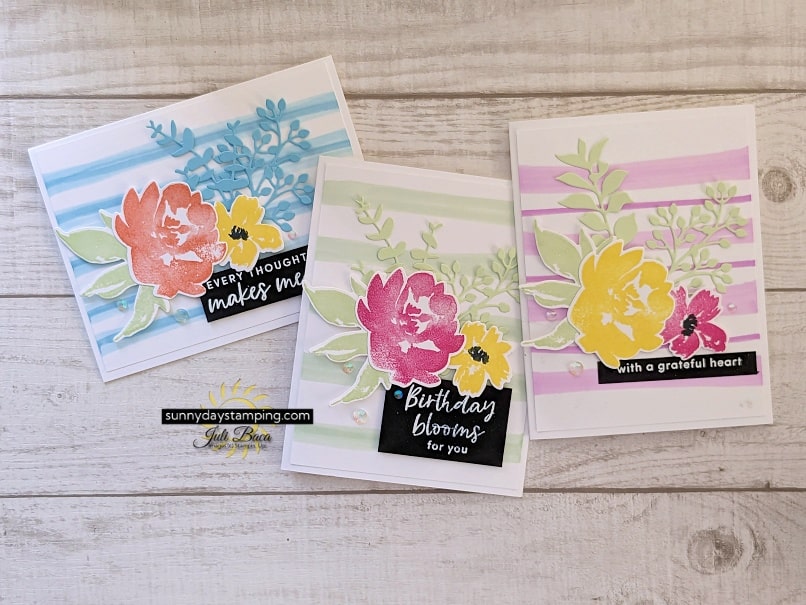
Color Combinations
-
Save
Left to Right:
- Balmy Blue stripes, Balmy Blue die cut foliage, Calypso Coral & Daffodil Delight flowers.
- Soft Seafoam stripes, Soft Seafoam die cut foliage, Berry Burst & Daffodil Delight flowers.
- Fresh Freesia stripes, Soft Seafoam die cut foliage, Daffodil Delight & Berry Burst flowers.
May Specials
I’m happy to help and would love to answer any of your questions. Please reach out to me through e-mail. If you would like to place a Stampin’ Up! order, I would be thrilled if you selected me to be your demonstrator.

