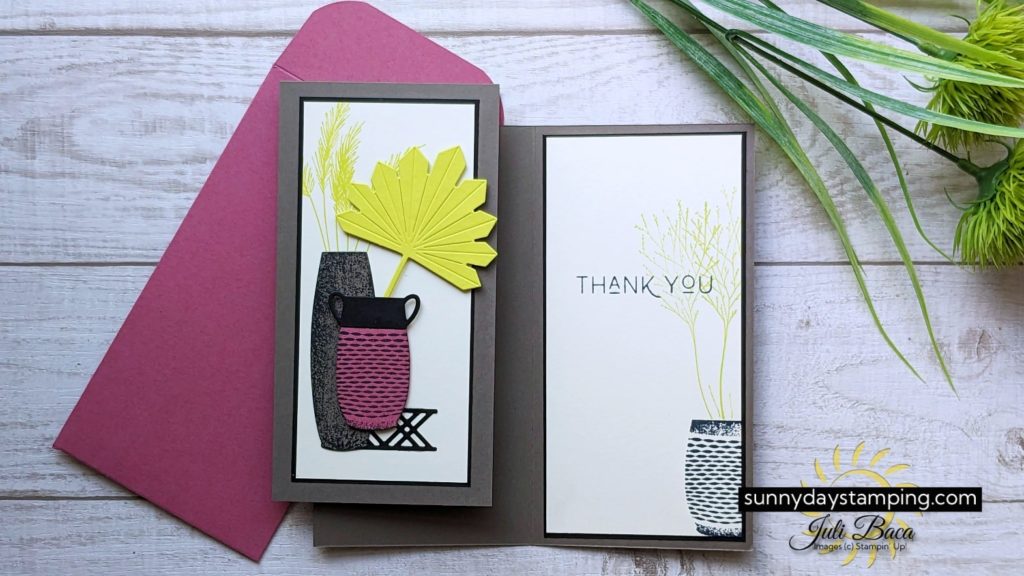
These mini slimline cards will catch anyone’s eye because of their unusual shape paired with these trendy colors! I’ll show you how to make them really stand out by making your own matching envelope. As always, I’ve got lots of tips to share to make these easy!
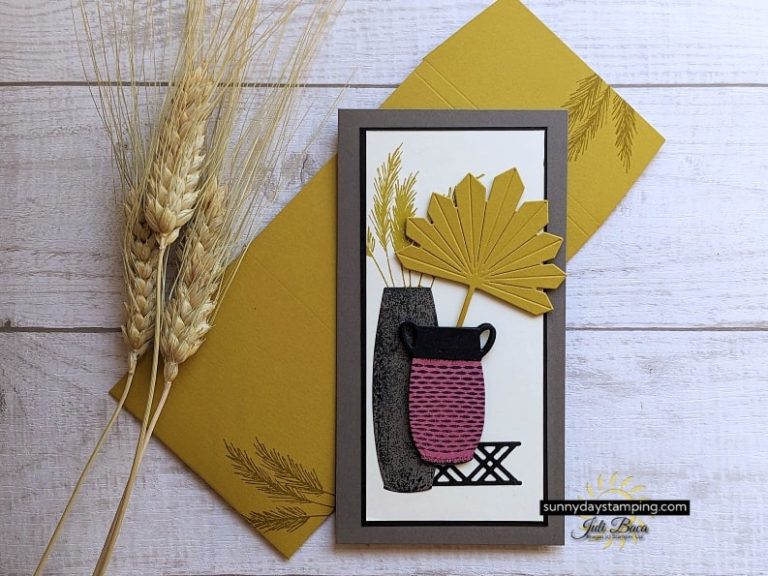
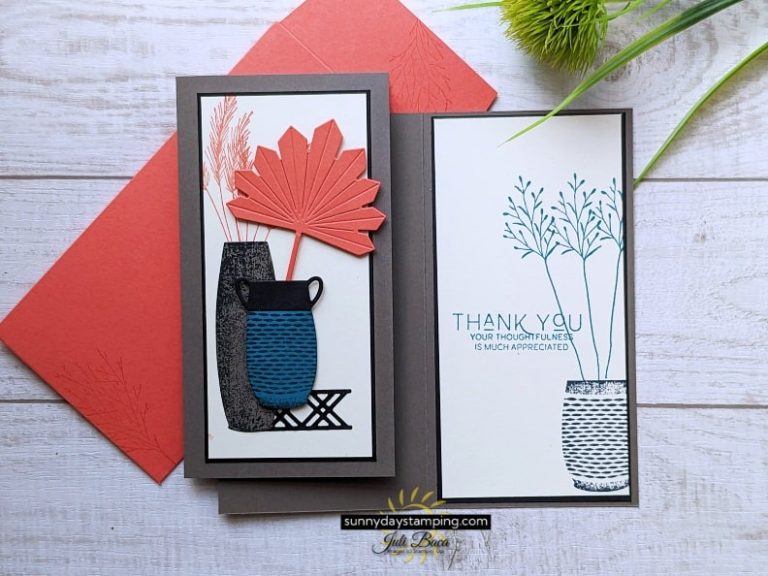
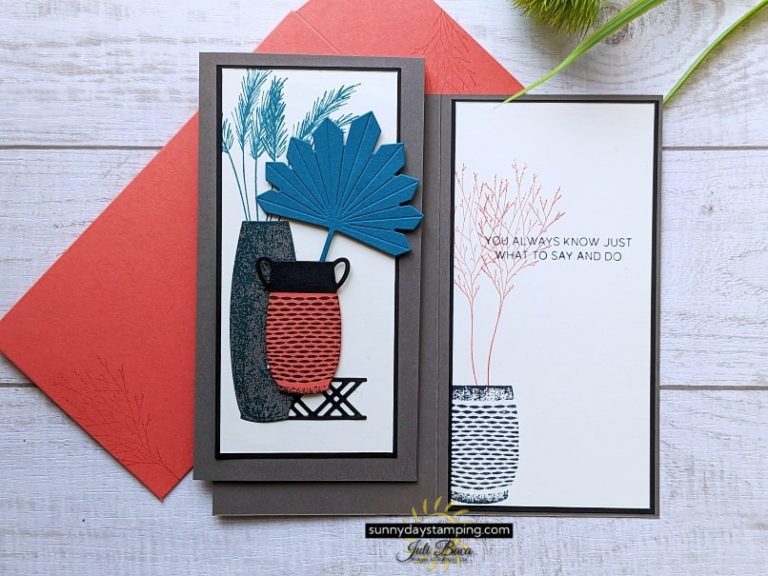
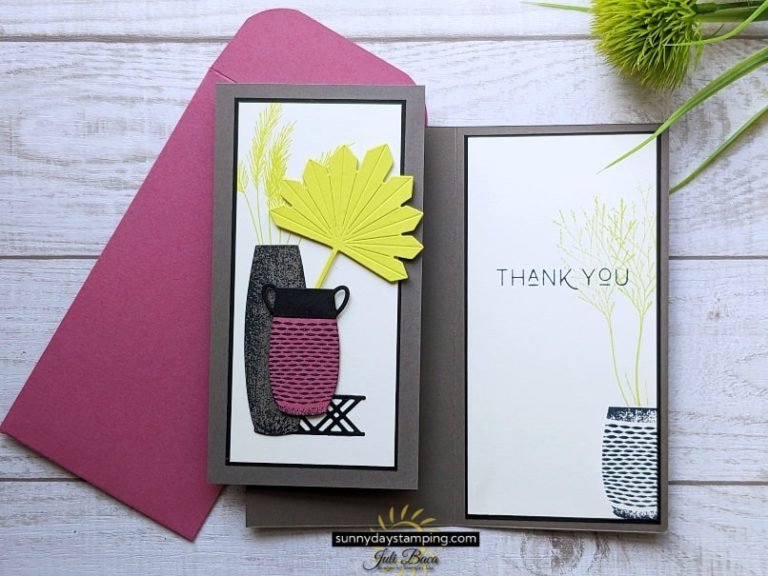
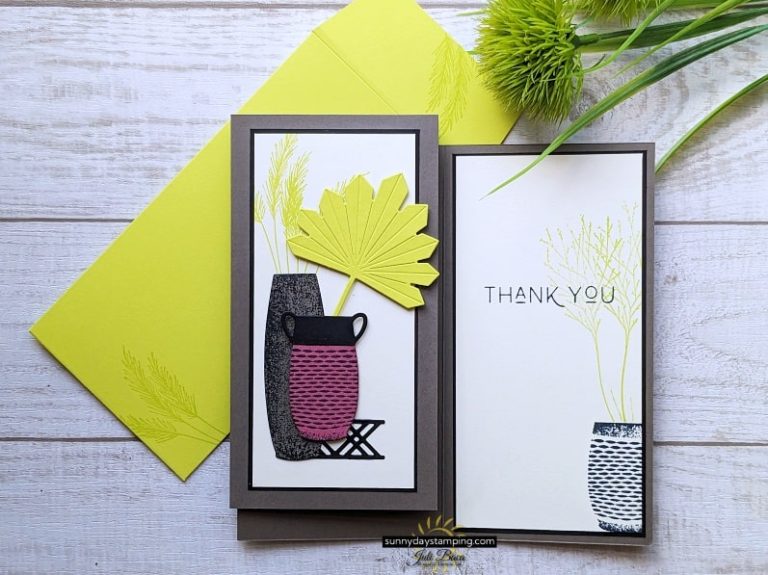
Use this same layout and just change up the colors! In all of these examples, I left everything the same, but changed out the color of the small pot, stamped leaves and cut out fern!
Save
Save
Save
Save
Save
Save
Save
Color Combinations
Save
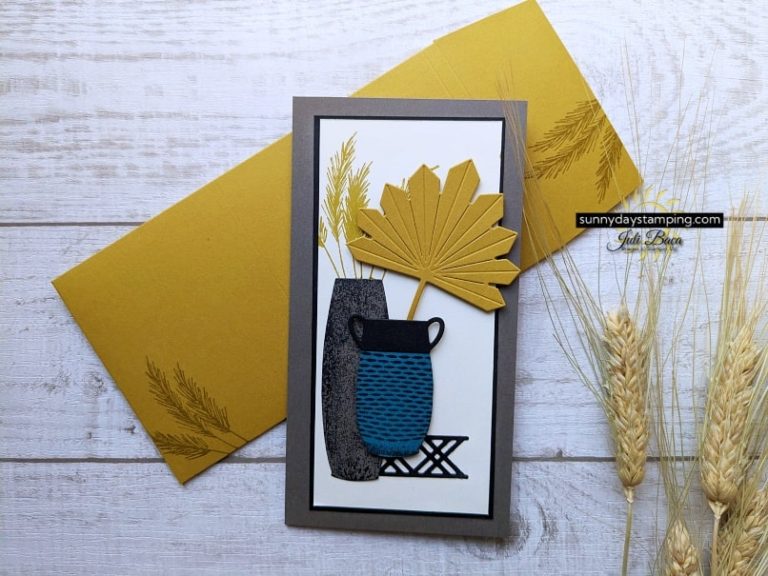
I used really trendy colors, but you can choose something more your style! The Pebbled Path card base will work as a great background for tons of colors! Layer black and Very Vanilla on top of that. I used the same color of cardstock for the fern as I did the stamped images. I used black to stamp the small pot and the inside pot and greeting.
Clockwise starting at bottom left:
Calypso Coral (die cut and stamped plants) & Pretty Peacock
Wild Wheat (die cut and stamped plants) & Pretty Peacock
Pretty Peacock (die cut and stamped plants) & Calypso Coral
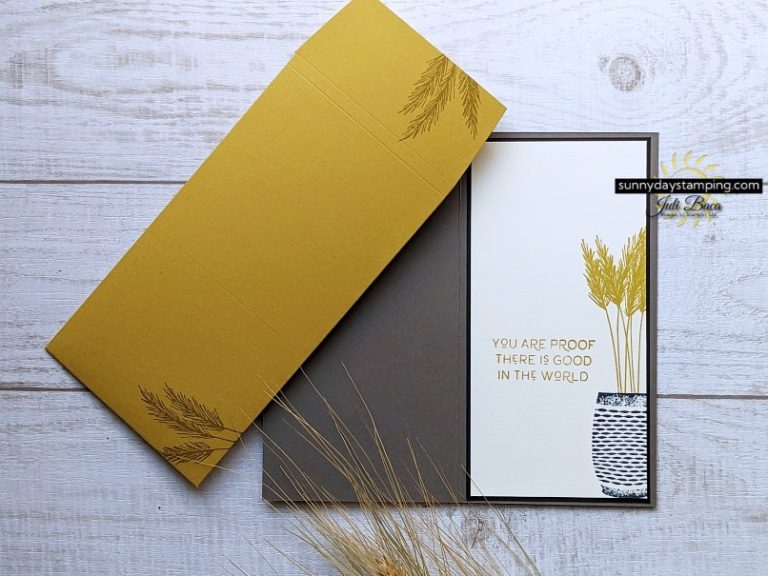
Envelope Options
Save
Two Envelope Options
The mini slimline card fits in a regular #6 envelope (6.5″L x 3.63″ W) or you can make your own!
Save
Making an mini slimline envelope is surprisingly easy and wow are they gorgeous!
Mini Slimline Envelope
Watch the video for all the details, but you can refer to the graphic below for help!
Cut and score as indicated in the measurements. Use paper trimmer to cut along lines as shown in photo to remove the corners (colored in the photo). Use Paper Snips to trim the top and bottom flap at an angle.
Save
Fold and burnish the sides of the envelope. Fold the wider flap in and put a really thin line of glue along the edge. Fold the other side in and press and hold in place. Glue the bottom flap. Add Tear ‘n Tape to the top flap so that it already has adhesive on it when you are ready to send it!
I’m happy to help and would love to answer any of your questions. Please reach out to me through e-mail. If you would like to place a Stampin’ Up! order, I would be thrilled if you selected me to be your demonstrator.