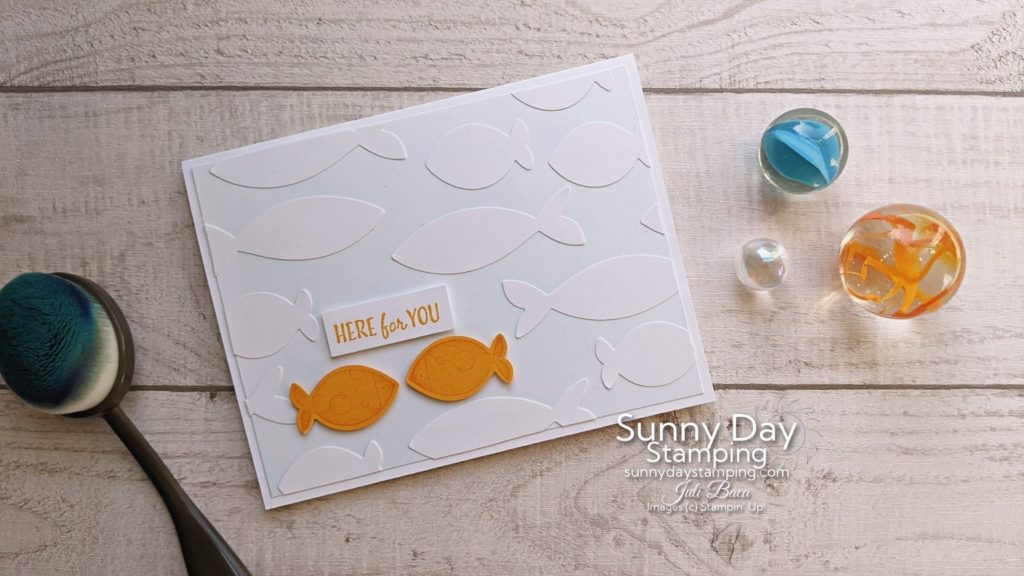
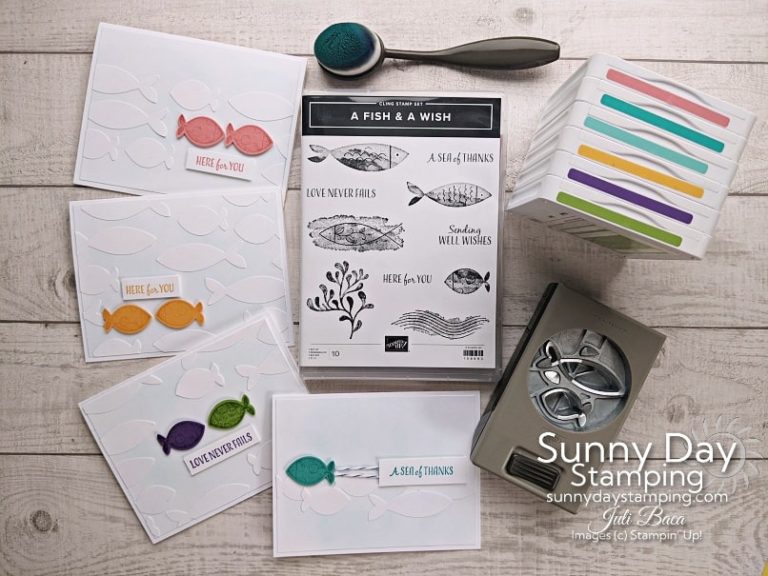
I’ll show you how to use a punch to create a similar effect as an embossing machine. I’ve got tips to share and lots of examples to give you inspiration in making your own cards!
Measurements & Supplies
Cutting and Scoring Measurements:
Card Base (Basic White THICK):
- 8 1/2” x 5 1/2” (scored at 4 1/4” and folded)
Background Layer (Basic White):
- 5 1/4″ x 4”
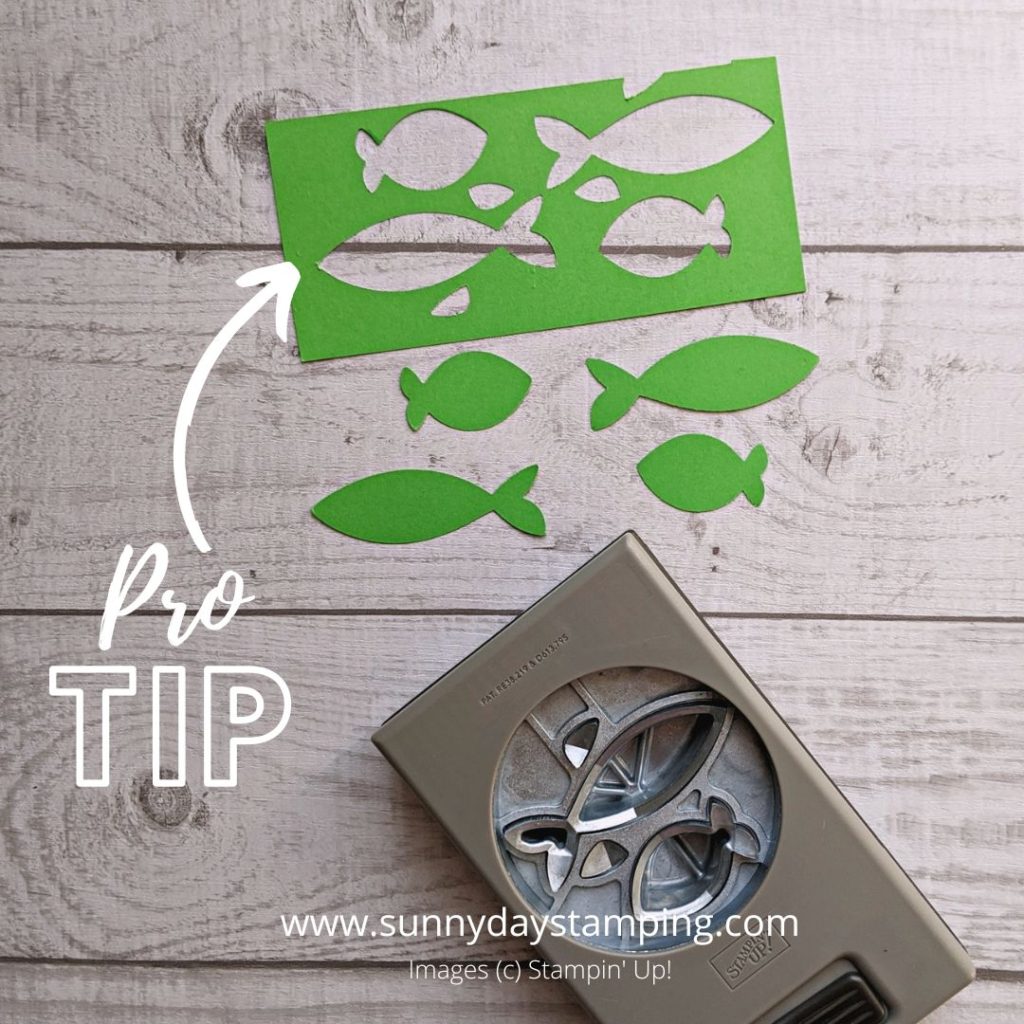
Punch and Sentiment Layer (Basic White):
- 2” strip for punching sets of fish
- Scrap for sentiment then trim
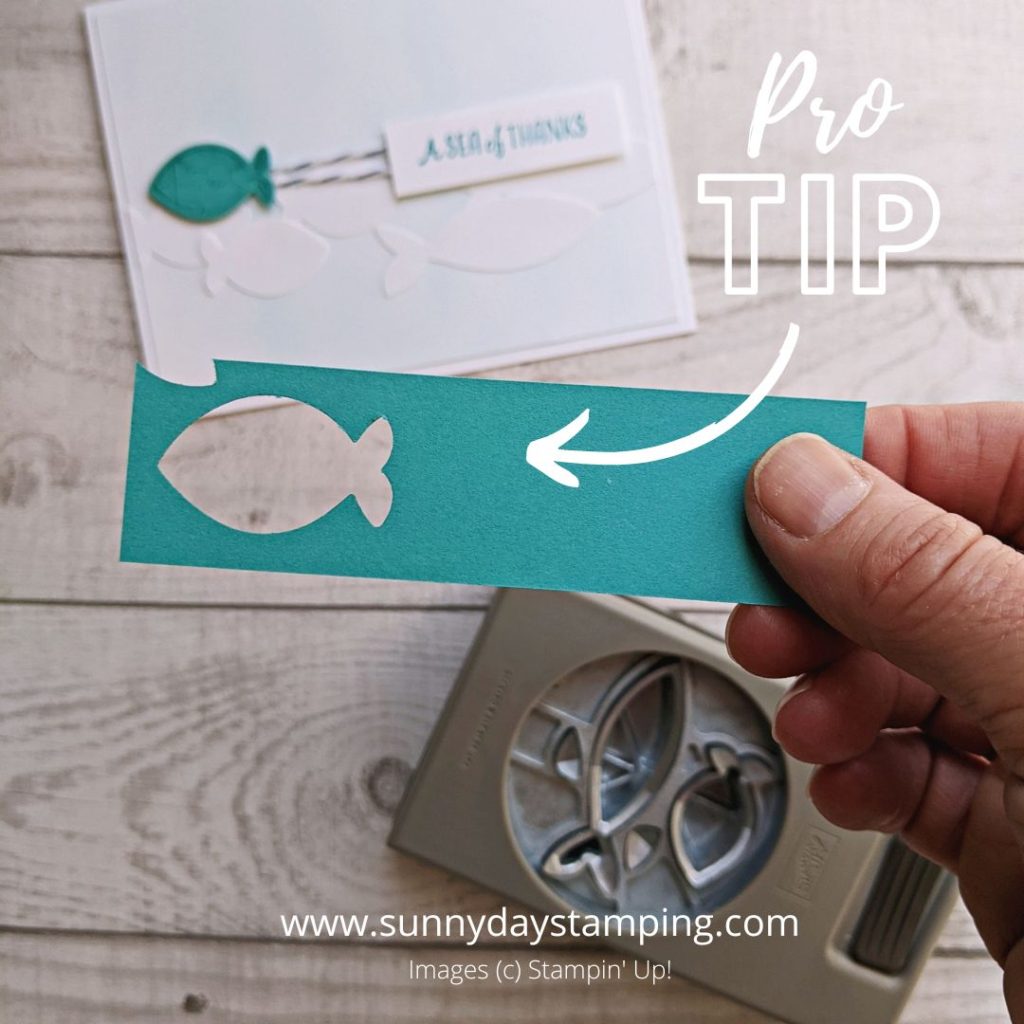
Punch accent fish (Bermuda Bay):
- 1” strip for punching single fish
*Note: In the supply list, I included everything I used. Choose your favorite colors and “uncheck” the others to remove them from your cart. Coastal Cabana was used to create that slight blue hue to the background.
Save 10% by ordering the stamp and die/punch bundle! Click below to see if it is still available at the bundle price.
A Fish & A Wish Bundle (need blocks b,c,d) |
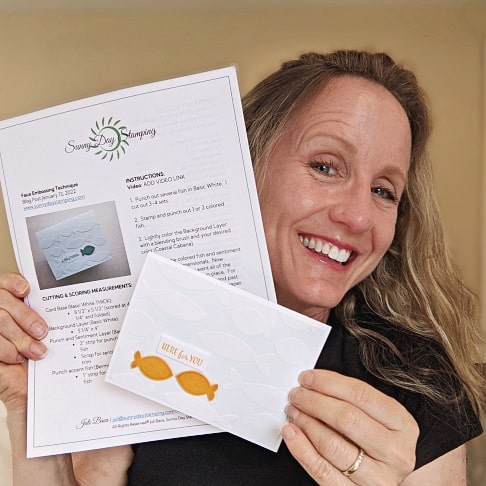
Get the FREE Print & Make Project Sheet
-
Save
Easily Customizable
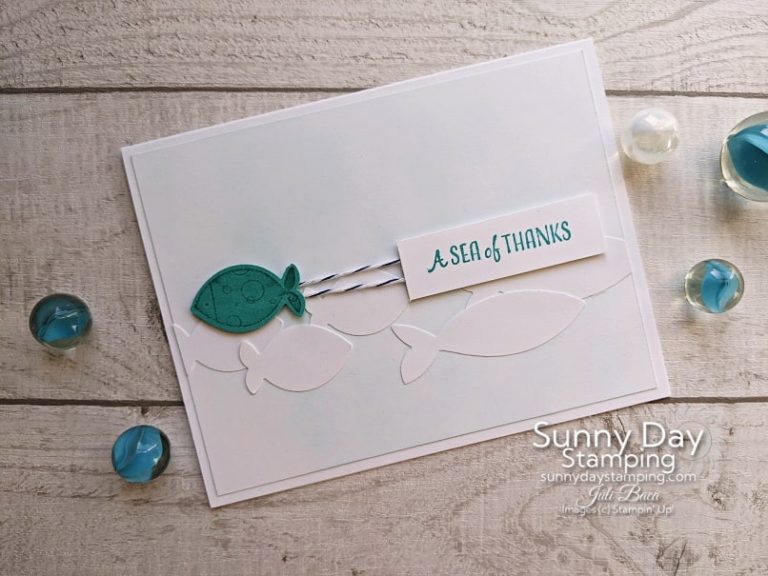
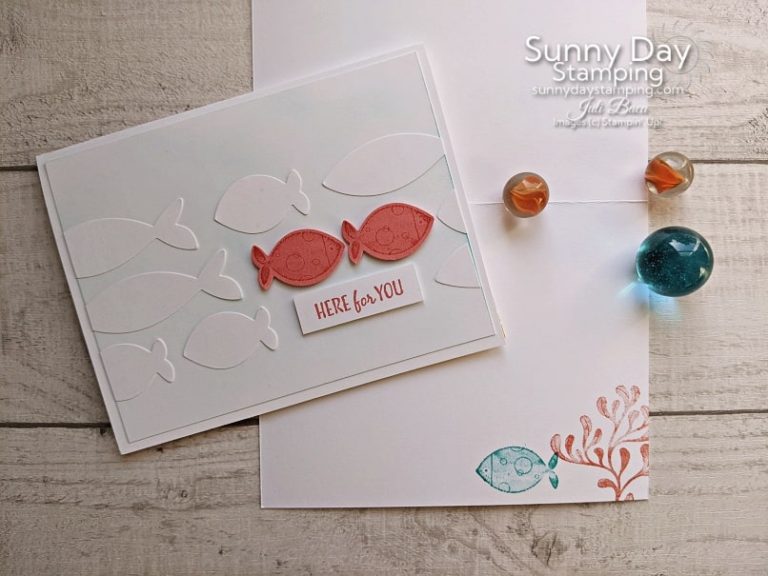
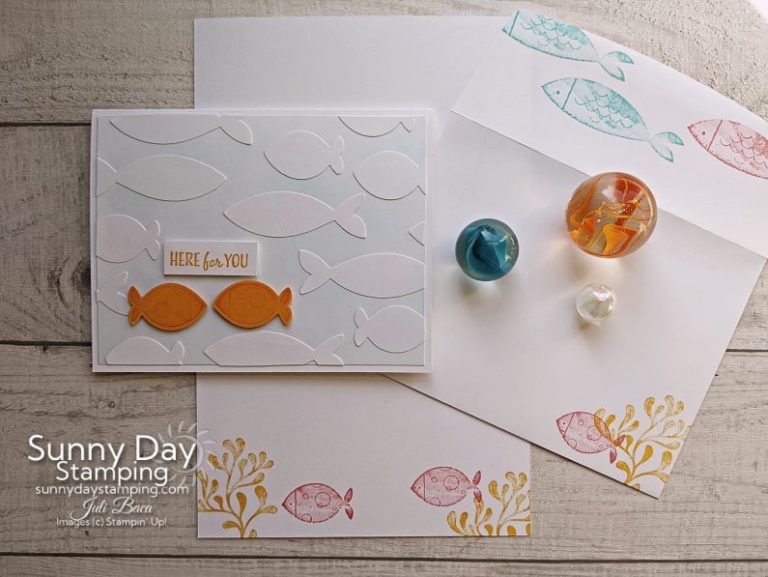
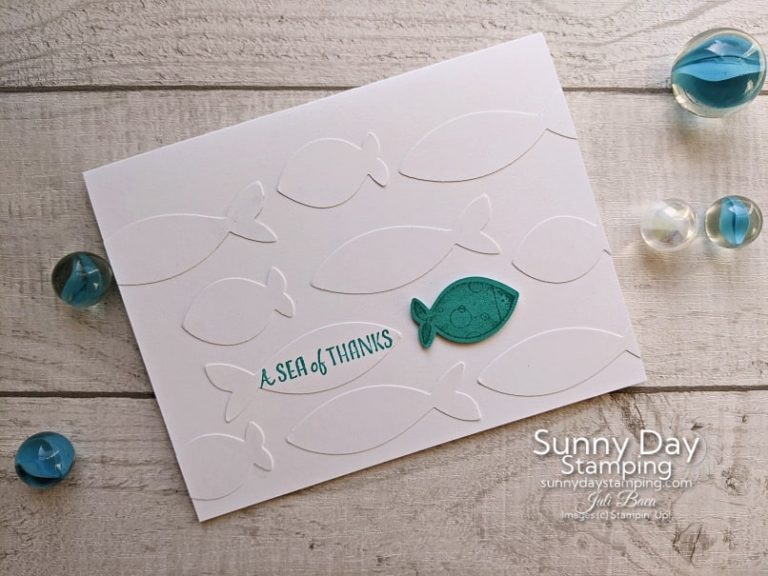
Use your favorite color/s as the accent color on the fish! Change the location and direction the white fish are swimming to change the look and message of the card.
-
Save
-
Save
-
Save
-
Save
-
Save
-
Save
-
Save
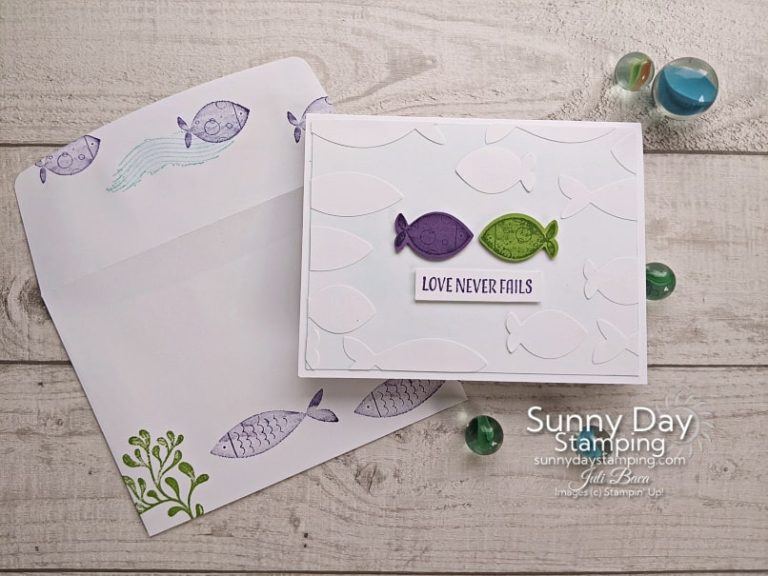
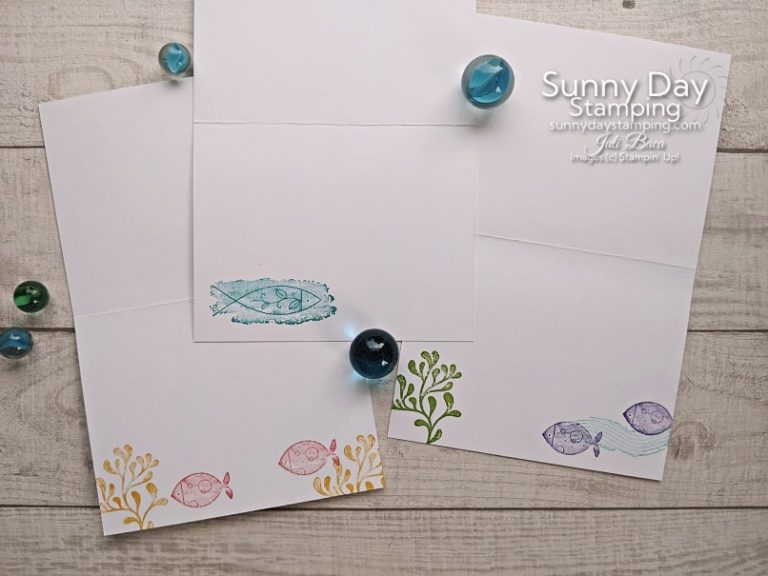
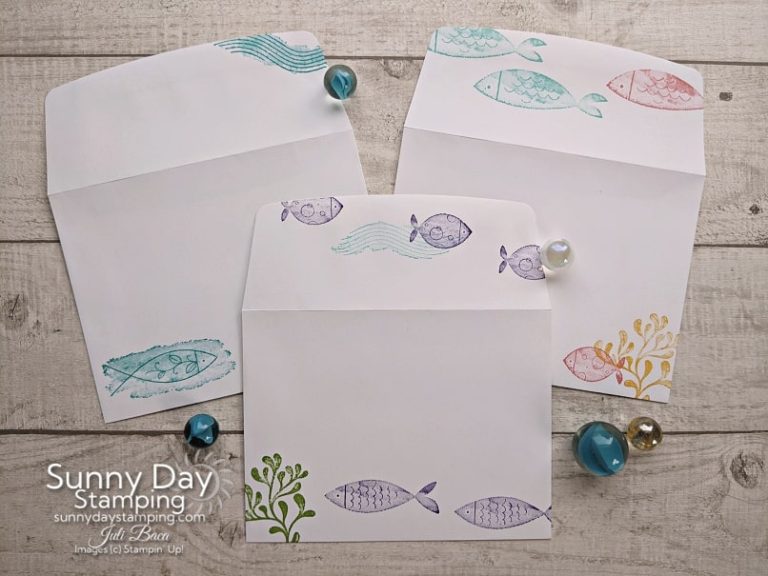
I used tone-on-tone stamping for the fish….so I used the same color ink to stamp on the same color cardstock. Colors used are Bermuda Bay (blue fish), Flirty Flamingo (pink fish), Mango Melody (orange fish), and Gorgeous Grape & Granny Apple Green for the two color fish card.
Paper Saving Tips
I’m a thrifty crafter, so I’m always trying to figure out the most efficient use of my paper.
-
Save
-
Save
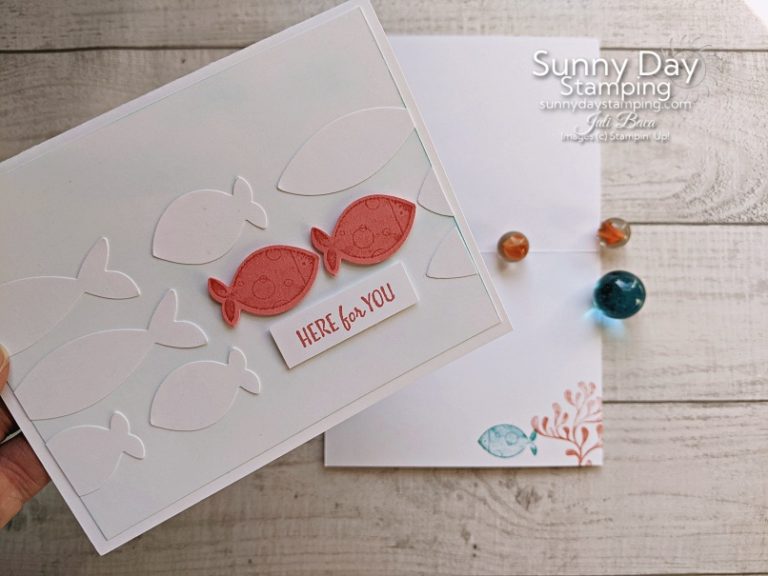
Adding Interest
-
Save
Create a slight hue to the background by adding color with a blending brush. Pop up the focal point images and sentiment with Stampin’ Dimensionals.
Important Stuff
- Shop Stampin’ Up! Products – SHOP NOW
- Check out CURRENT SPECIALS – CLICK HERE
- Request a Stampin’ Up! Catalog – CLICK HERE
- Have a big WISH LIST? Get the Starter Kit! – CLICK FOR DETAILS
- Juli’s Shopper Rewards – CLICK HERE
- Free Print & Make Project Sheets – SIGN UP FOR EMAIL

