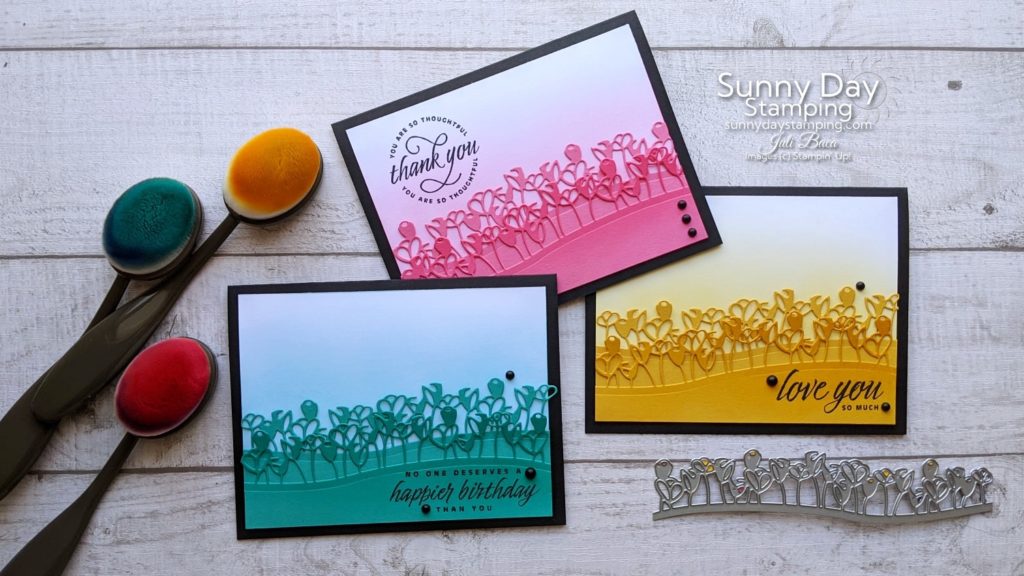
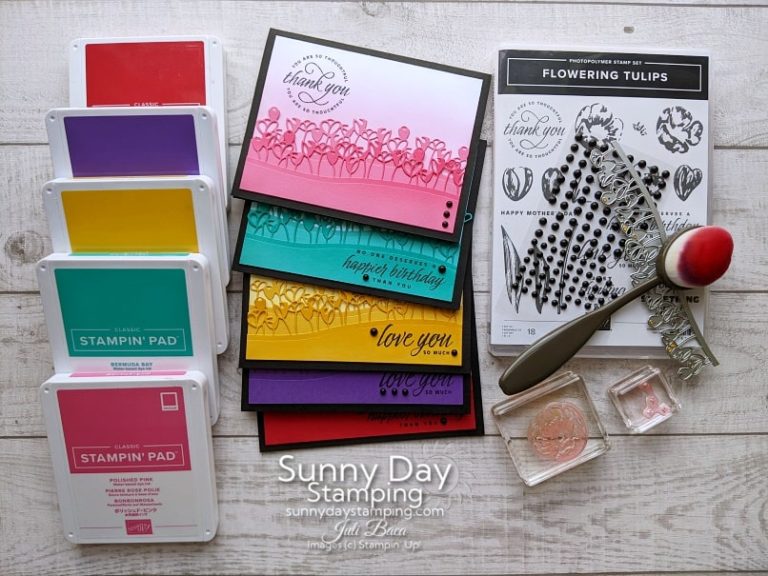
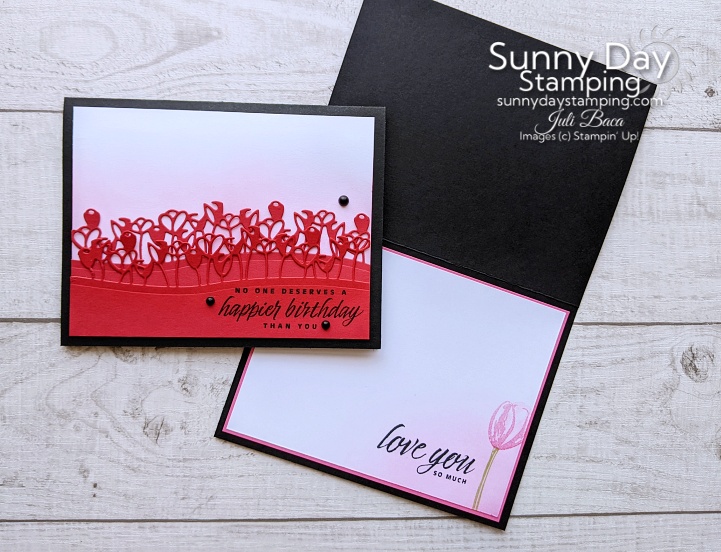
Want to know how to get that cool layered ombre effect? Watch the video for lots of helpful tips!
Measurements & Supplies
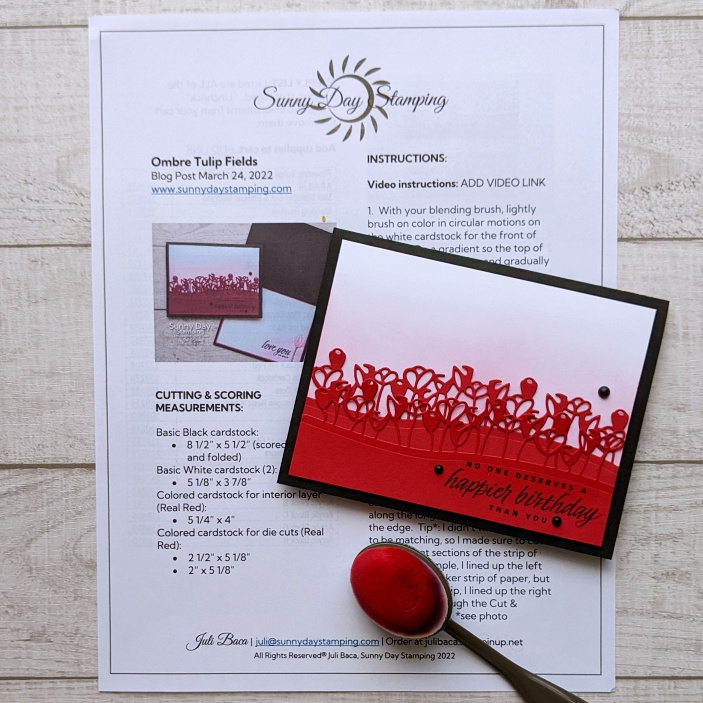
Cutting and Scoring Measurements:
Basic Black cardstock:
- 8 1/2” x 5 1/2” (scored at 4 1/4” and folded)
Basic White cardstock (2):
- 5 1/8” x 3 7/8”
Colored cardstock for interior layer (Real Red):
- 5 1/4” x 4”
Colored cardstock for die cuts (Real Red):
- 2 1/2″ x 5 1/8″
- 2” x 5 1/8″
click the button to see the supplies for all of the cards. choose your favorite colors of ink/cardstock and "uncheck" the rest to remove them from your cart.
Get the FREE Print & Make Project Sheet
-
Save
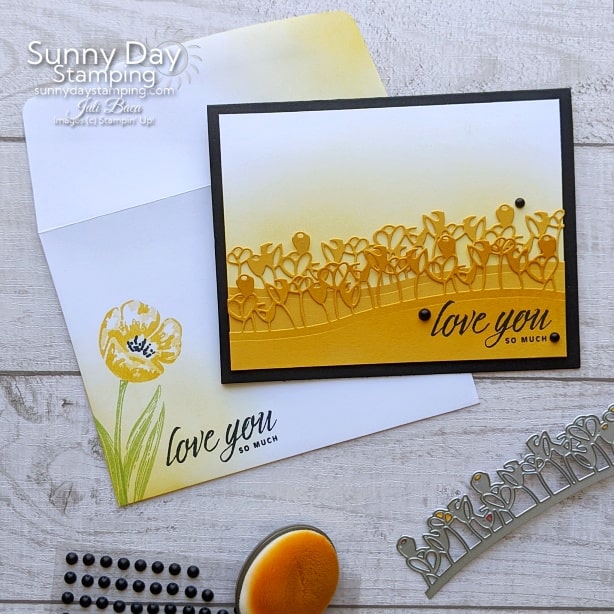
Easily Customizable
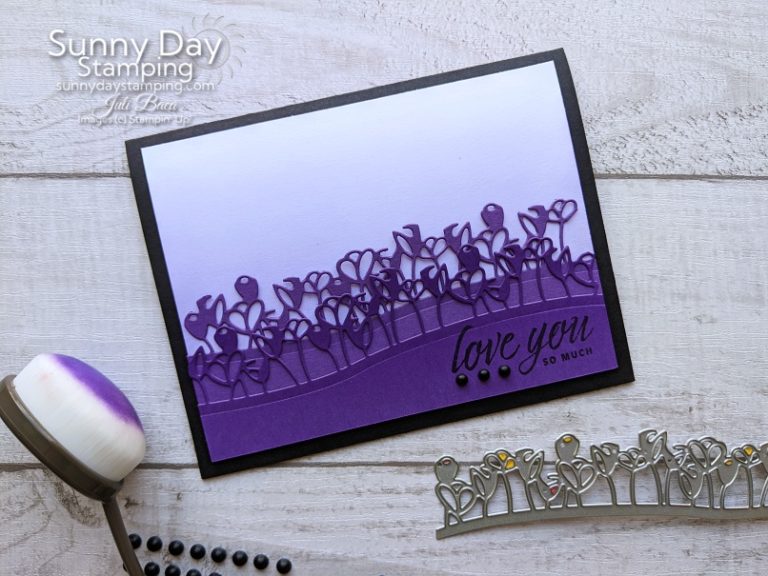
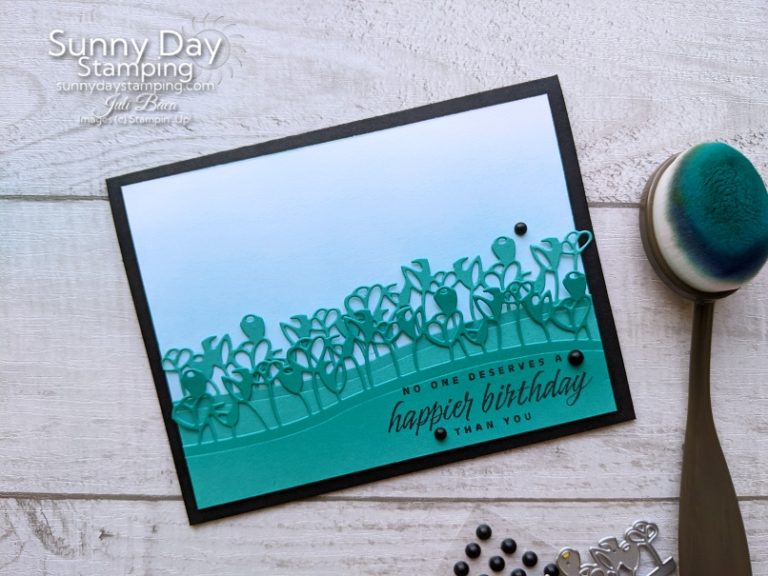
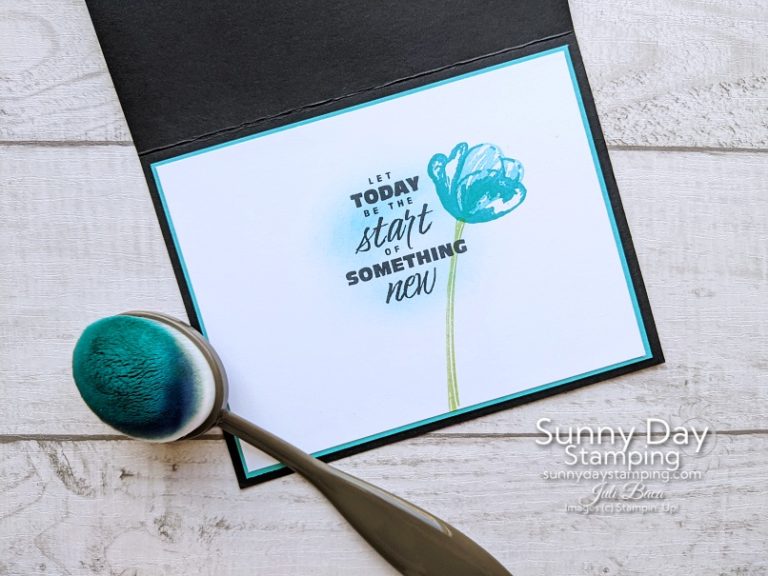
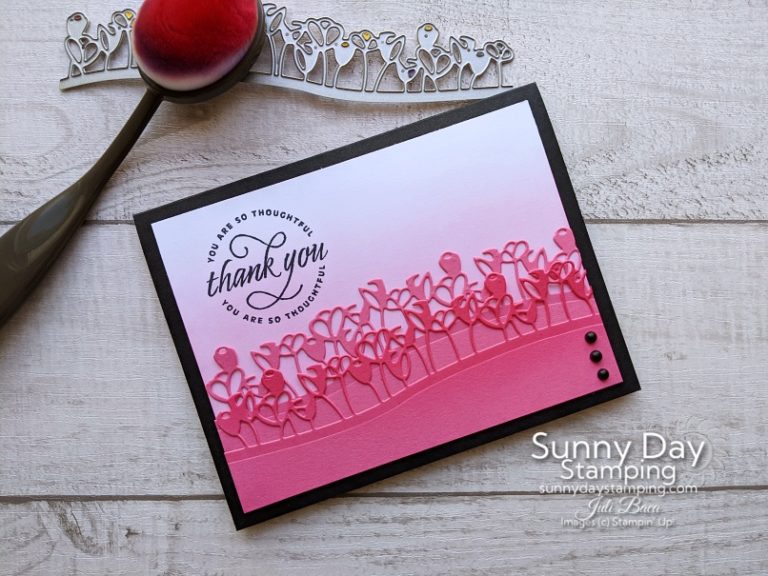
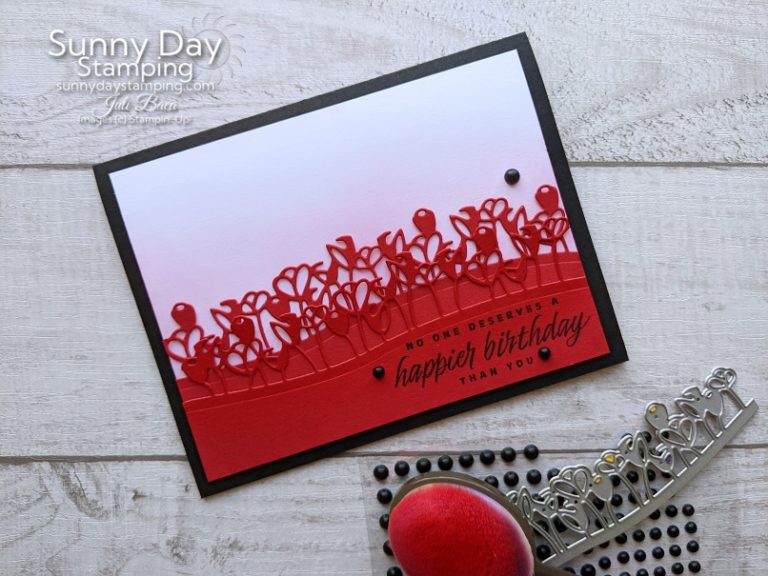
When designing your cards, start by choosing your favorite color of ink & paper!
-
Save
-
Save
-
Save
-
Save
-
Save
-
Save
-
Save
-
Save
-
Save
-
Save
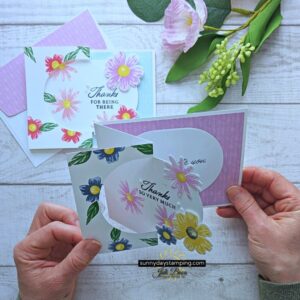
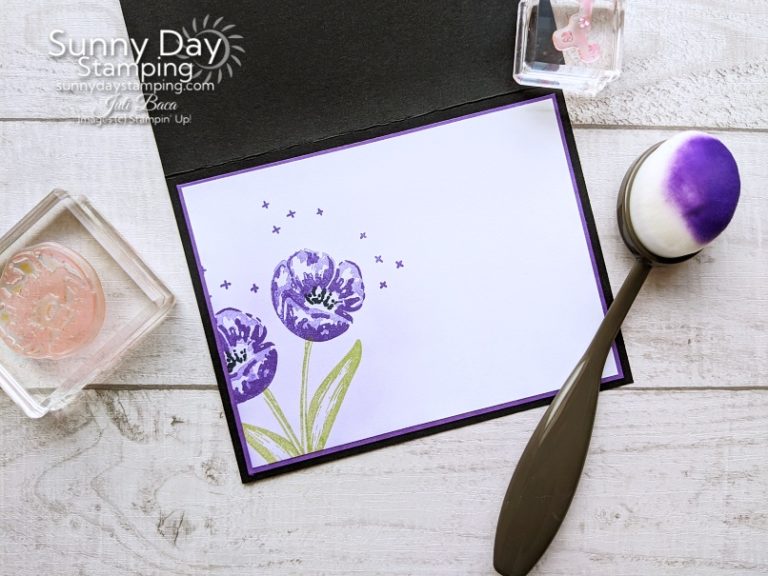
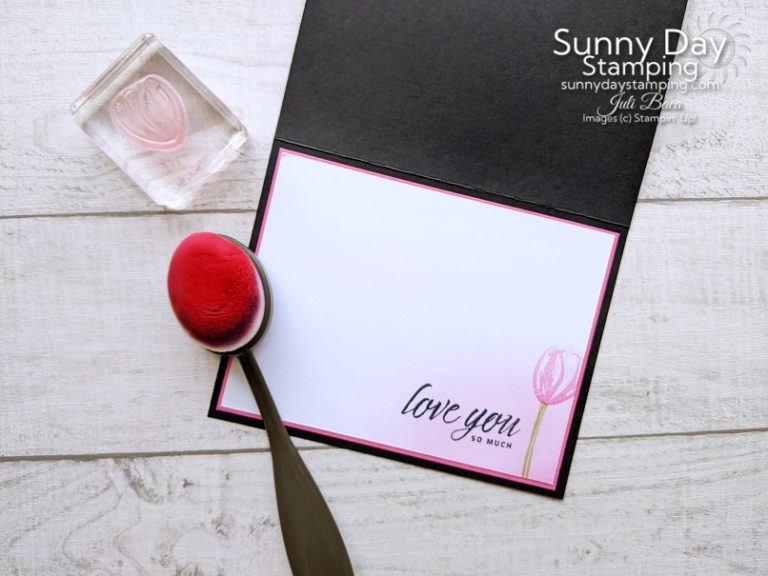
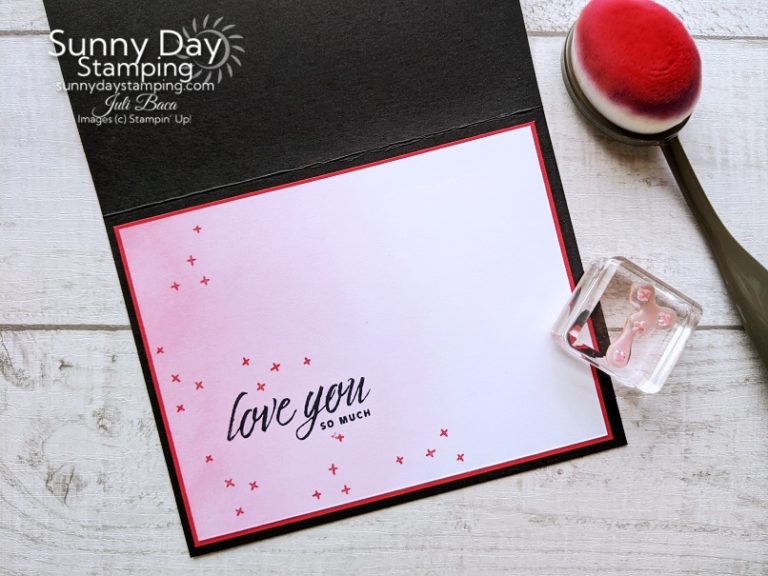
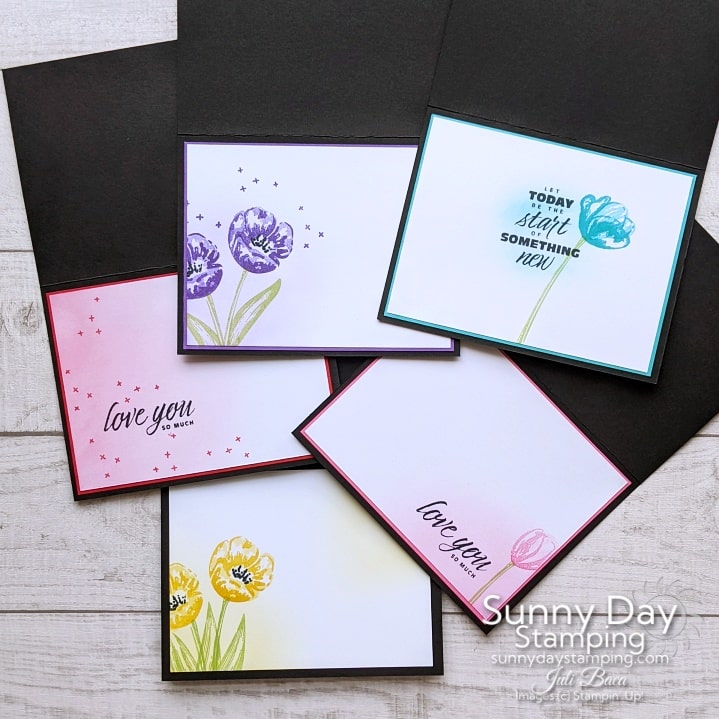
Decorate the Insides
-
Save
Buy the Flowering Tulips stamp and die bundle to save 10%! Use them to decorate the inside and outside of your cards!

-
Save
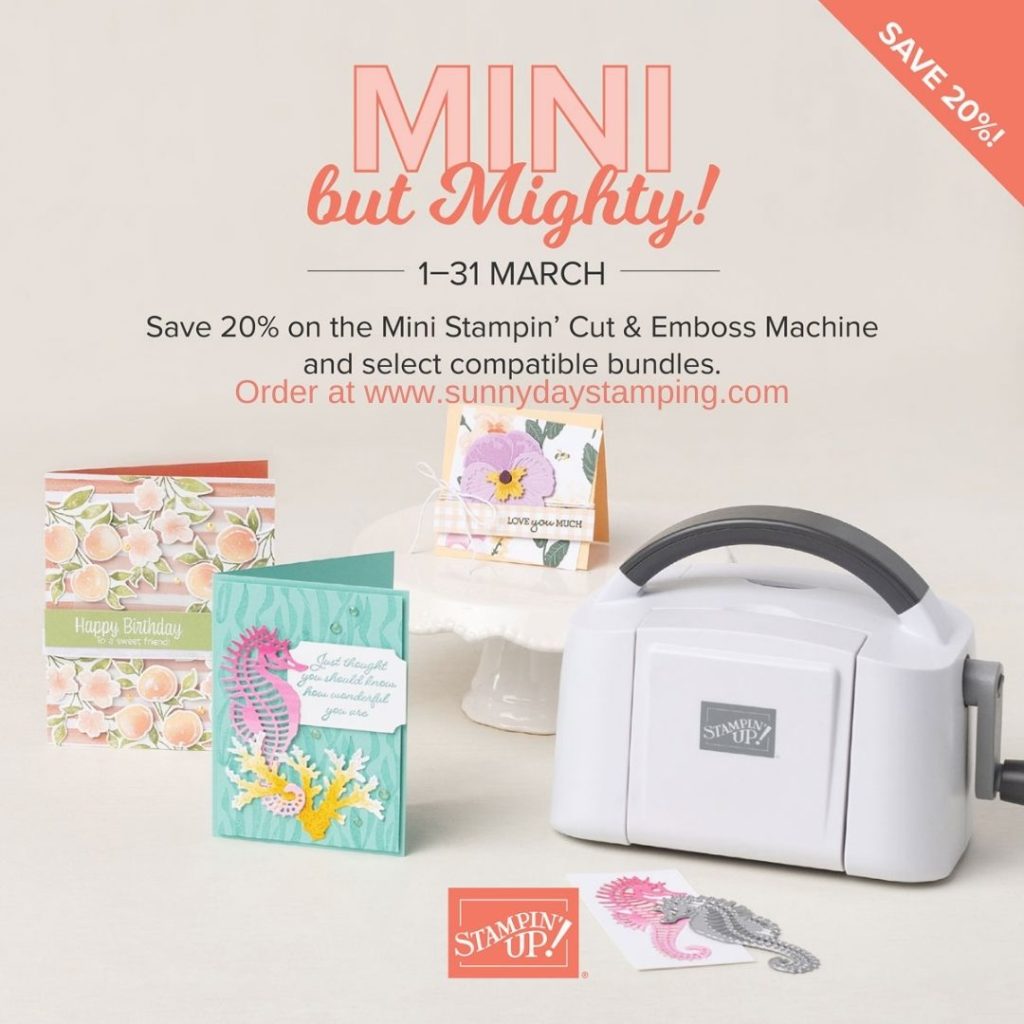
The Tulip die set that I used in these cards fit in the MINI Cut & Emboss machine! There is a great sale going on in March 2022 where you can get this machine for just $48!
Email me with any questions or if you are trying to decide which machine is best for you (the MINI or the standard size).

