Tired of dealing with a tangled mess of ribbons taking over your desk or drawers? Say goodbye to the chaos with my quick, easy, and budget-friendly DIY ribbon organizer! In this video, I’ll guide you through creating an efficient way to tame your ribbons using just cardstock, glue, scissors, and hole punches. Watch now and transform your space into a ribbon oasis!
Thank you to Brenda Quintana and Jackie VanderSar for this idea!
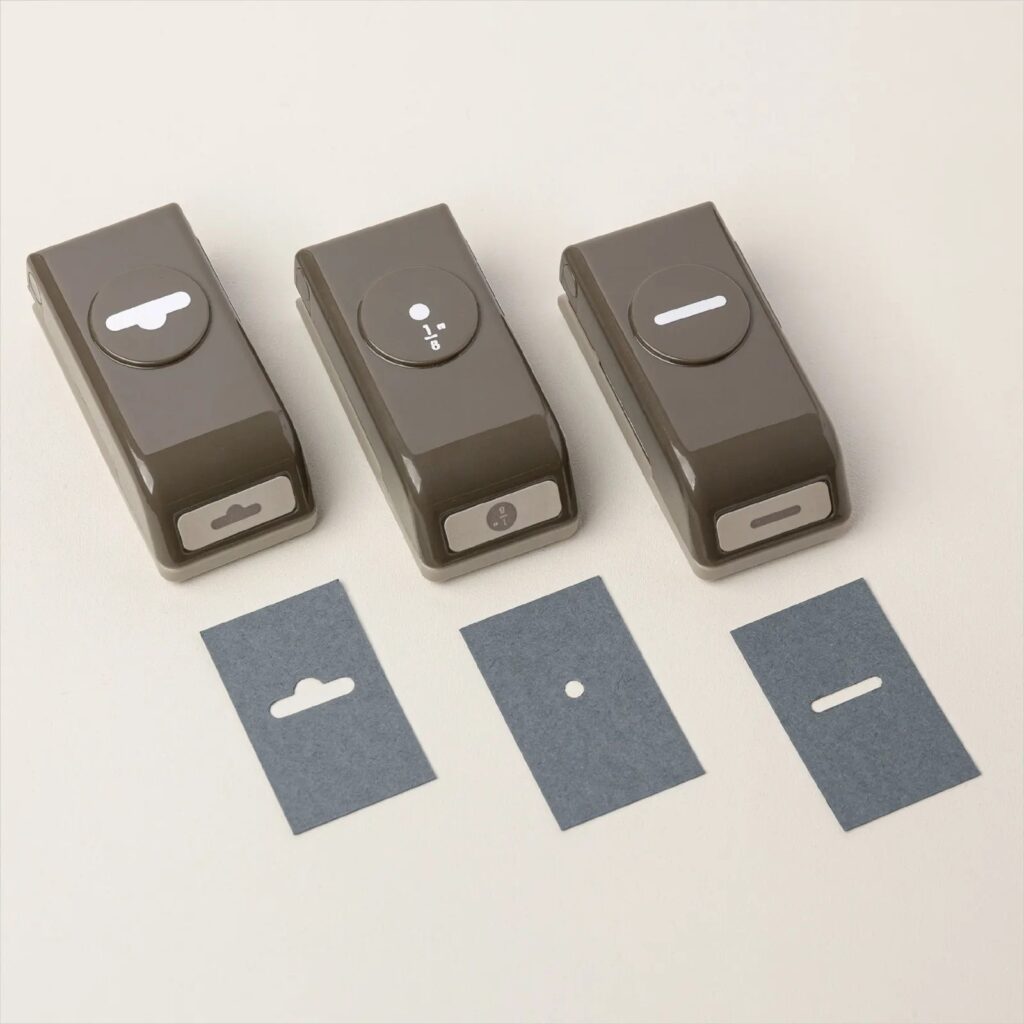
CLICK HERE for the Hole Punch Assortment. It has been crazy popular and has been out of stock. Click here then add your email address to get notified when it is back in stock!
Get FREE Project Sheets
Sign up for my email list to get a new project sheet FREE every week! Visit my tutorial store to purchase previous project sheets bundled by month they were released.
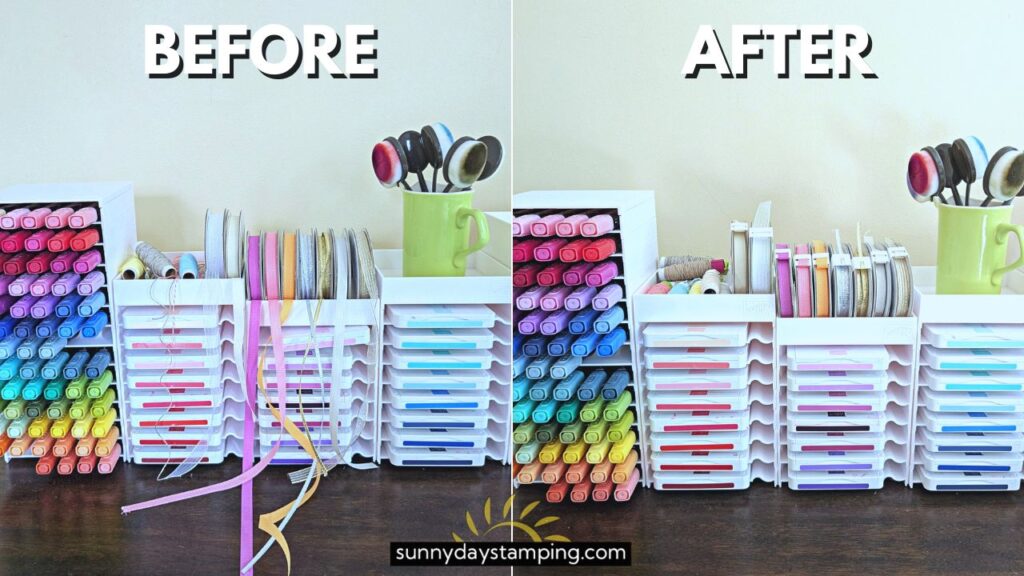
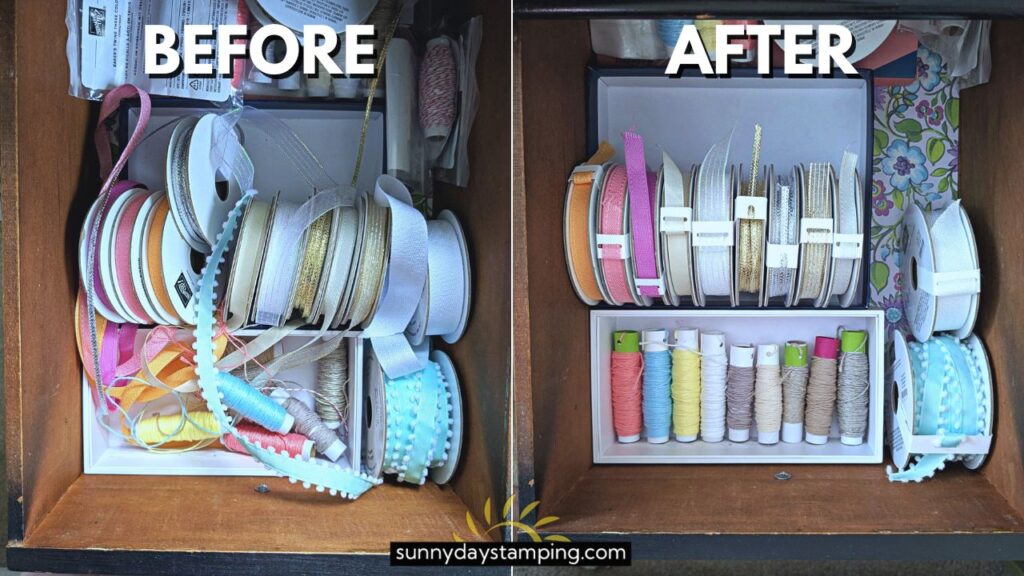
My desk and drawers were an absolute mess before I tamed my ribbons. I don’t know about you, but my creativity is stifled when my area is messy. Tidying up was so quick and easy to do, so I can get back to crafting! Watch the video for the step-by-step instructions!
Save
Save
Ribbon Organizing Technique
Save
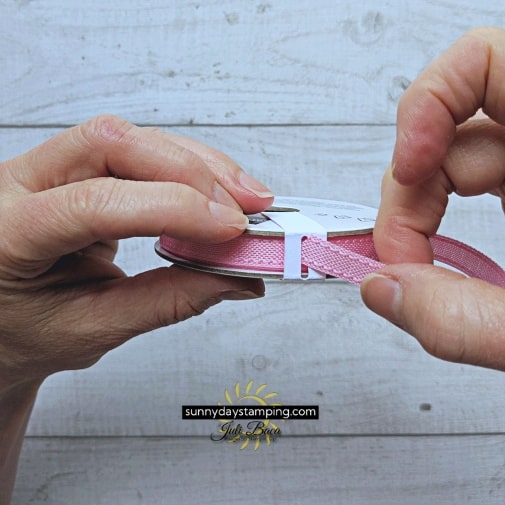
Wrap: Thread cardstock through center of spoon so that 1” is showing on the other side. Wrap cardstock around so it is creased around the spool.
Trim: While holding cardstock, trim off excess with Paper Snips.
Save
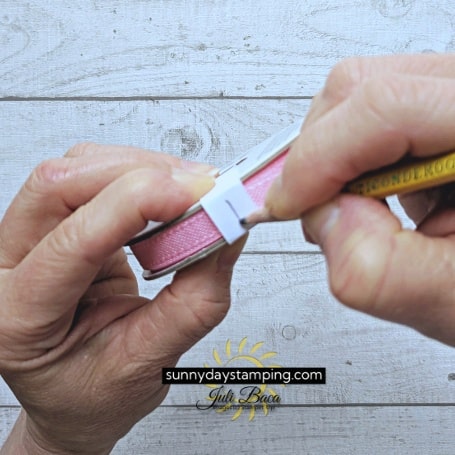
Mark: While holding, mark where to punch. Make the mark a little wider than the ribbon.
Save
Punch: Remove cardstock and punch. If ribbon is wide, punch multiple times to get the correct width and depth to allow the ribbon to pass through without creasing it.
Fold: Reinforce all the fold lines.
Save
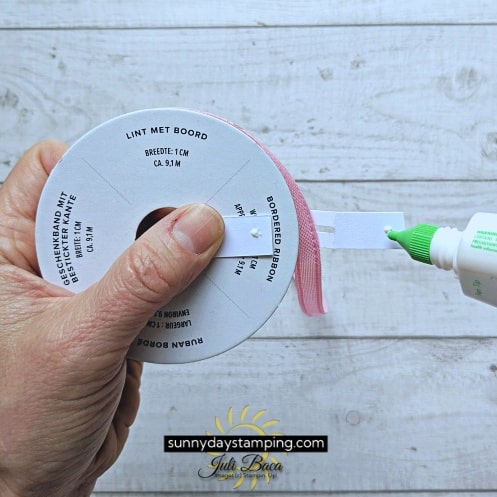
Glue: Glue the inside of one end and the outside of the other end. Press into place, squaring up the edges. Hold until secure.
Save
Thread: Thread the ribbon through the whole (ribbon should be under the cardstock and then wrapped around to the front and through the hole).
Thread Organizing Technique
Save
Mark: Mark the center of the ½” x 2 ¼” strip.
Punch: Use a hole punch to punch out the mark.
Save
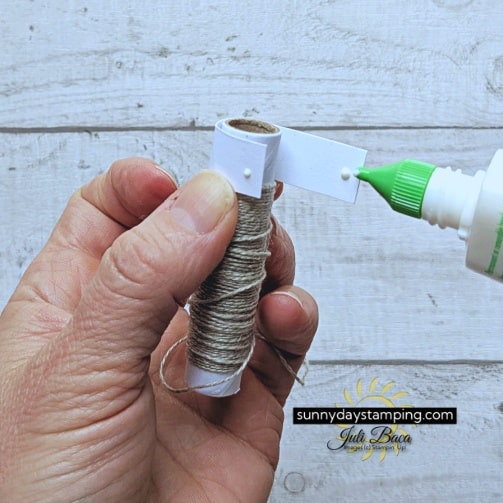
Glue: Wrap cardstock around spool (not thread) and glue in place.
Hold: Hold with fingers until securely adhered.
Save
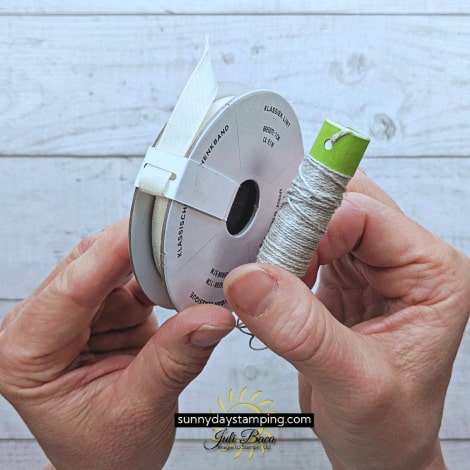
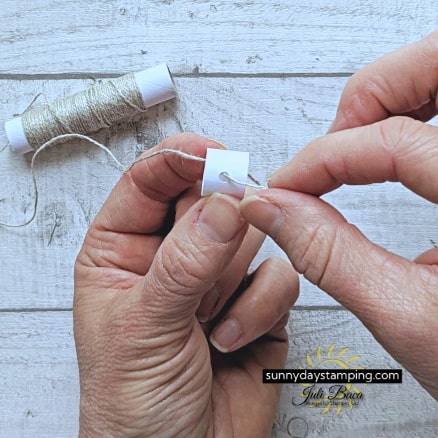
Thread It: Put thread through the cardstock then back through the hole.
Cap It & Twist: Slide the cap back on the end of the spool and then twist. The excess thread will wind back on the spool and kind of lock into place.
Want to Tidy Your Ribbons?
Save
Click the button below for the full list of supplies I used for this project. If you like any of them, simply add them to your cart.
I’m incredibly grateful for my amazing customers, and as a thank you, I’ve created some exclusive tutorials just for you. See my specials below!
I’m happy to help and would love to answer any of your questions. Please reach out to me through e-mail. If you would like to place a Stampin’ Up! order, I would be thrilled if you selected me to be your demonstrator.