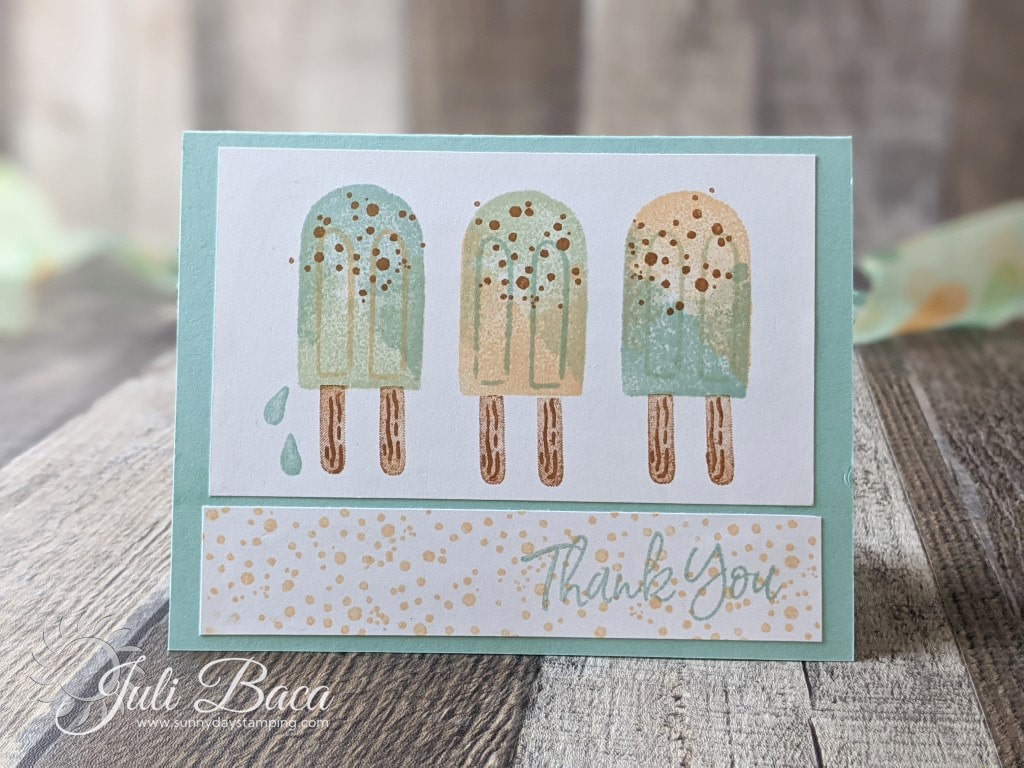
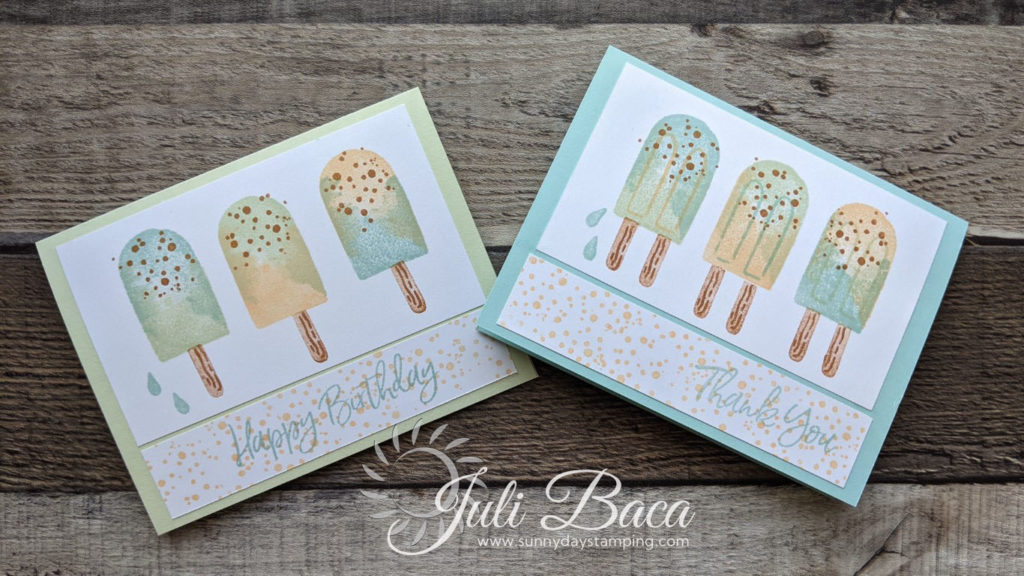
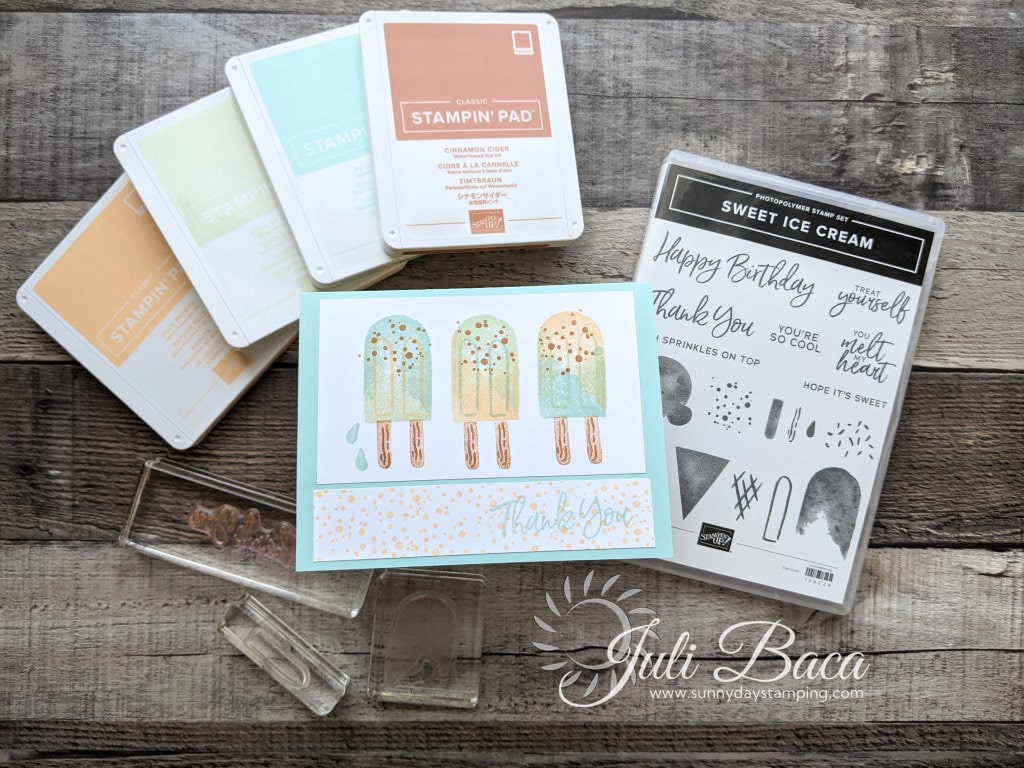
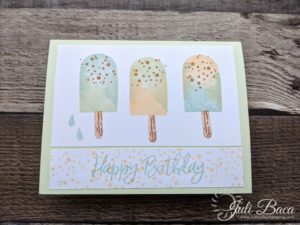
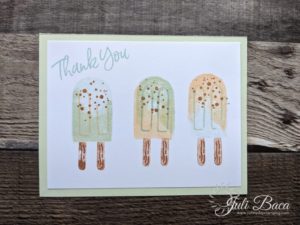
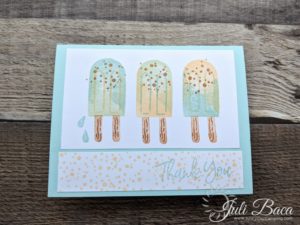
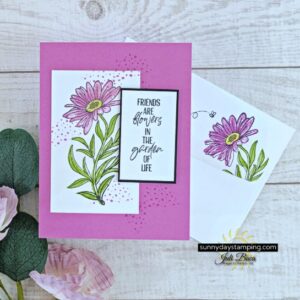
You only need stamps, ink and paper (SIP) to make this card! New to stamping? I want to show you how you can make sweet cards even if you don’t have a lot of tools. I’ll also demonstrate how to use the two-step stamps in the Sweet Ice Cream Set. Watch the video for details!
-
Save
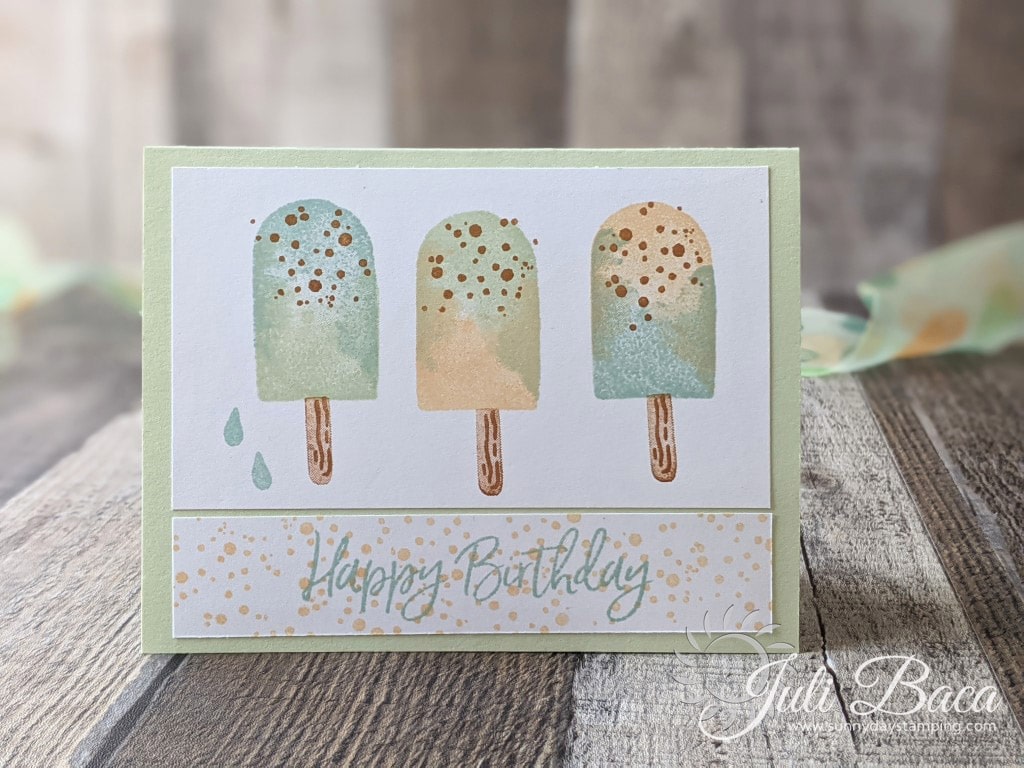
Start by cutting the white cardstock for the front of your card.
Place your white cardstock in the Paper Trimmer horizontally and cut at the 5” width. Now rotate your paper and make a 1” cut and then a 2 7/8” cut. Watch the video for a quick demonstration.
Pick two or three of your favorite colors and a brown for the popsicle stick. I used Pale Papaya, Soft Seafoam and Pool Party with Cinnamon Cider for the stick.
Tip: Centering it up! Choose your favorite popsicle colors to put in the center. Stamp that one first and then you can easily space out a popsicle on either side. You can always cut your paper down if it’s not centered how you like and then cut down the strip for the sentiment to match the width. This layout has a lot of grace. 😊
-
Save
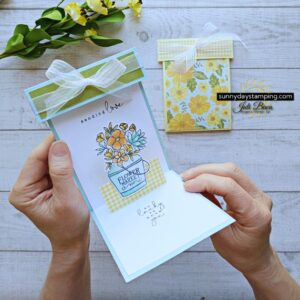
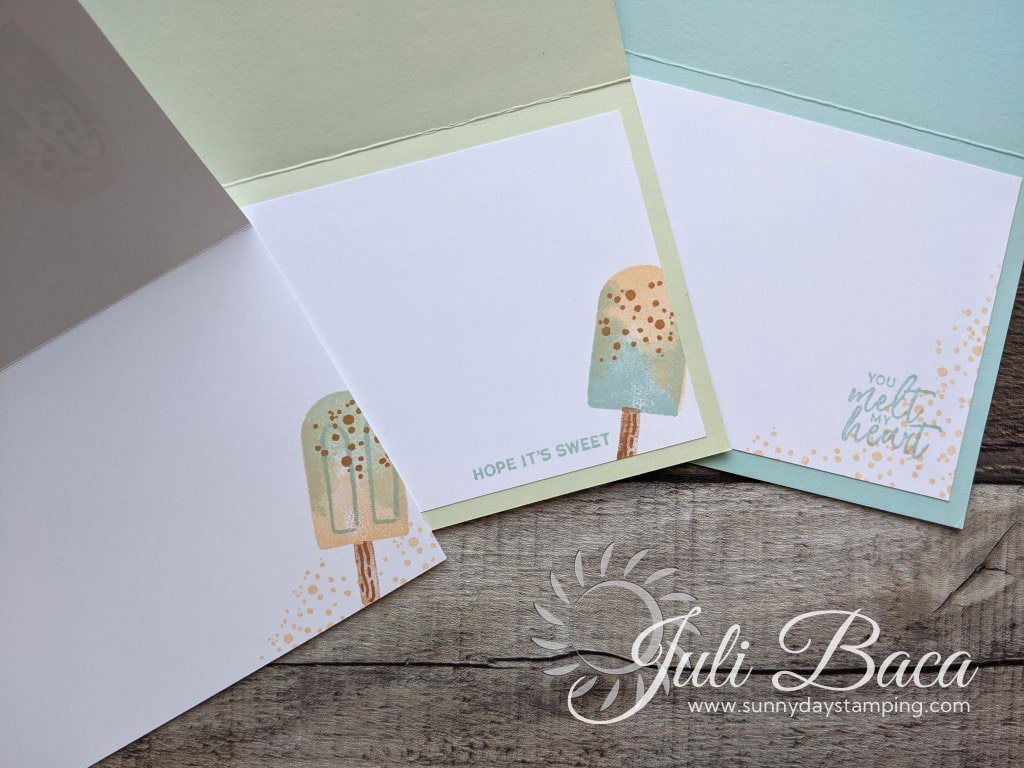
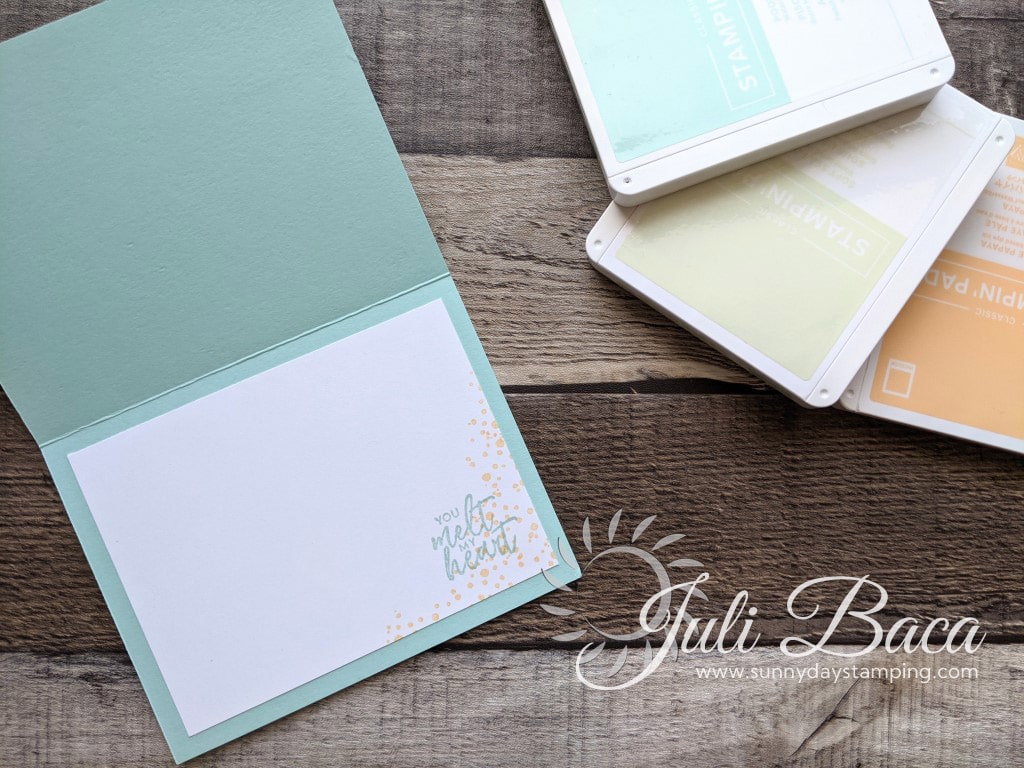
Ideas for the inside of your card.
-
Save
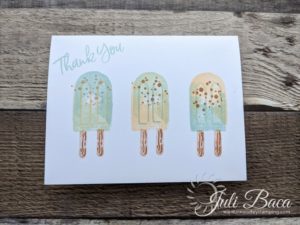
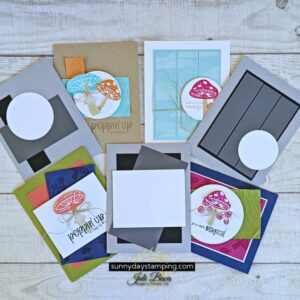
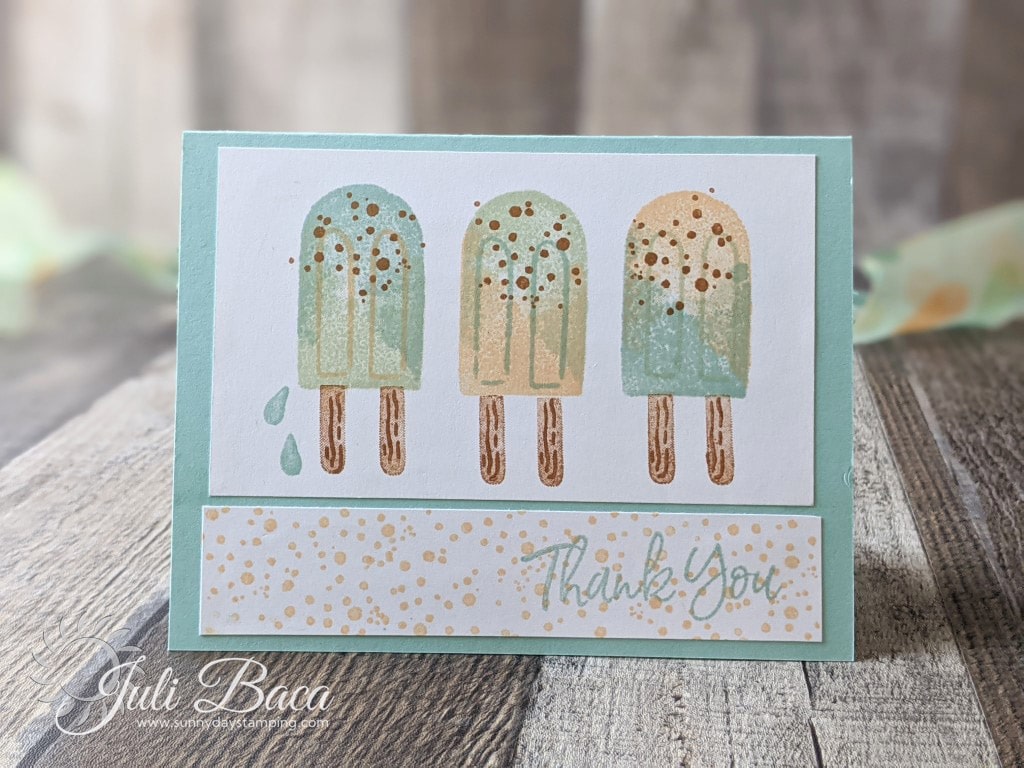
The Sweet Ice Cream Stamp Set lends itself to working well with lots of different colors. Experiment with different color combinations! I’d love to see what you come up with!
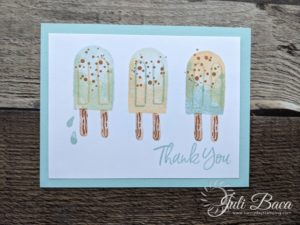
Choose a coordinating cardstock for the card base. I used Pool Party in the above photo which was also the color ink pad I used.
It’s Sale-a-bration time which means it’s the perfect time to treat yourself or get an early start on holiday shopping! Pick a FREE product out of the selection for every $50 you spend!
-
Save
Measurements:
- Colored cardstock card base: 8 ½″ x 5 “1/2”
- Basic White cardstock (exterior): 5” x 2 7/8”
- Basic White cardstock scrap (exterior): 5” x 1”
- Basic White cardstock (interior): 5” x 3 3/4″
Supply List (click # to add a specific item to your cart):
|

