Current Host Code: KJ33ZV2X (Free Card Pattern Class Tutorials with $50 Purchase)

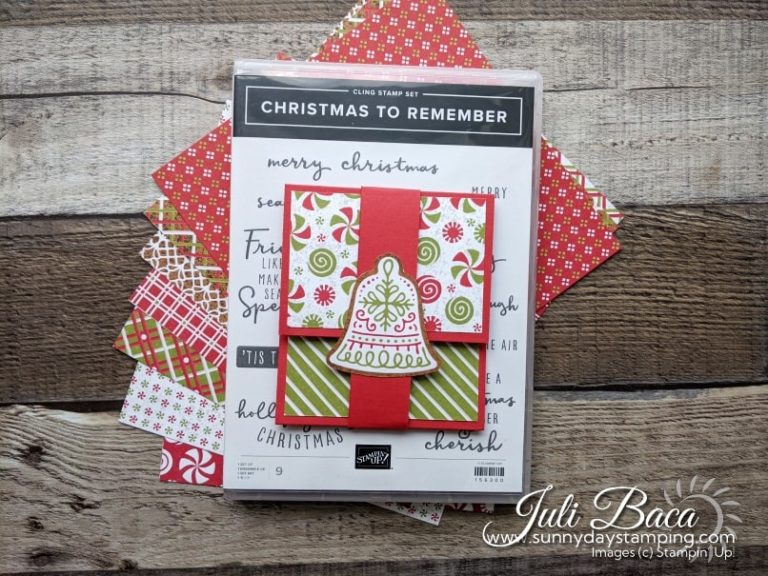
Quick Gift Card Holder or Money Envelope Project #5

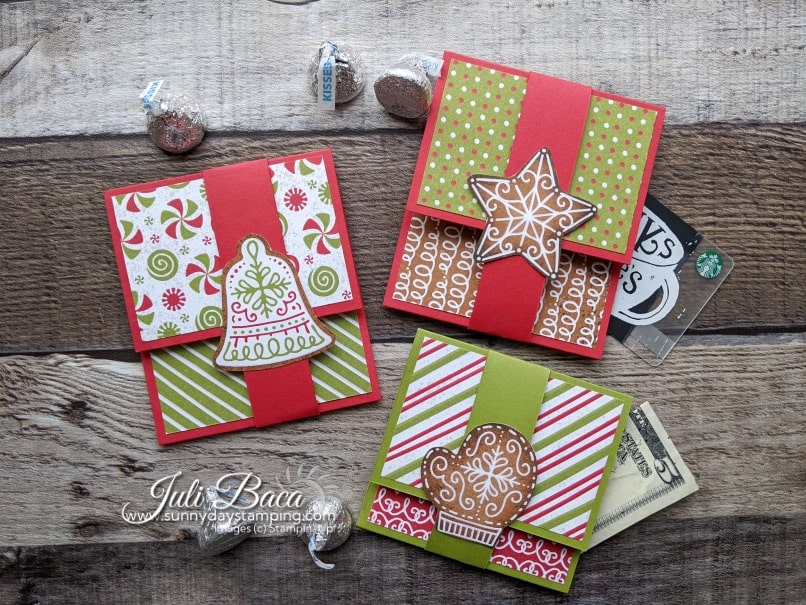
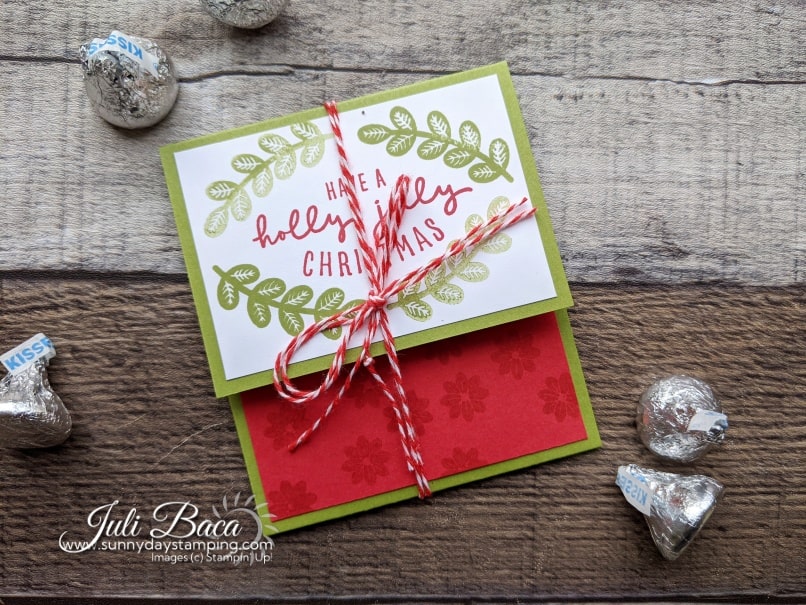
Want to make that gift card extra special?  Make these super cute gift card or money holders in no time!  The magic is in the Gingerbread and Peppermint Designer Series Paper!  Let me show you project #5 in the Christmas Series!

Measurements & Supplies

Measurements: 

  • Real Red or Old Olive colored cardstock base: 8 1/2″ x 3 1/2″ (score at 2” from one end and 2 1/2” from the other end)
  • Designer Series Paper:
    • Top: 3 1/4″ x 2 1/4″
    • Bottom: 3 1/4″ x 1 3/4″
  • Basic White cardstock for inside: 3 1/4″ x 2 1/4″
  • Colored cardstock Belly Band Strip: 1″ x 8 1/2″

To make a smaller holder for cash, cut the base at 7 3/4″ x 3 1/2″.  Cut and score everything else the same. 

free project sheet downloads at bottom of post

Let's Get Started!

  • Save

Take your piece of cardstock and orient it in the landscape position on the trimmer.  Cut a 1” strip for the belly band.  Now cut a 3 ½” strip for the card holder.  Score that piece at 2”, turn and score the other end at 2 ½”. 
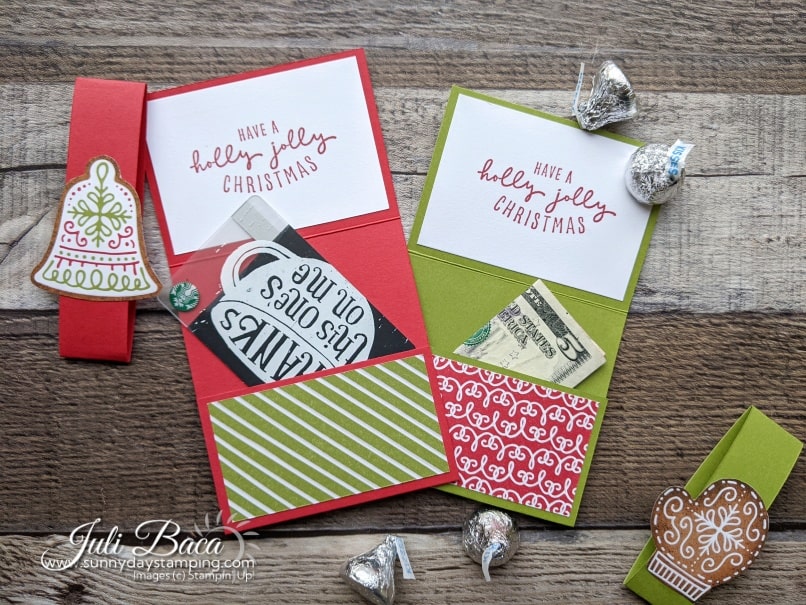
Decorate the Inside

You can stamp a smaller sentiment if you want more room to write a note!

  • Save

For the smaller cash holder, cut the base at 7 3/4″ x 3 1/2″, but follow all the rest of the cutting and scoring directions.

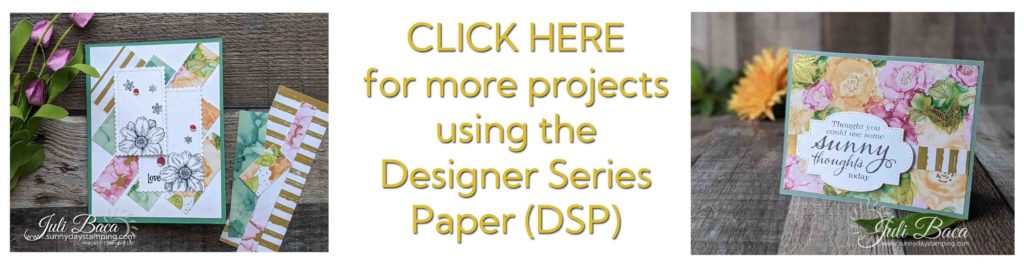
Tip:  Cut images out of your Designer Series Paper to decorate the belly band. 

Don't Have Fancy Paper? No Problem!

Simply cut all the decorative panels out of cardstock and stamp!

In this example, I used the In Symmetry stamp set to decorate and the Christmas to Remember stamp set for the sentiment. 

FREE Project Sheet

let me know if you made this project in the comments below!
Share via
Copy link
Powered by Social Snap