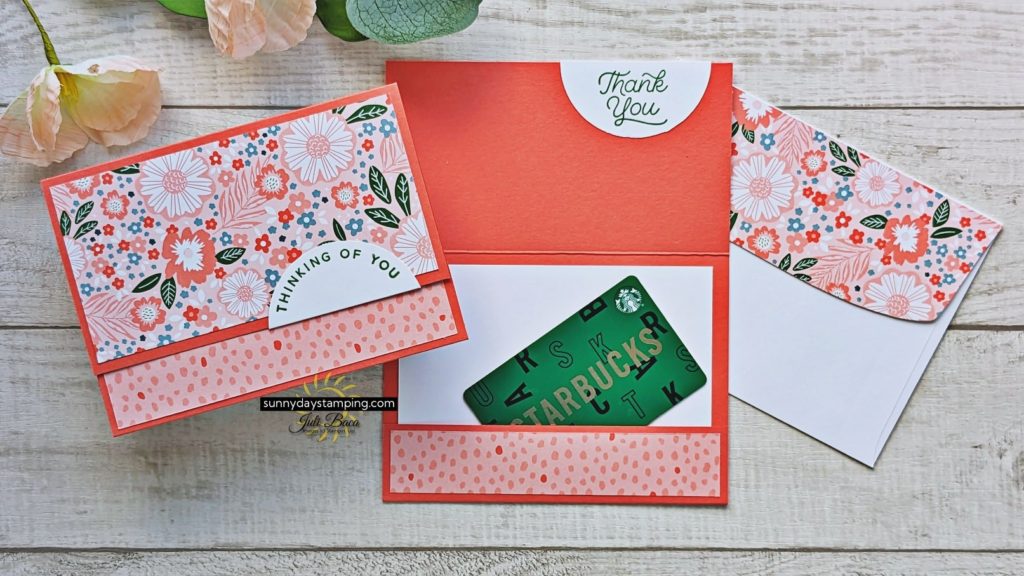
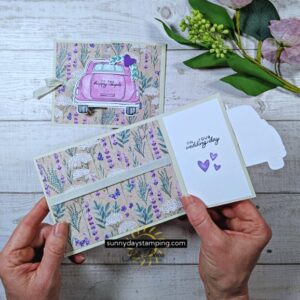
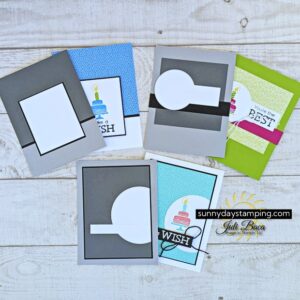
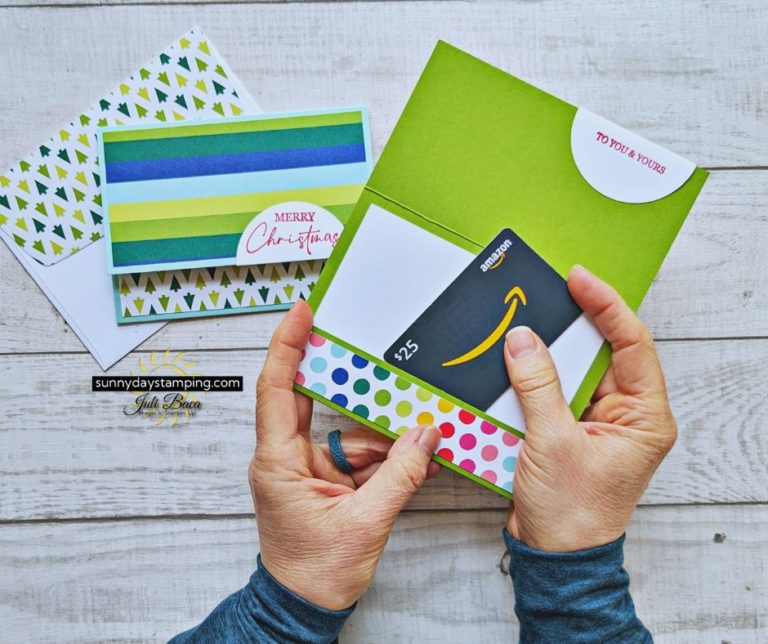
Learn how easy it is to make your own gift card holders for those holiday presents! I’ve got lots of tips to share including how to cut one square of patterned paper to decorate the card and envelope! You don’t need much time or supplies for this project!
Measurements
Wild Wheat
- Card Base: 8 1/4” x 5 1/2”
- Score at 1 1/4″ & 5 1/4″
Basic White
- Inside Layer: 5” x 3 1/2″
- Circle: 2 3/8”
Designer Series Paper
- Front Layer: 5 1/4” x 2 3/4”
- Front Flap: 5 1/4″ x 1”
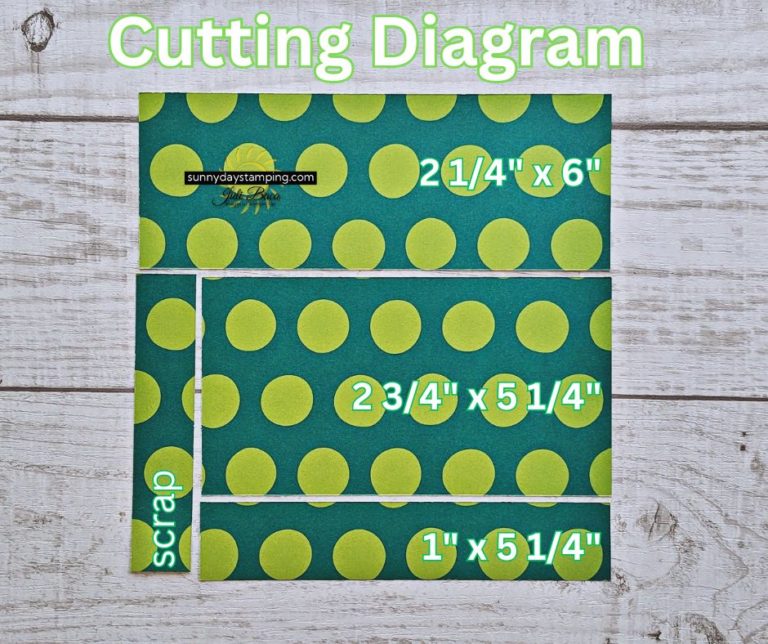
- Envelope Flap: 6” x 2 1/4″
*No Gift Card Alternative: Cut 2 Front Flaps from DSP and glue them on either side of the flap. When the recipient opens the card, the flap will open revealing another pretty piece of paper.
Get FREE Project Sheets
Sign up for my email list to get a new project sheet FREE every week! Visit my tutorial store to purchase previous project sheets bundled by month they were released.
Get Ideas!
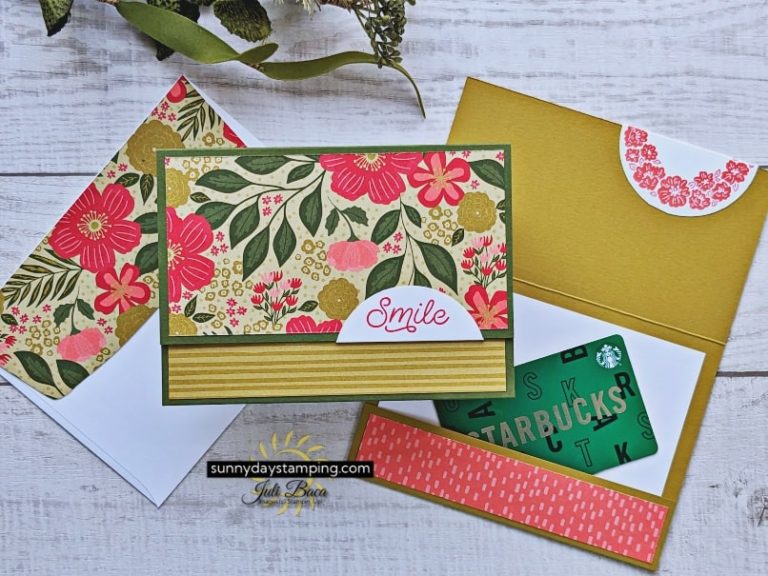
Change the patterned paper for a different look!
-
Save
-
Save
-
Save
-
Save
-
Save
-
Save
-
Save
You can also choose to make this into a regular card instead of a gift card. Don’t glue the bottom flap, but add another piece of patterned paper!
Paper Cutting Tip
I designed the project to be able to use one piece of 6″x6″ patterned paper to decorate the card and the envelope!
-
Save
Put the 6”x6” piece in the Paper Trimmer and cut at 2 ¼” for the envelope flap. Rotate and trim down to 5 ¼”. Rotate back to portrait orientation and cut at 1”. Now all of your pieces of DSP are cut!
Watch my full video tutorial to see this in action!
Variations
- Choose a patterned paper.
- Pick out one color for the card base and one for the ink.
-
Save

-
Save
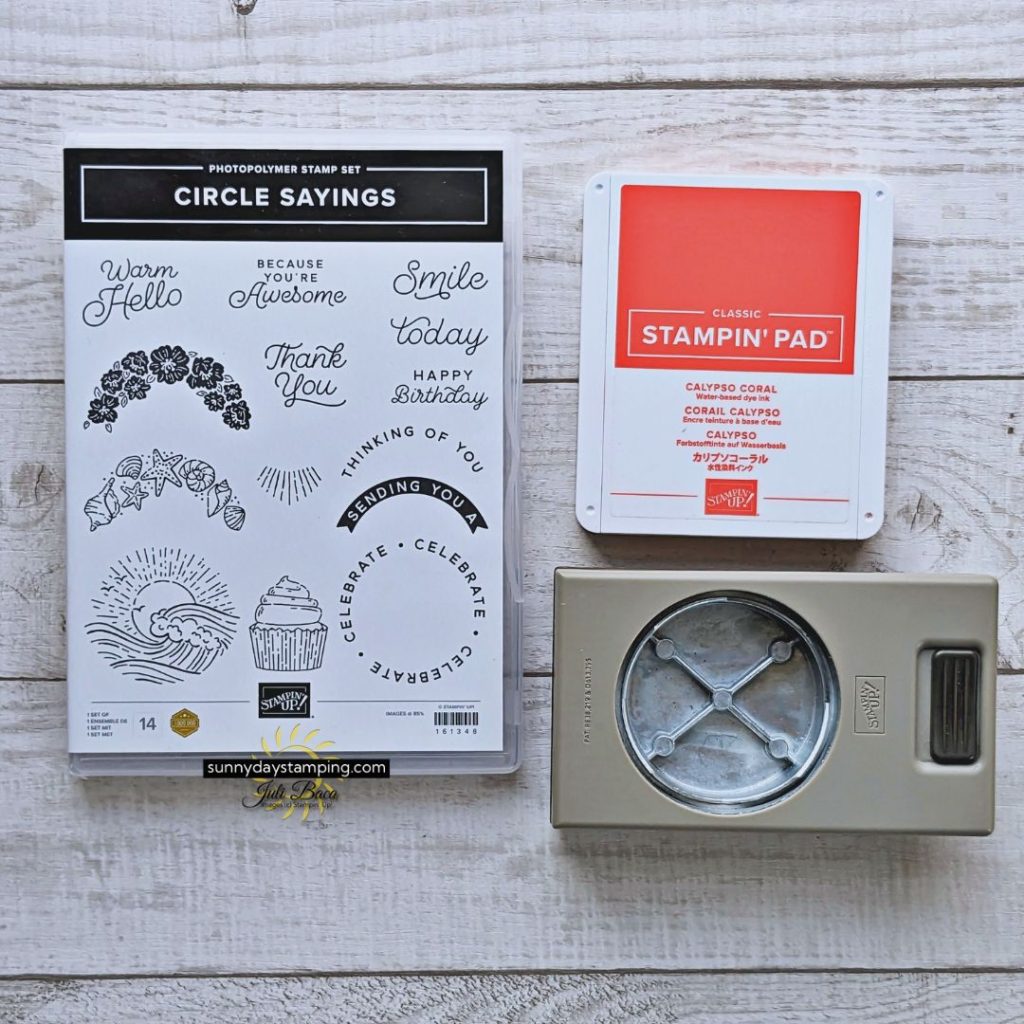
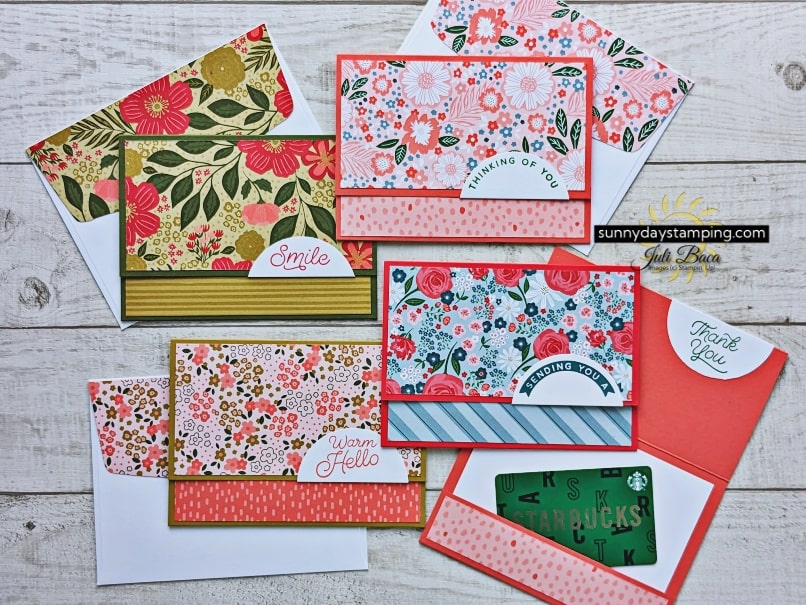
Garden Walk Designer Series Paper with Circle Sayings Stamp Set
Clockwise top left to right:
- Mossy Meadow cardstock and Calypso Coral ink
- Calypso Coral cardstock and Garden Green ink
- Calypso Coral cardstock and Pretty Peacock ink
- Wild Wheat cardstock and Calypso Coral ink
**As of November 30th, the Designer Series Paper for the following cards is sold out. I wanted to still give you the information in case you already have these papers!
-
Save

-
Save
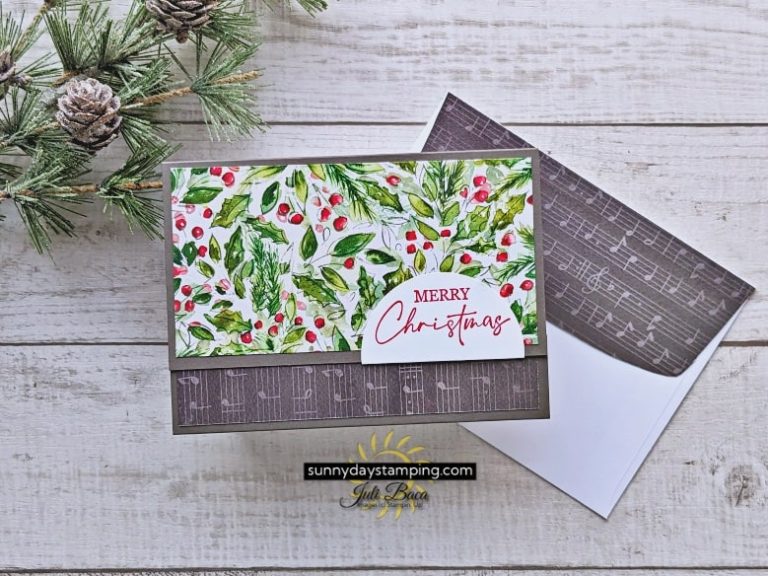
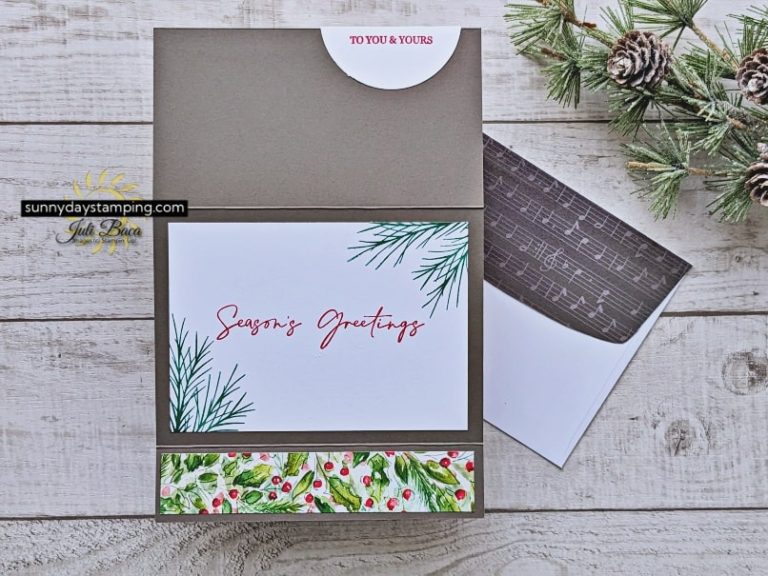
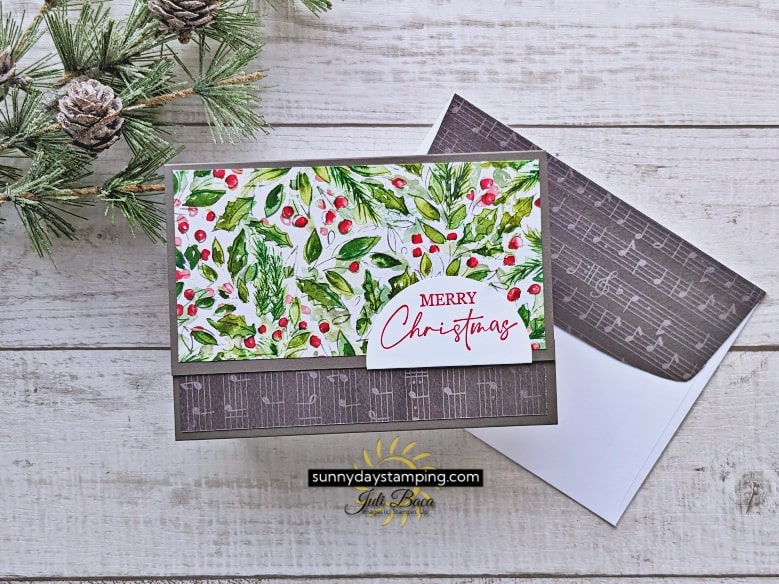
Joy of Christmas Designer Series Paper with Christmas Classics Stamp Set
- Pebbled Path cardstock, Real Red ink, and Shaded Spruce ink.
-
Save
-
Save
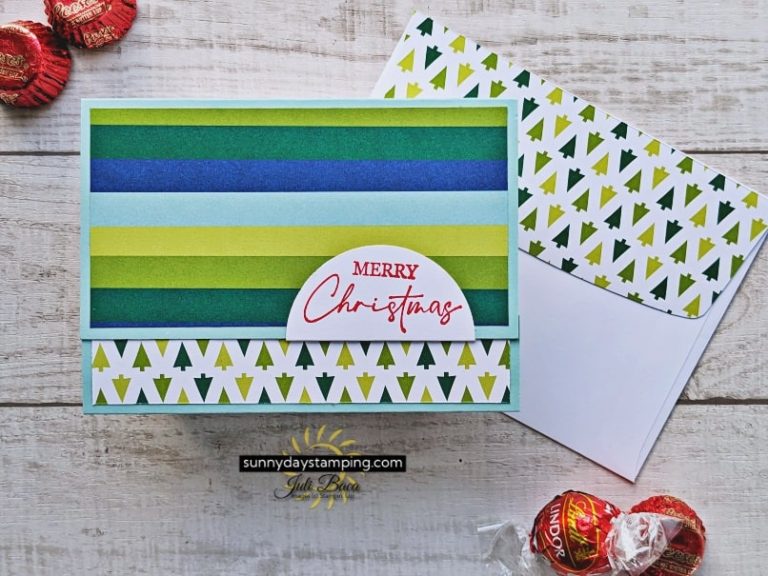
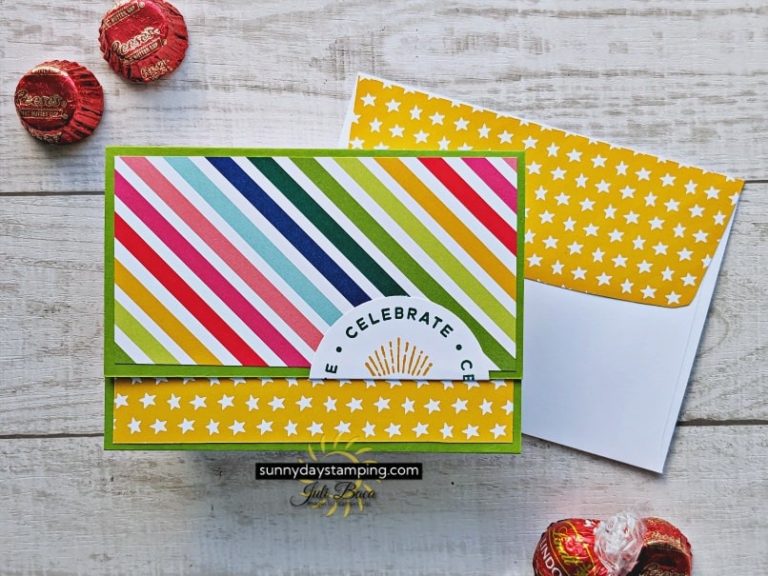
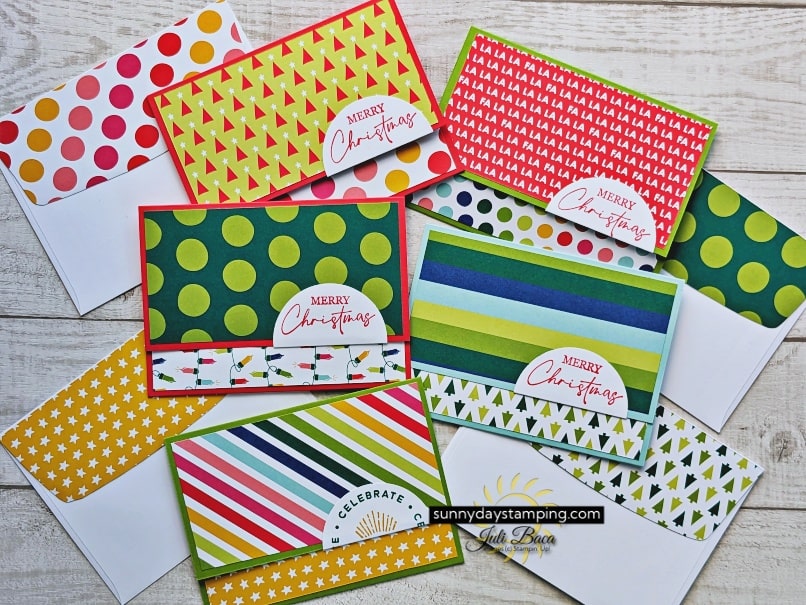
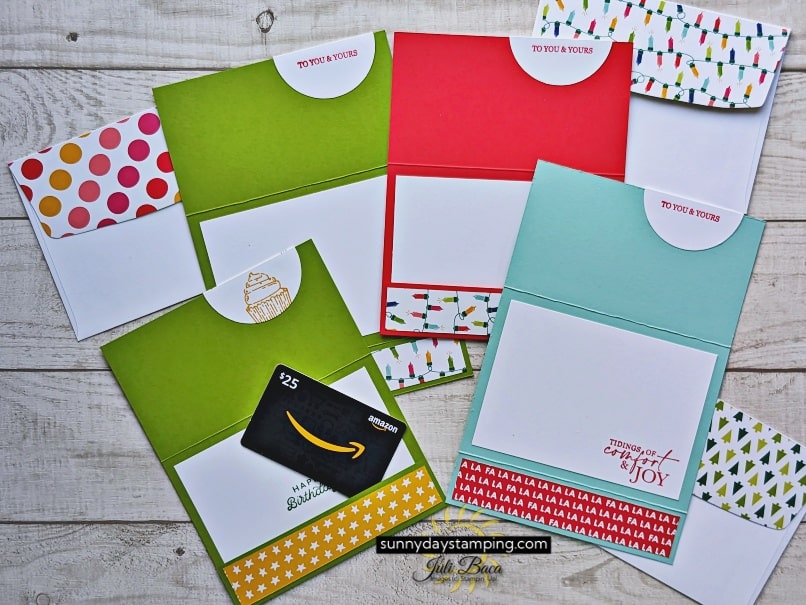
Merry Bold and Bright Designer Series Paper with Christmas Classics Stamp Set
Clockwise top left to right:
- Poppy Parade cardstock and Poppy Parade ink
- Granny Apple Green cardstock and Poppy Parade ink
- Poppy Parade cardstock and Poppy Parade ink
- Pool Party cardstock and Poppy Parade ink
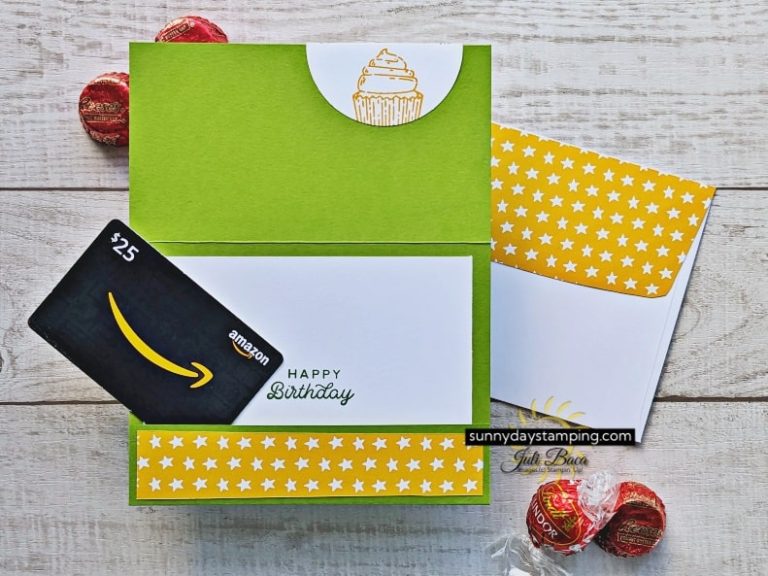
- Birthday Card made with Circle Sayings Stamp Set: Granny Apple Green cardstock and Pretty Peacock ink and Crushed Curry ink
Want to make these cards?
Click the button below for the full list of all the supplies I used. If you want to purchase anything, simply add them to your cart.
Don’t forget to use my host code (at the top of my website) to earn points towards a FREE STAMP SET of your choice!
May Specials
I’m happy to help and would love to answer any of your questions. Please reach out to me through e-mail. If you would like to place a Stampin’ Up! order, I would be thrilled if you selected me to be your demonstrator.

