-
Save
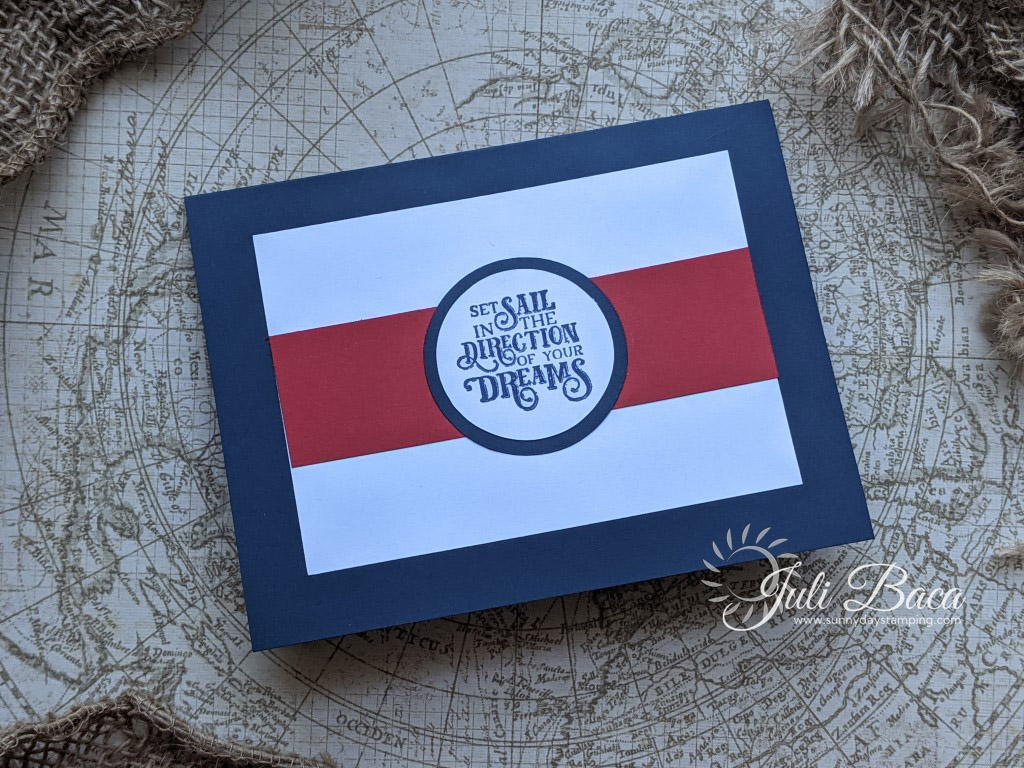
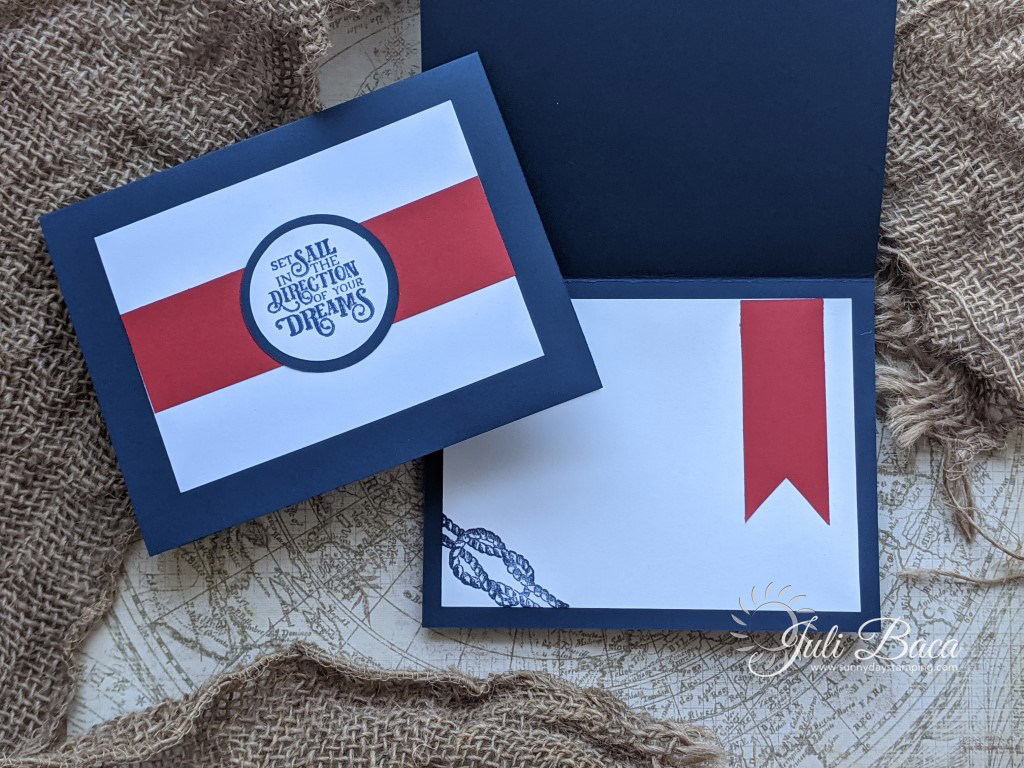
This card is simple and classic. It uses the same supplies as yesterday’s project, but just a simpler look.
Stamp the sentiment on Basic White cardstock and then cut it out using the 1 5/8” Layering Circles die. Cut a 1 7/8” circle out of Night of Navy. Center it under your sentiment and glue them together. The Paper Trimmer cuts the red pieces nice and precise.

-
Save
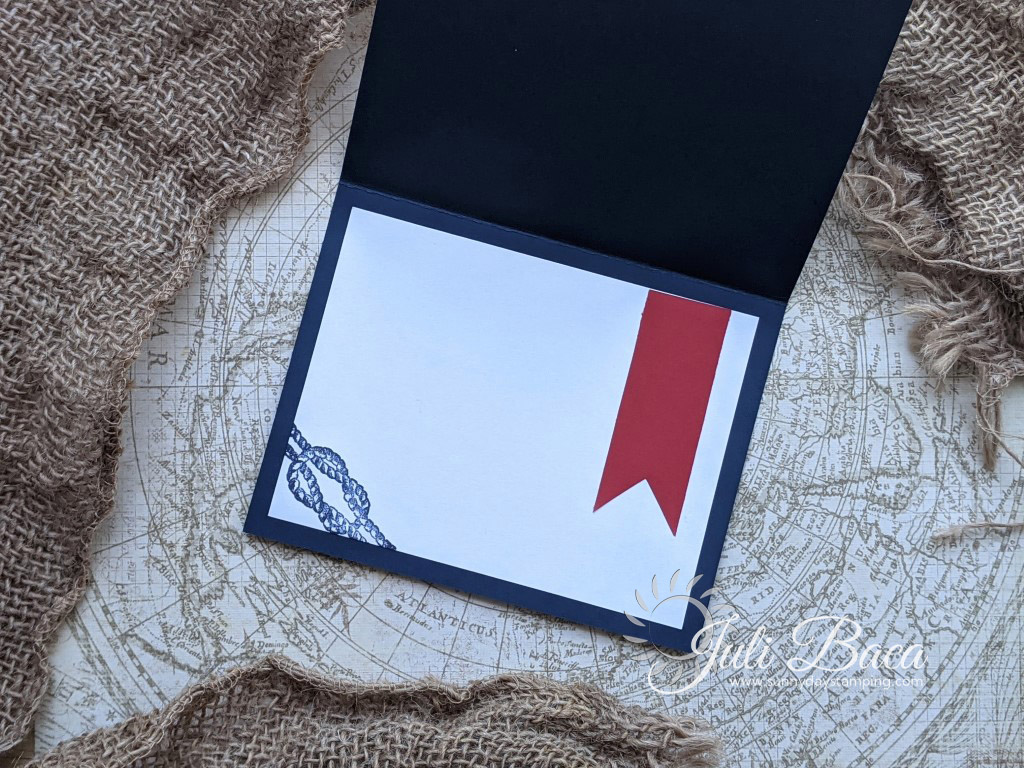
For the interior, stamp the rope off of the sheet (protect your table surface with a scrap piece of paper). For the flag banner, I just used scissors to cut a wedge in the red paper strip, but you could also use the Banners Pick a Punch. Attach the red flag first and then trim off any excess before you attach the white interior to your card base.

-
Save
Measurements:
- Night of Navy cardstock for card base: 8 1/2″ x 5 “1/2”
- Basic White cardstock for exterior: 4 ½” x 3 3/4″
- Cherry Cobbler cardstock for exterior: 1 ¼” x 4 ½”+ (cut this a little long and then trim)
- Basic White cardstock scrap for the circle: 1 5/8” cut with die
- Night of Navy cardstock scrap for circle: 1 7/8” cut with die
- Basic White cardstock for interior: 4 3/4” x 3 1/2”
- Cherry Cobbler cardstock for interior: 1” x 2 3/4”+ (cut this a little long and then trim)
Tip: Cut the red pieces longer than you will use. Glue them to the white layer first, then trim them with scissors. Do you see my mistakes? It bugs me that I can see the white peeking through because I pre-cut my pieces. I won’t do that again!


