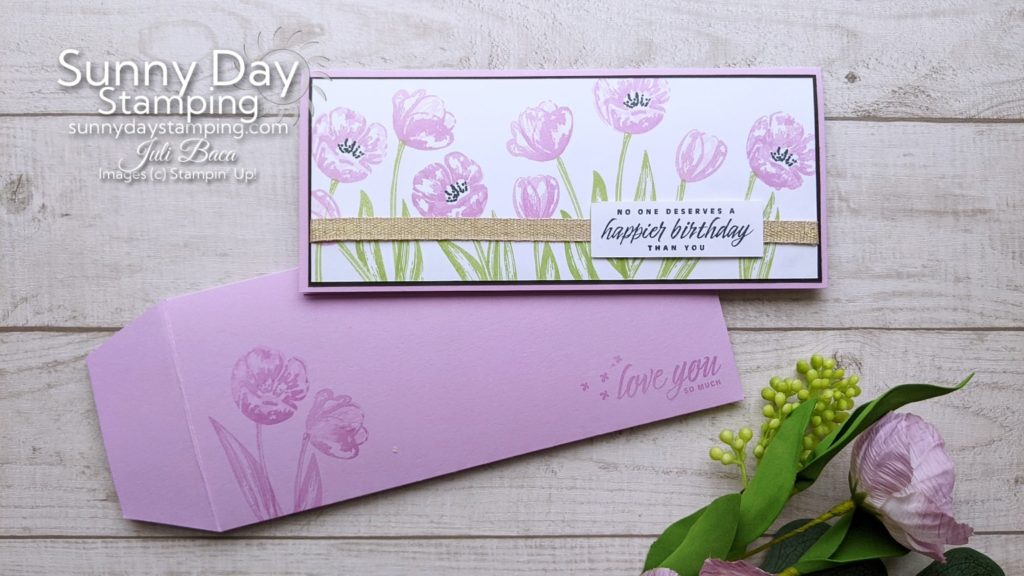
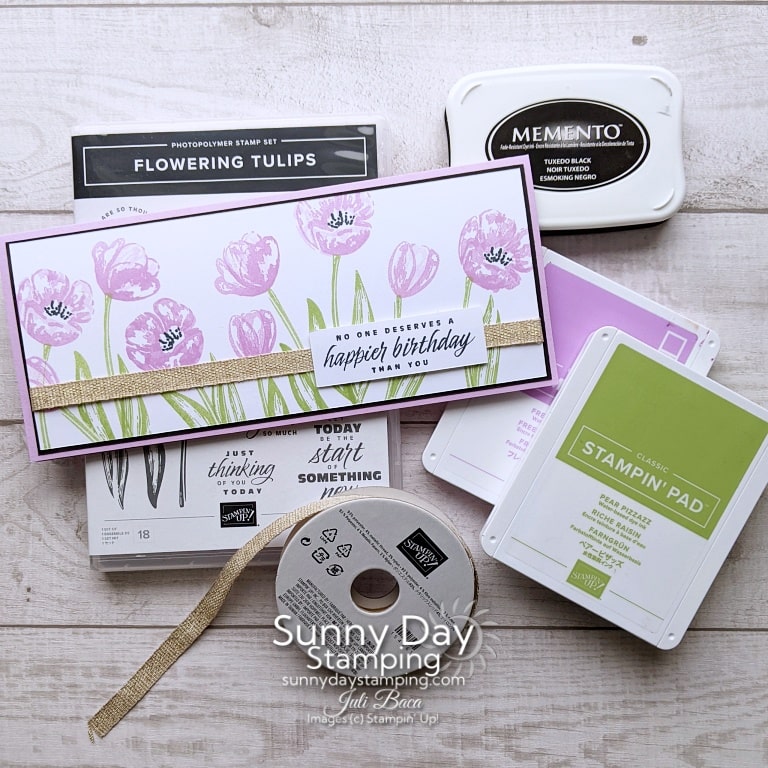
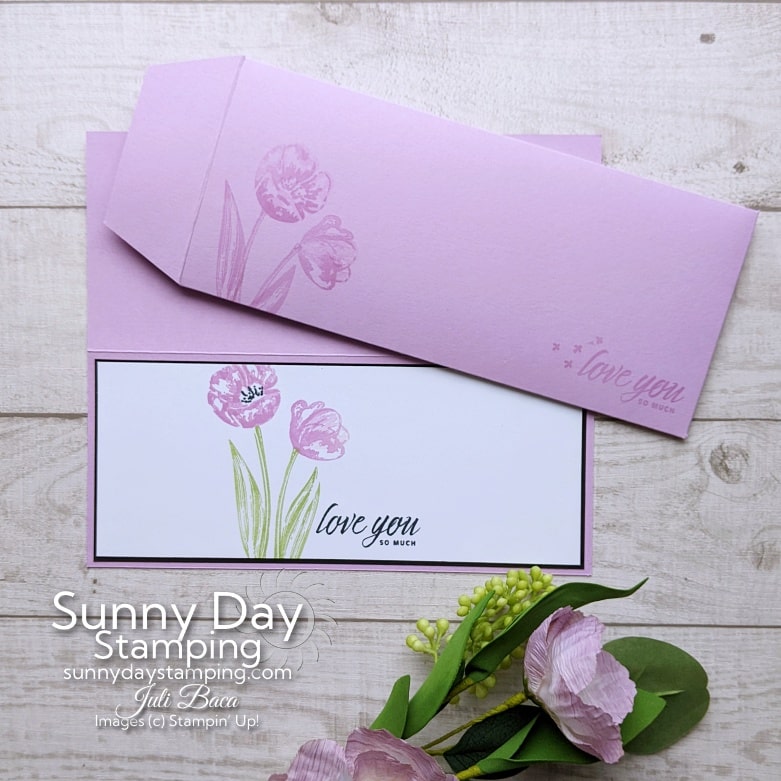
Slimline cards are all the rage right now and I can see why! They are so easy to decorate! Finding a pretty envelope to go with it can be challenging, so I am going to show you how to make a really quick one. Let’s get started!
2 PART VIDEO THIS WEEK!
PART 1: Slimline Card | PART 2: Quick Envelope
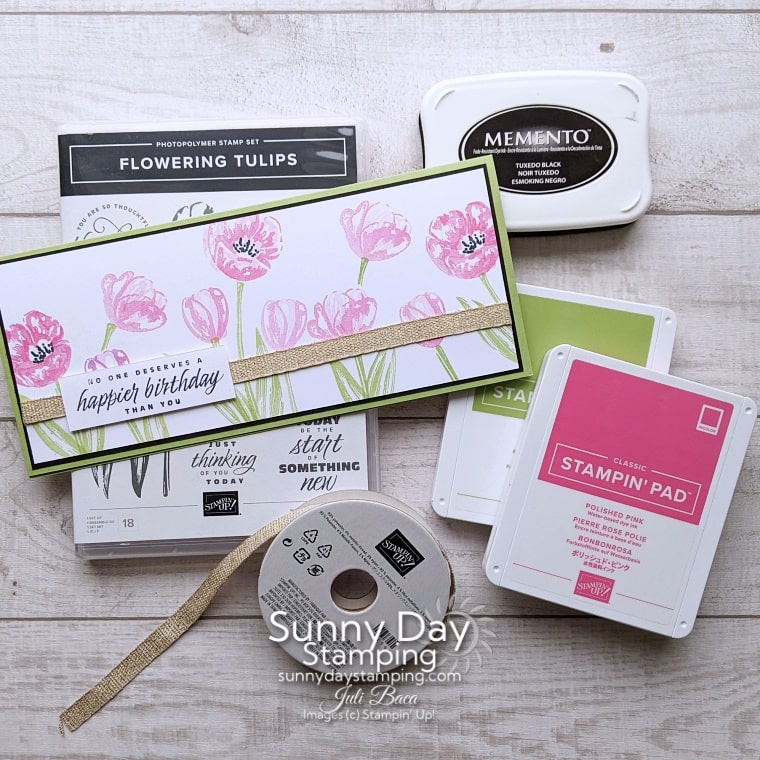
Measurements & Supplies
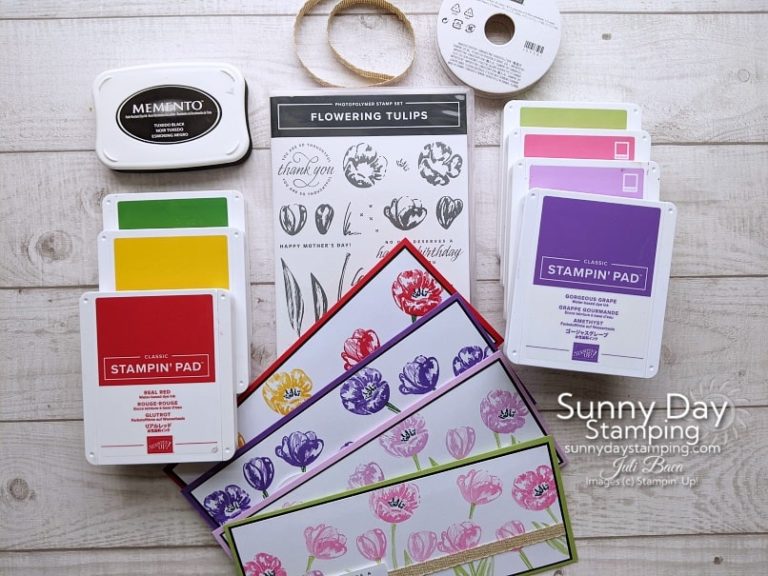
-
Save
Cutting & Scoring Measurements:
Colored cardstock card base (Pear Pizzazz): 7 1/2″ x 8 3/4″, scored & folded at 3 3/4″
Basic Black cardstock (2): 3 1/2″ x 8 1/2″
Basic White cardstock (2): 3 3/8” x 8 3/8”
Envelope:
Colored or White cardstock: 8 1/2″ x 11” (no trimming required)
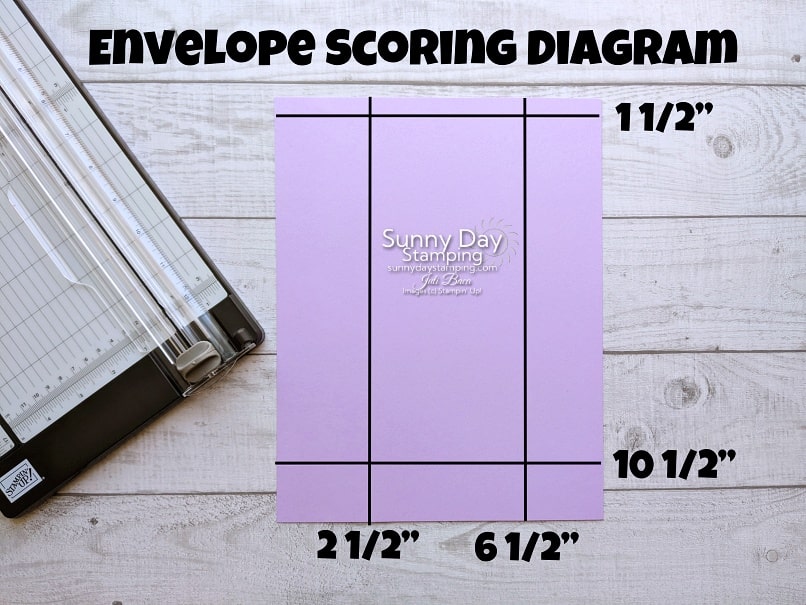
- Paper in portrait orientation: score at 2 ½” x 6 ½”
- Paper in landscape orientation: score at 1 ½” x 10 ½”
Choose your favorite colors and "uncheck" the rest to remove them from your cart. Scroll down to view supply lists for individual cards.
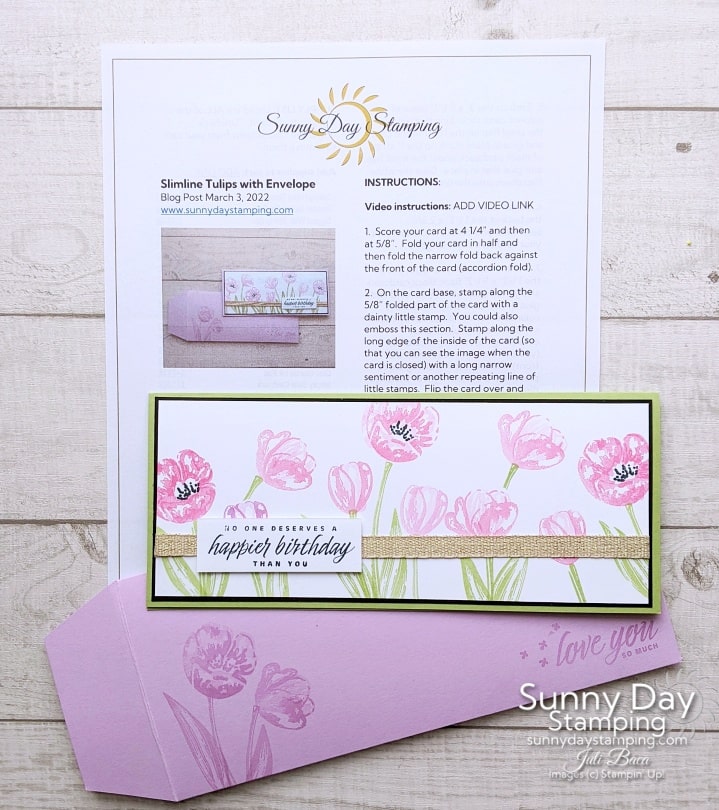
Get the FREE Print & Make Project Sheet
-
Save
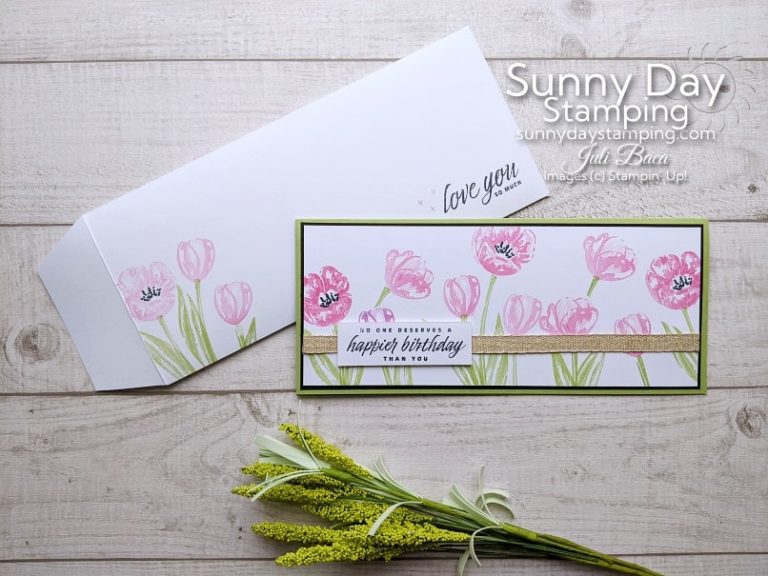
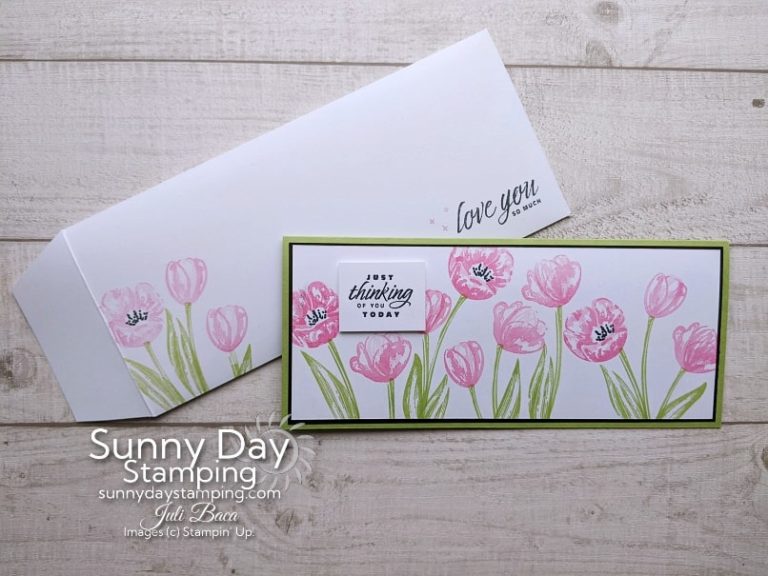
Easily Customizable
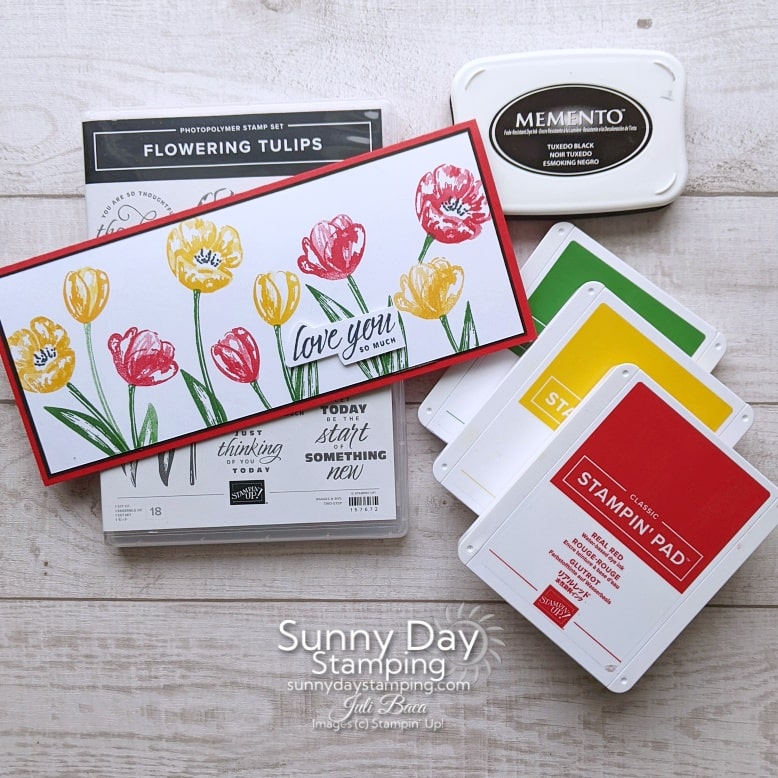
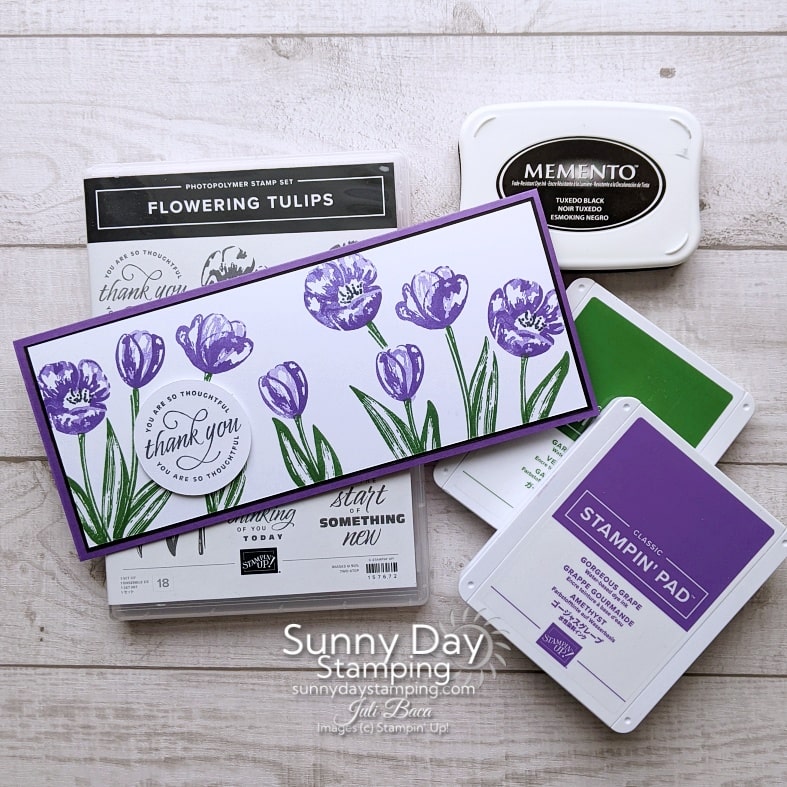
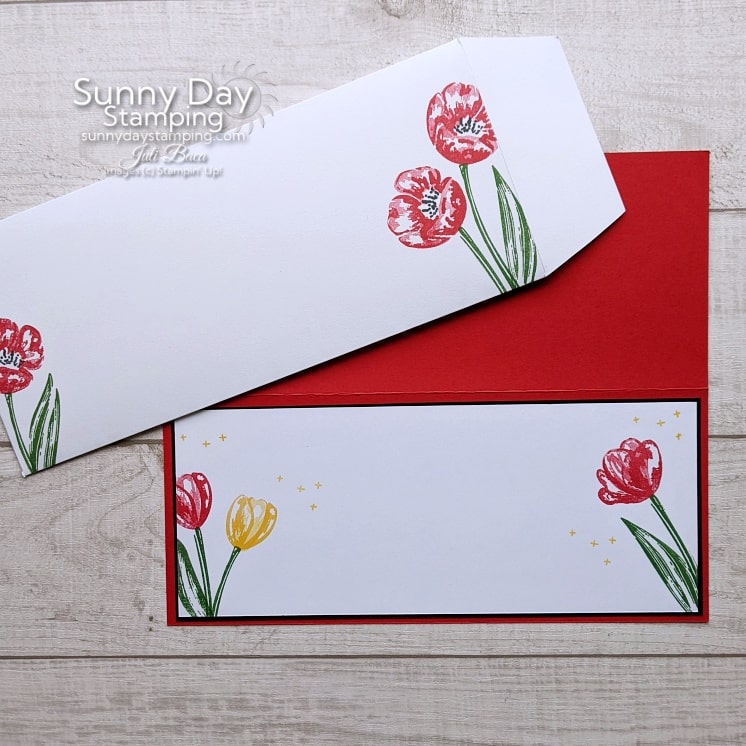
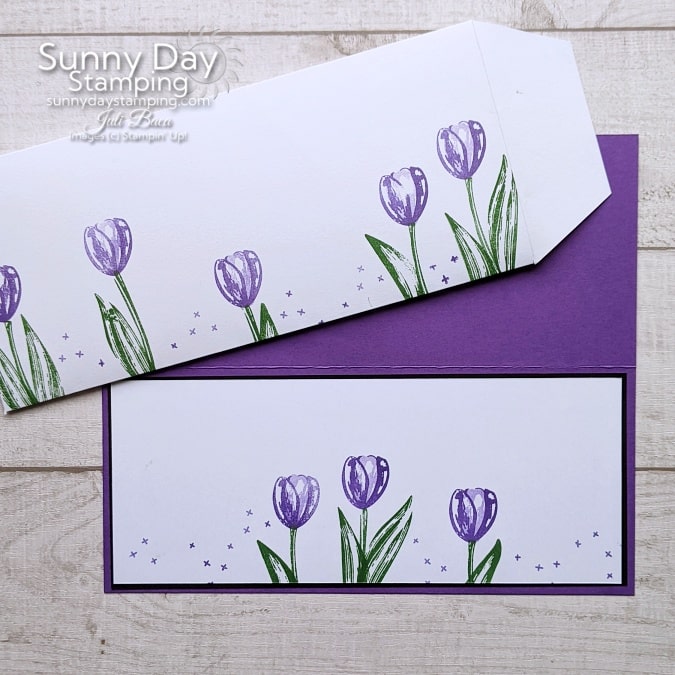
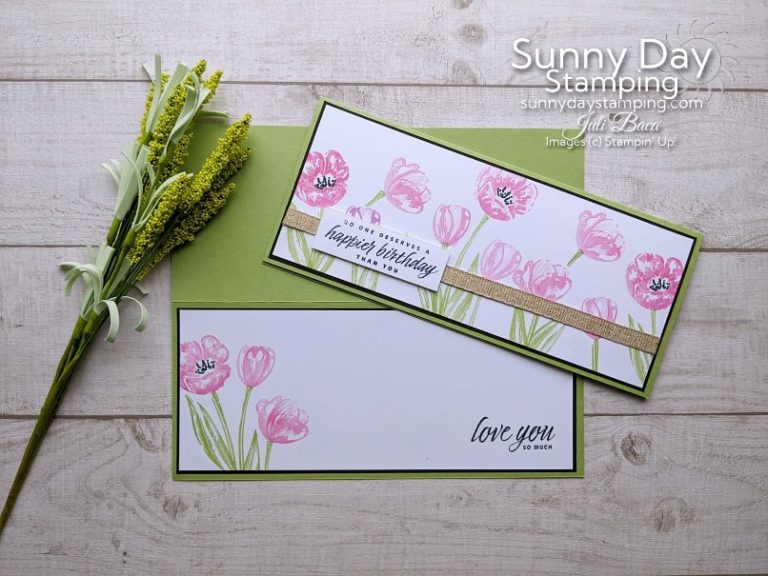
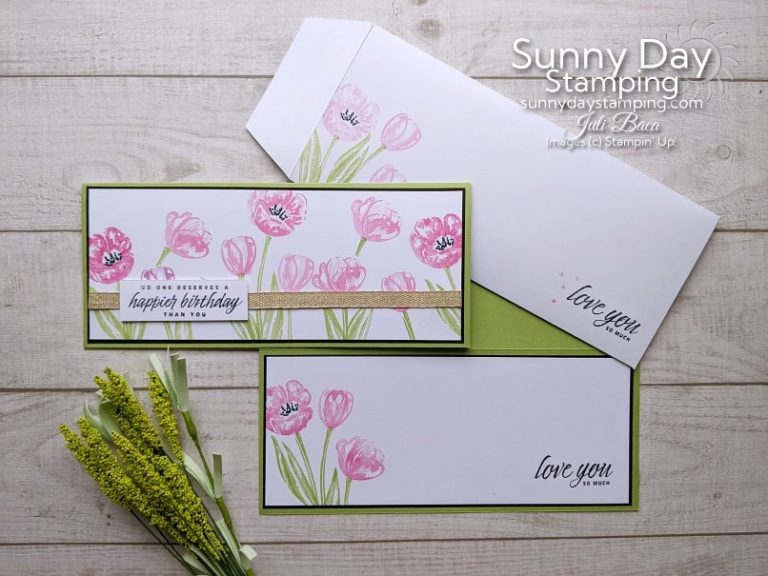
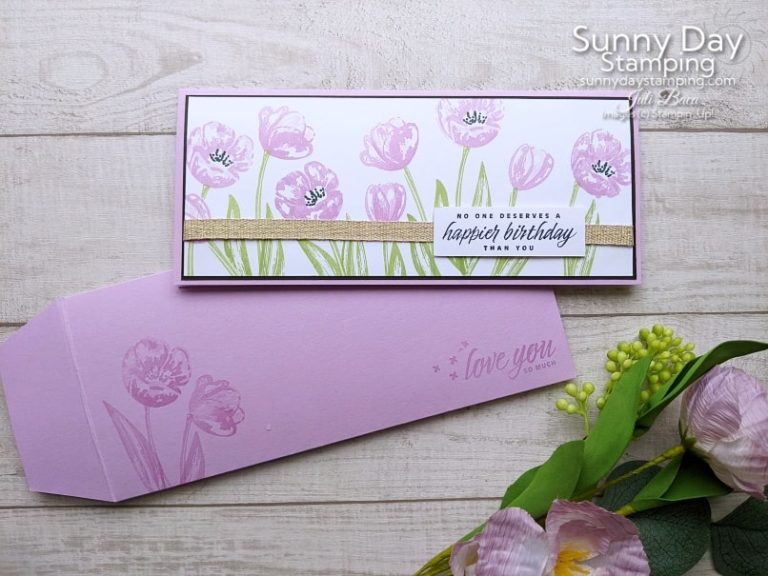
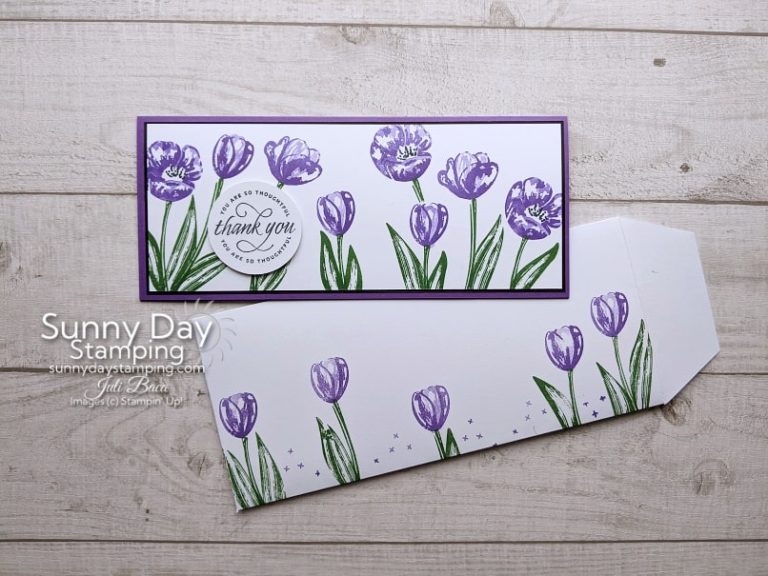
Choose your favorite colors and just have fun playing with this easy stamp set. Add ribbon or leave it off. Use what you have and it will turn out just gorgeous!
-
Save
-
Save
-
Save
-
Save
-
Save
-
Save
-
Save
DIY Slimline Envelope
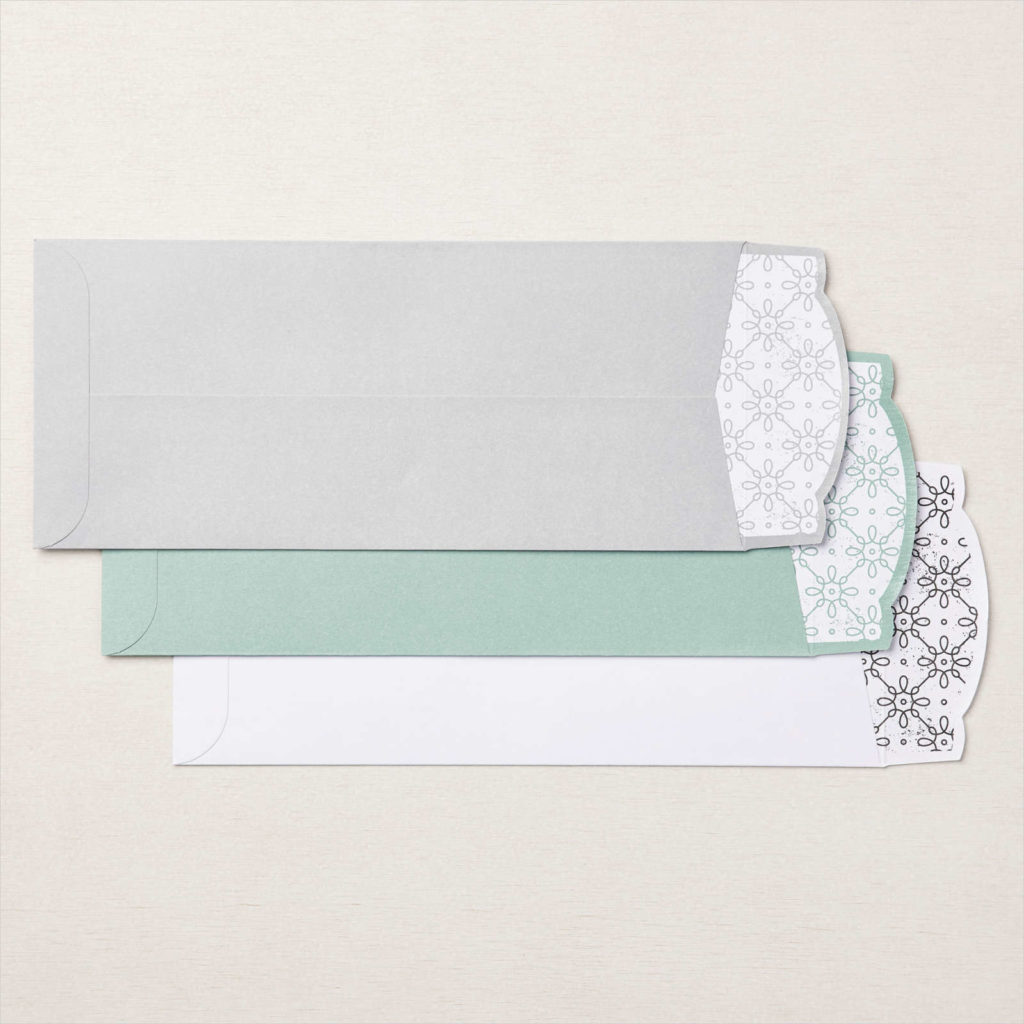
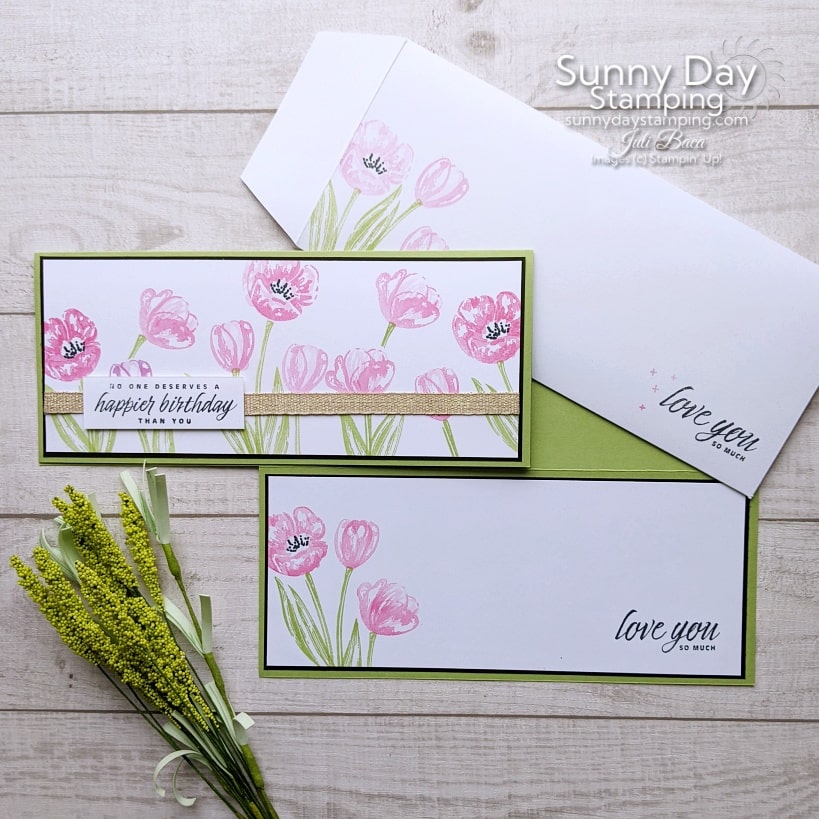
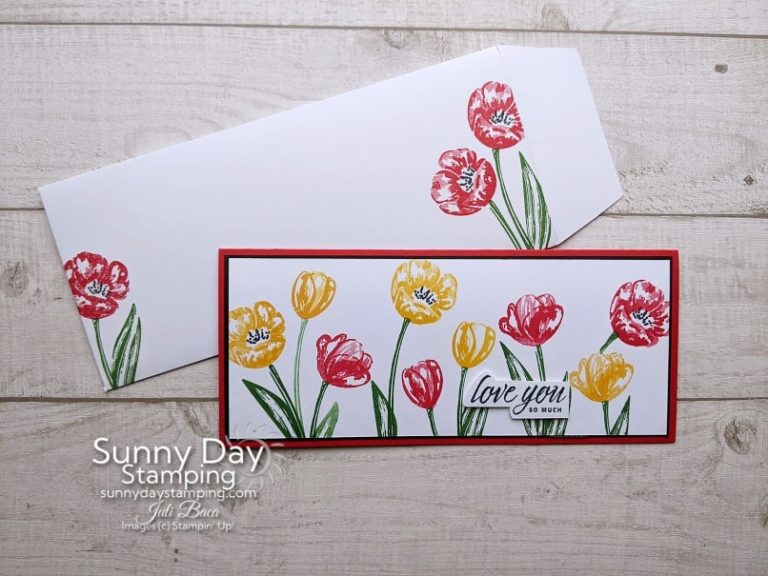
You can use a business envelope you have at home, buy the new Stampin’ UP! Slimline Envelopes that are just precious (see photo on the left – you get 15 envelopes for just $10!) or make your own following the video! The graphic below might help, too.
-
Save
-
Save
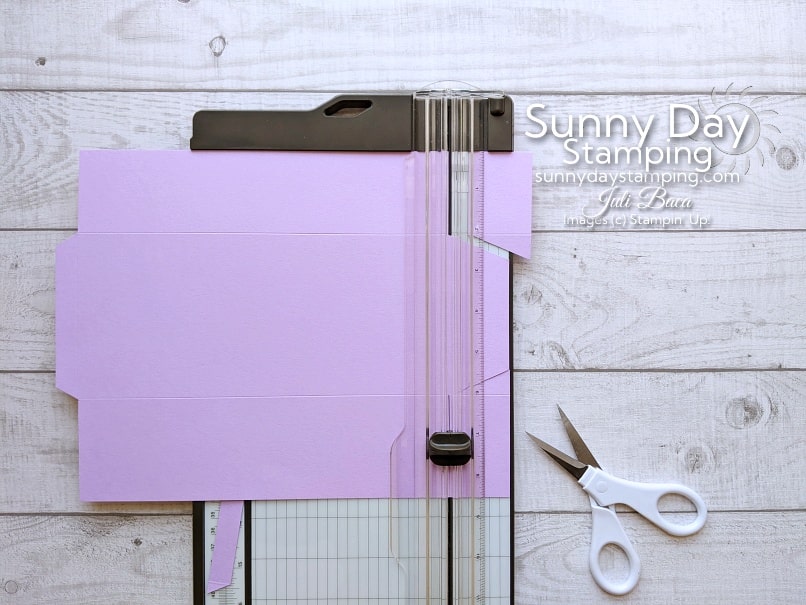
Use your paper trimmer to cut straight lines. Add flair by quickly mitering the corners with your scissors.
-
Save
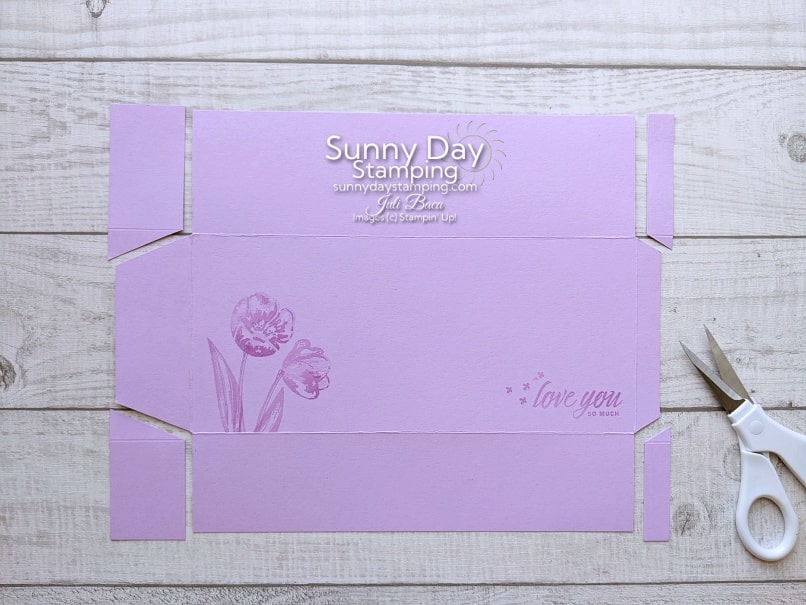
Your envelope should look like this with the excess paper removed. Stamp on it before glueing it together.

