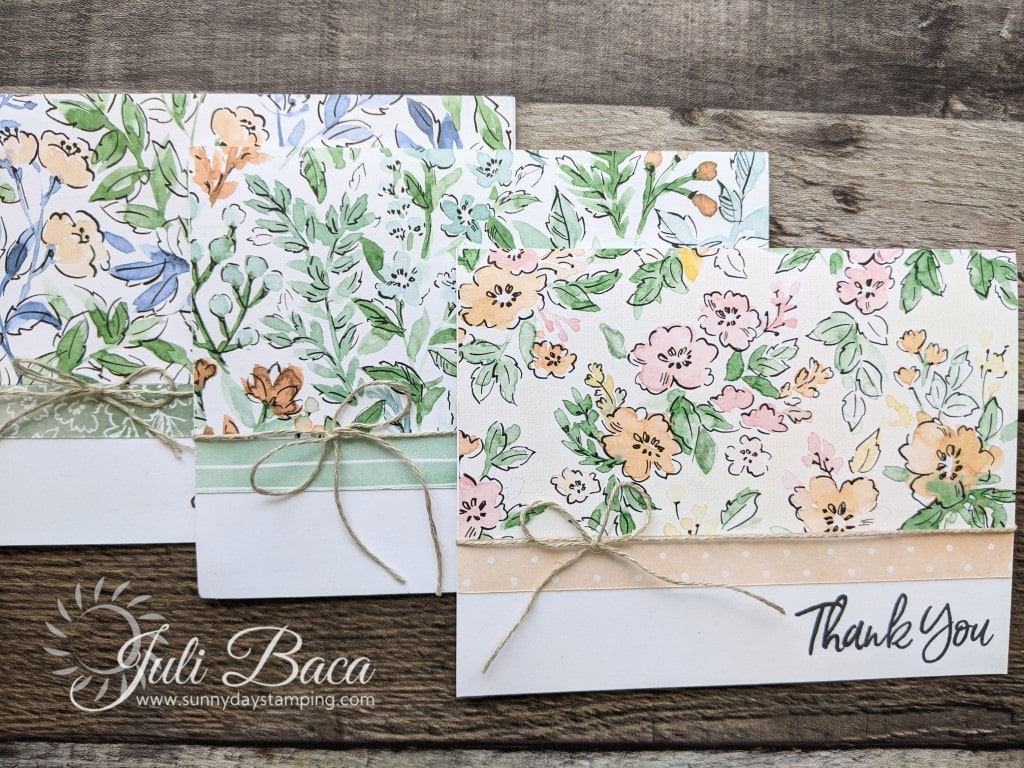
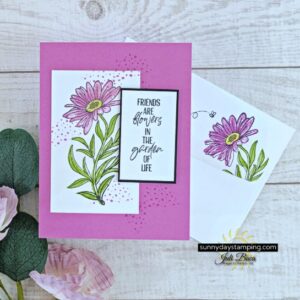
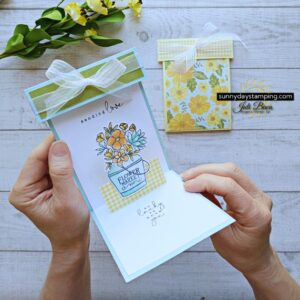
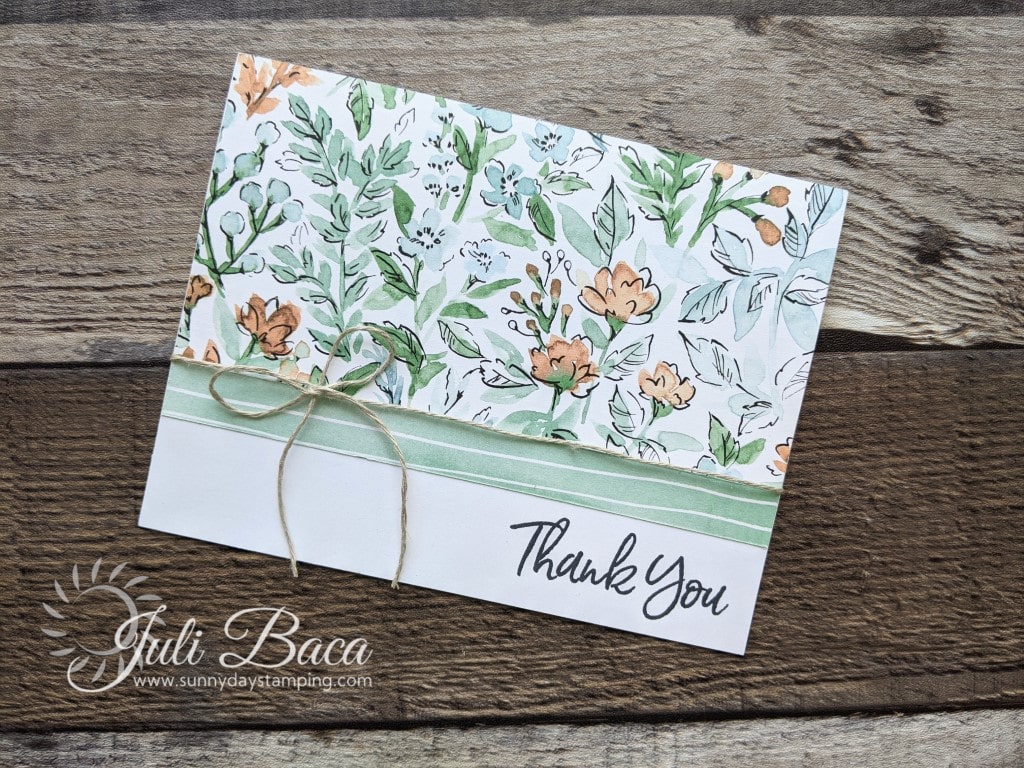
Quick and easy cardmaking using the Stampin’ Up!s double-sided Designer Series Paper (DSP) is the theme of today’s card. I’ve got some useful tips to show you along the way! Click the video below for details.
-
Save
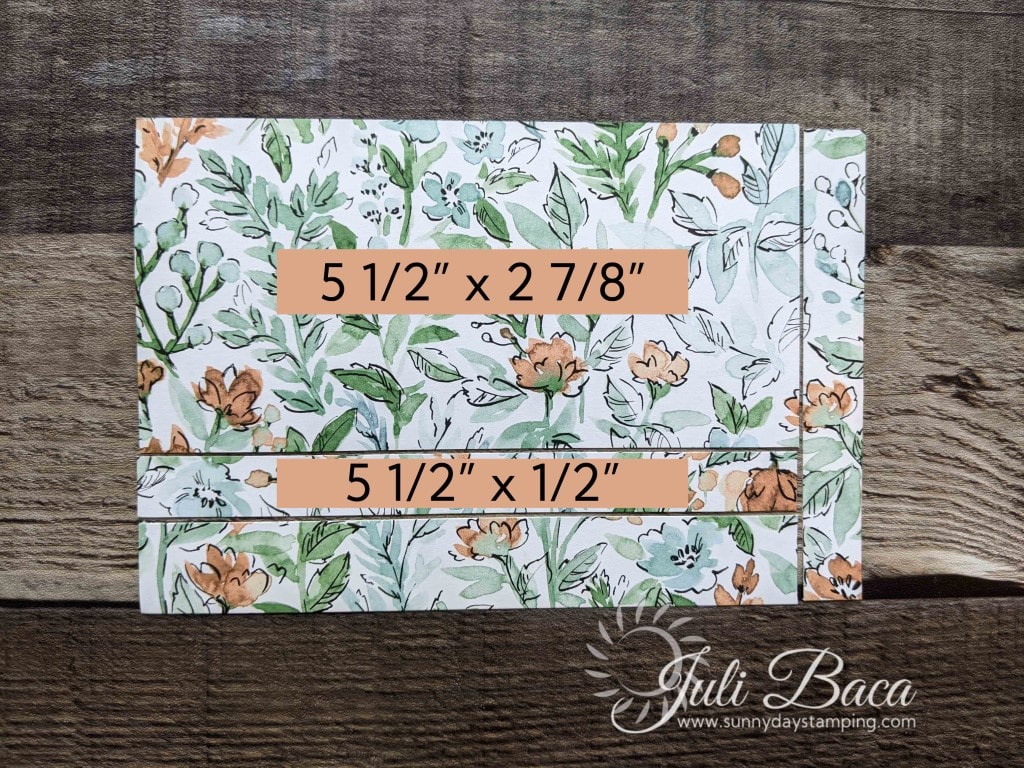
Tip: Cut your Designer Series Paper (DSP) down to a more manageable size (unless you know you will use it for a non-card making project). Cut into four 6”X6” pieces or six 4”X6” pieces. Having these beautiful papers ready to use makes for quick cardmaking.
-
Save
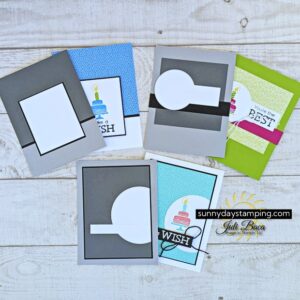
This is a cutting diagram based on a 4X6 pieces of DSP.
-
Save
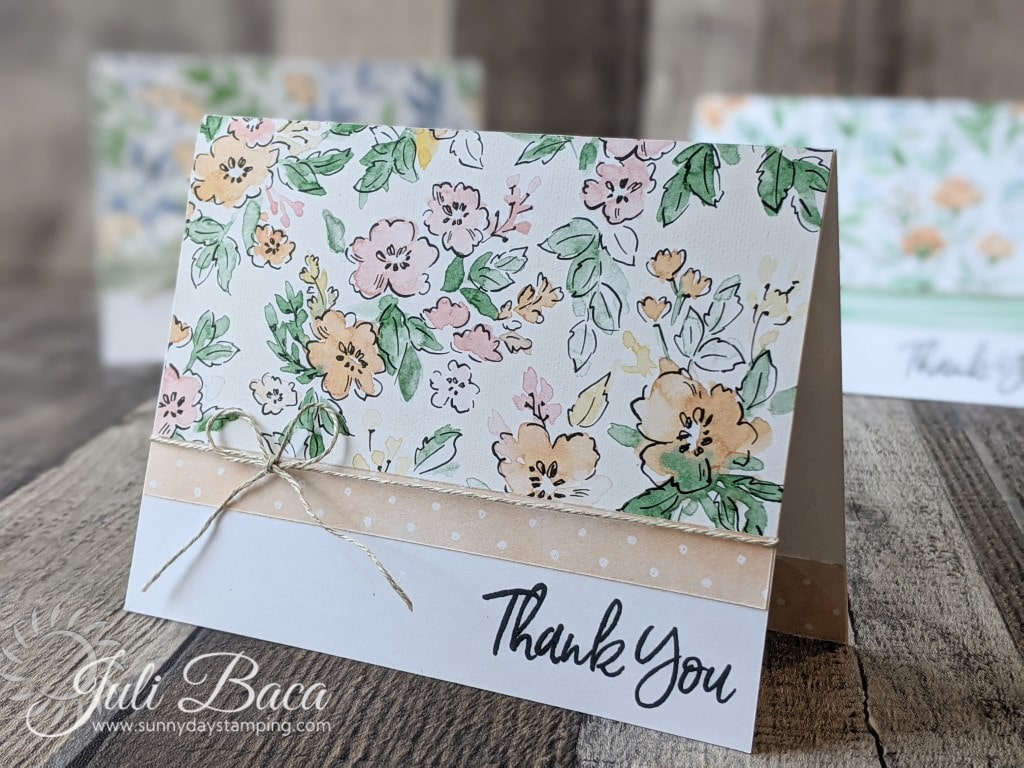
Tip: How to line up your sentiment on your block! Line up your sentiment face down on your grid paper. Now, line up your block edge on a lower line on the grid paper and press your stamp onto the block. Ink up your stamp and test it. Line up your block along a line of your grid paper and stamp. Is it straight?
-
Save
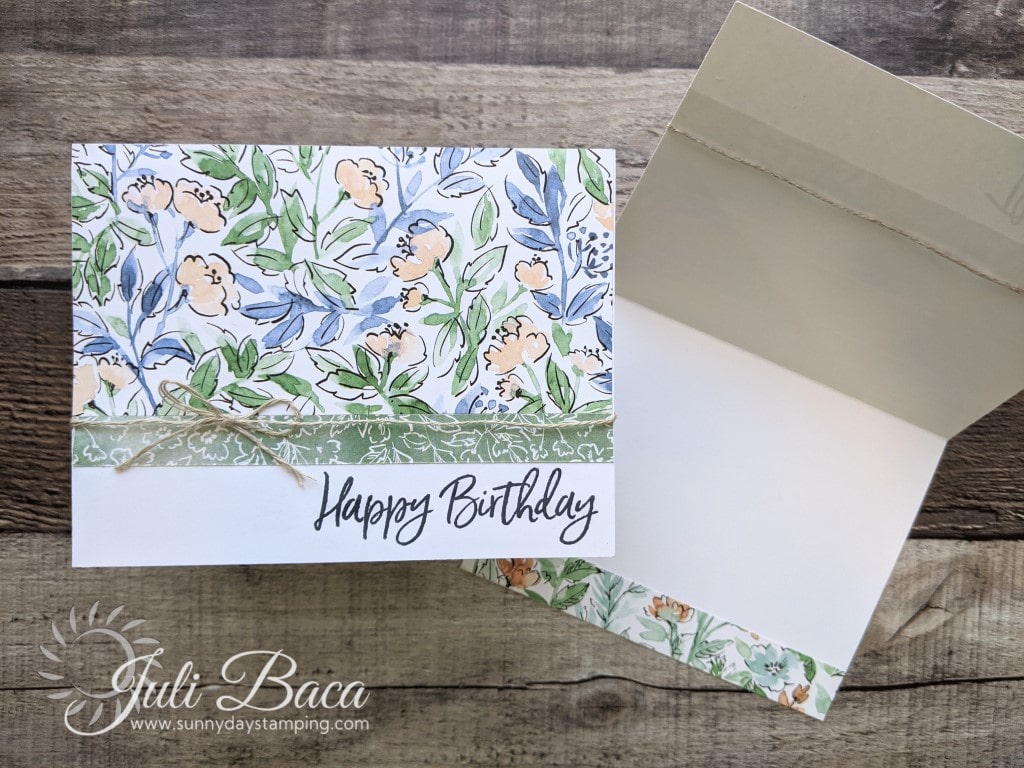
Tip: Stamp first then glue! I make mistakes stamping all the time. It’s much easier to grab another cardstock base than it is to ruin a card because the DSP is already attached.
-
Save
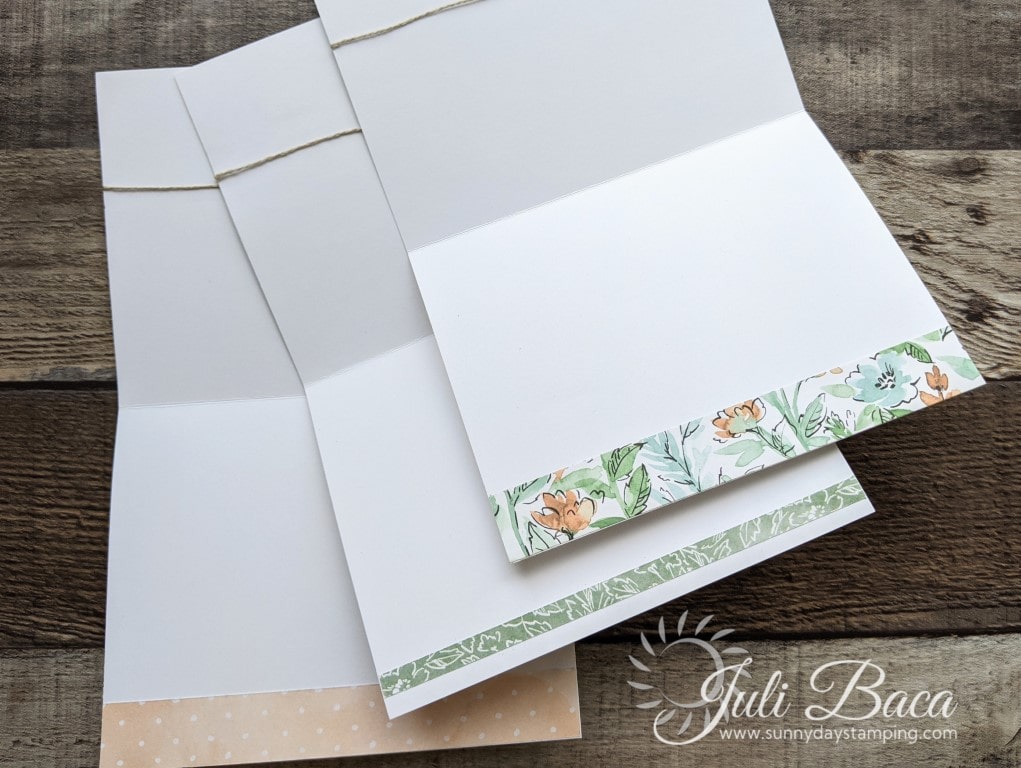
Decorate the inside of your card with a piece of leftover DSP. So pretty!
It’s Sale-a-bration time which means it’s the perfect time to treat yourself or get an early start on holiday shopping!
Measurements:
Cardstock card: 8 ½″ x 5 “1/2” scored at 4 ¼”
DSP cut at 3 ¼” x 5 ½” and then cut a ½” strip out of this piece
Supply list with item numbers:
Choose your favorite Designer Series Paper and then pick a coordinating cardstock.
Hand-Penned Designer Series Paper | |
Sweet Ice Cream Stamp Set | |
Linen Thread | |
Memento Black Ink Pad | |
Basic White Cardstock | |
Multipurpose Liquid Glue | |
Simply Shammy | |
Grid Paper | |
Paper Trimmer | |
Acrylic Block H |

