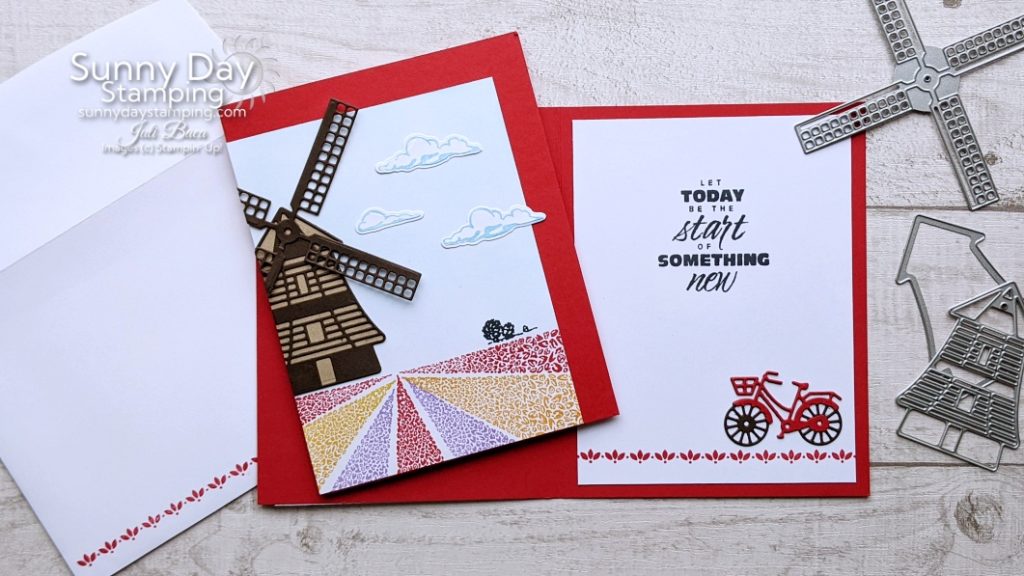
Confused by how to use the Tulip Fields bundle with the windmill? I break it down and show you how easy it is to make great cards! Watch the video for lots of tips!
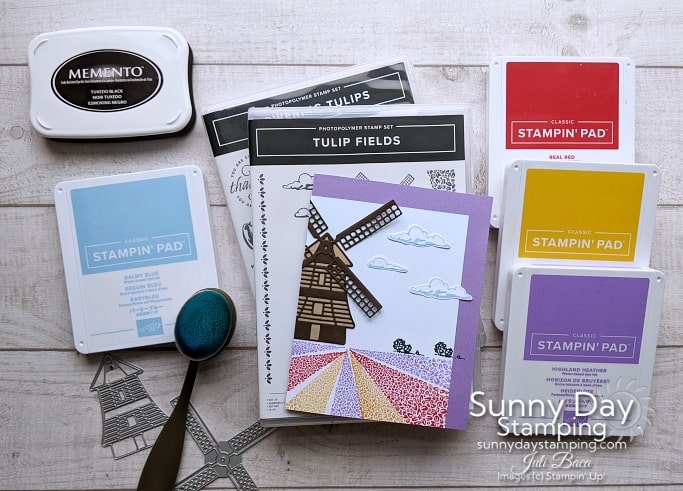
Measurements & Supplies
Cutting and Scoring Measurements:
Colored cardstock base (Highland Heather):
- 8 1/2” x 5 1/2” (scored at 4 1/4” & folded)
Basic White cardstock:
- 5” x 3 3/4”
- 5 1/8” x 3 7/8” (interior)
- Scrap to die cut clouds
Colored cardstock for windmill die (Early Espresso & Crum Cake)
Click the button below to see the supplies i used for ALL of the cards. "Uncheck" the unwanted colors from your cart to remove them.
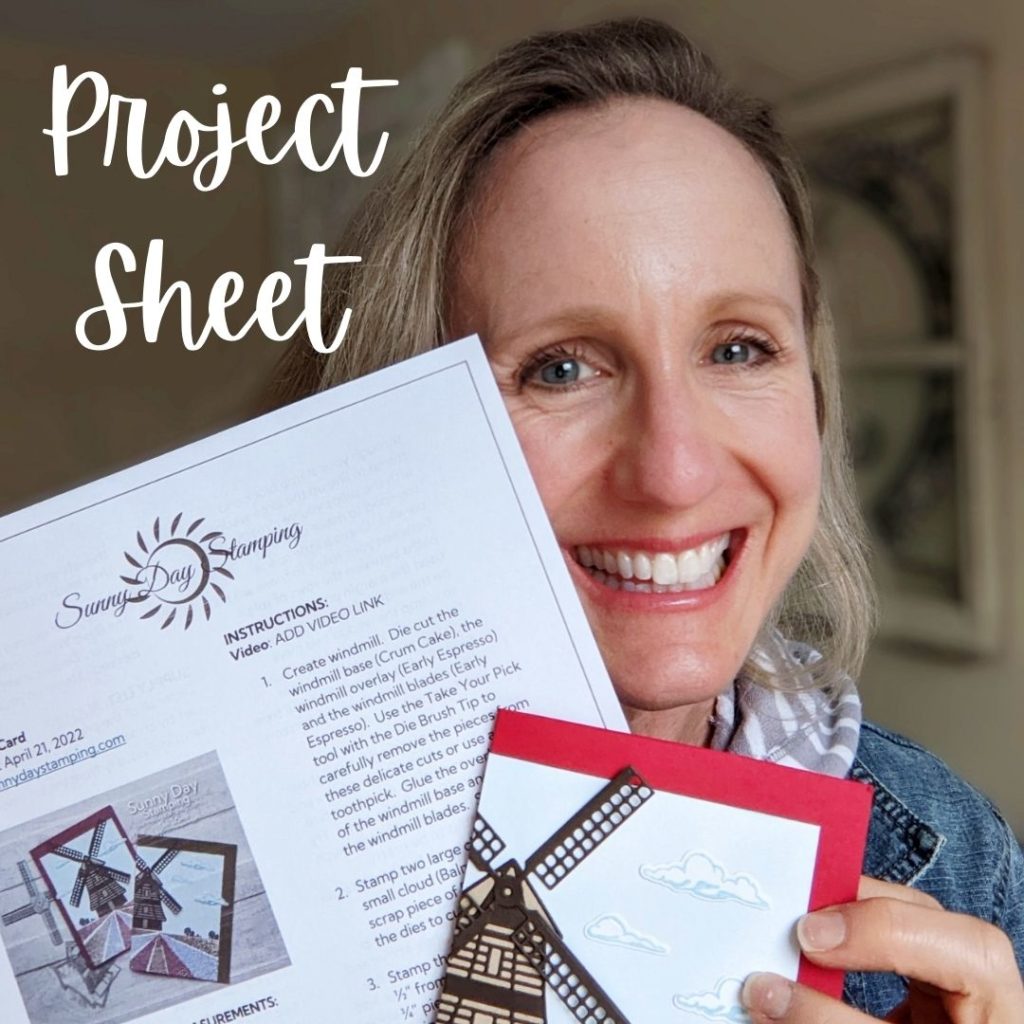
Get the FREE Print & Make Project Sheet
-
Save
Easily Customizable
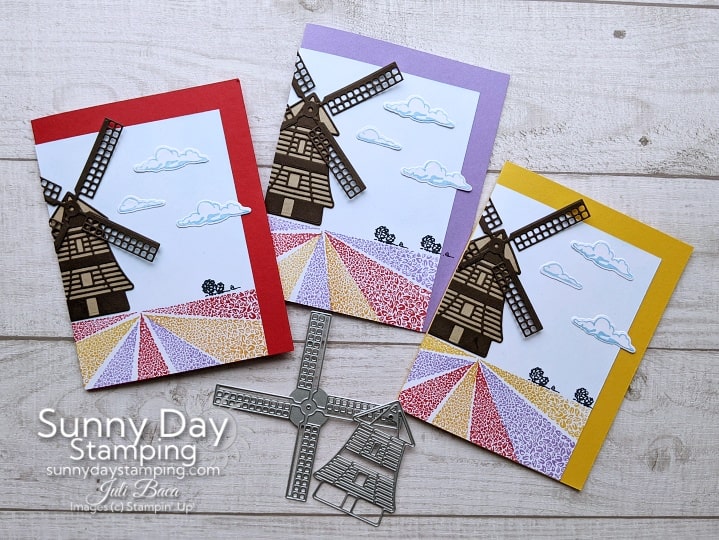
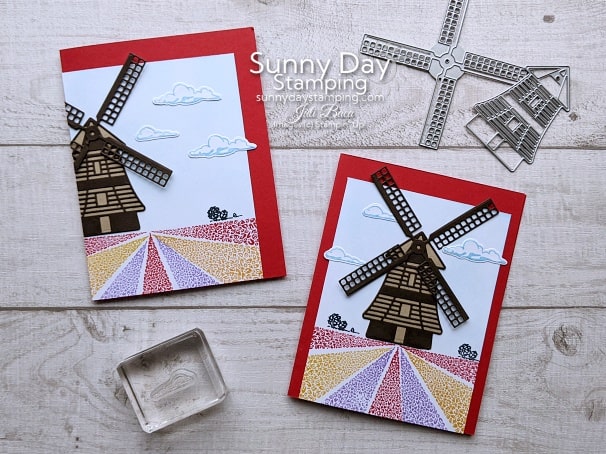
Select your favorite tulip colors and then choose the matching color of cardstock. It’s that easy! Here are some examples.
-
Save
-
Save
-
Save
-
Save
-
Save
-
Save
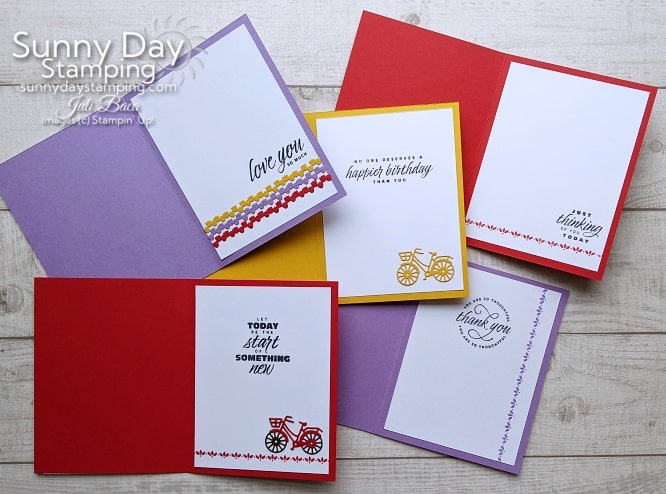
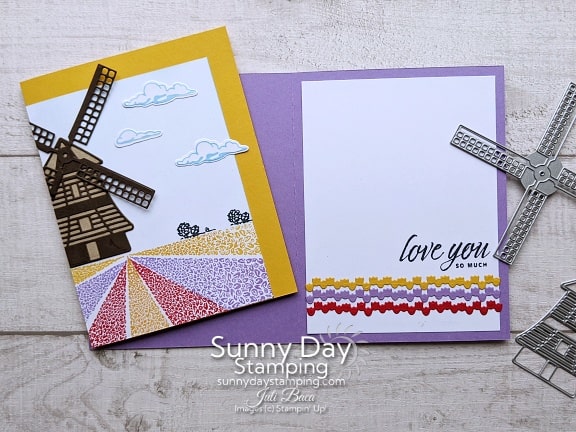
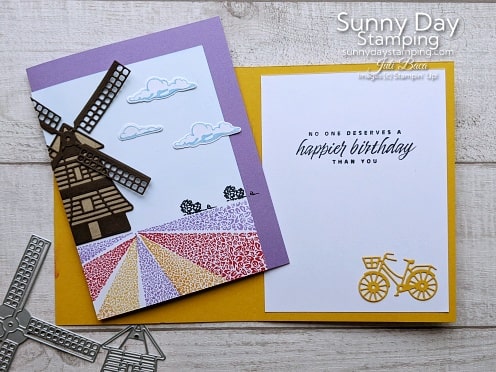
You can center the windmill or set it off to the side and trim the excess. Use the other dies in the set to decorate the inside of your card. For the sentiments, I used the Flowering Tulips stamp set.
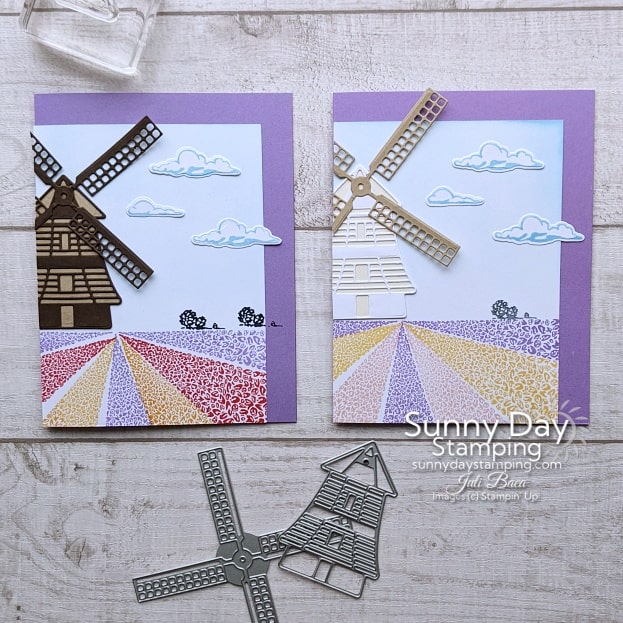
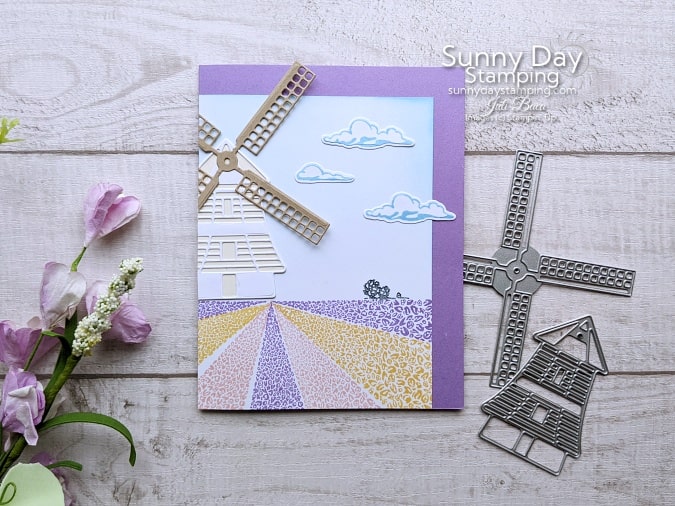
Pastel Card
Change up the colors of the windmill and flowers to get a softer look. For the card on the right, I used Very Vanilla, Basic White and Crum Cake for the windmill. The tulips are in So Saffron, Blushing Bride and Highland Heather.
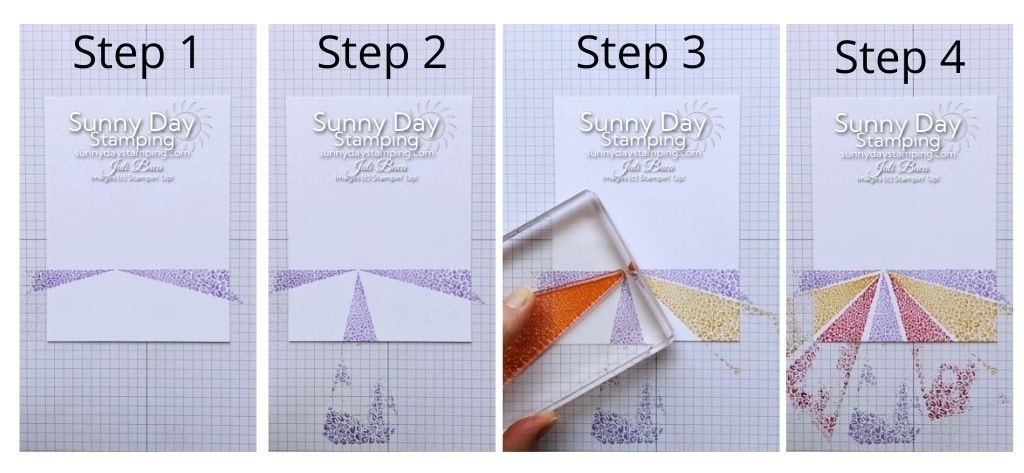
Tips for Stamping Tulip Fields
I was so confused when I saw this stamp set, but it really is easy if you follow these steps. Pro tip: use grid paper to line up your stamp and your paper to get a nice straight line of flowers.
-
Save
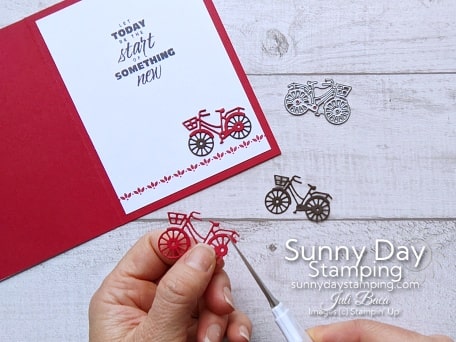
Layer Die Cuts
How do you get to colors in one die cut image? Cut 2 pieces out of different colors of paper. Reshape the piece to allow the other color to show through when you layer them.
-
Save

