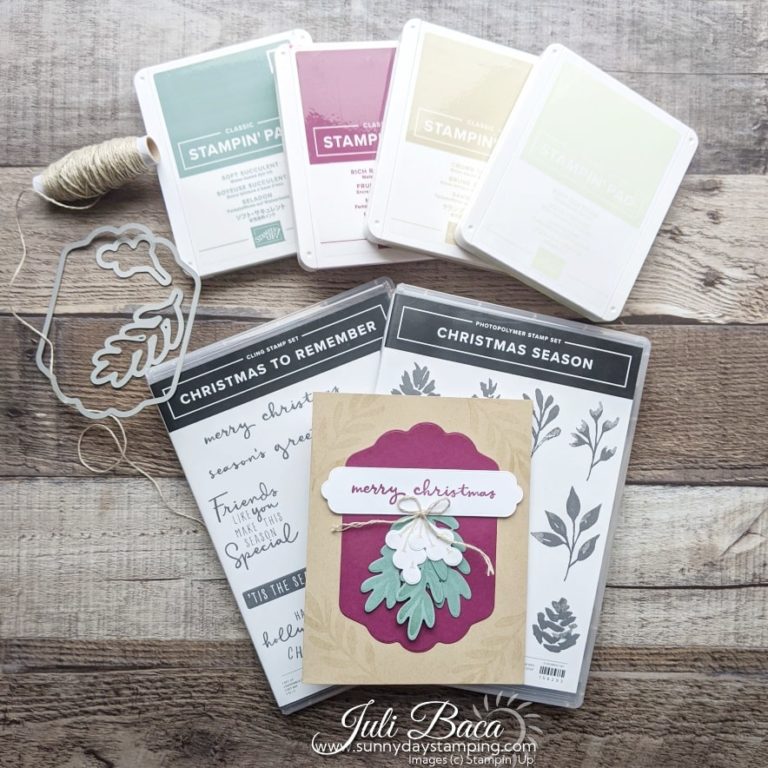
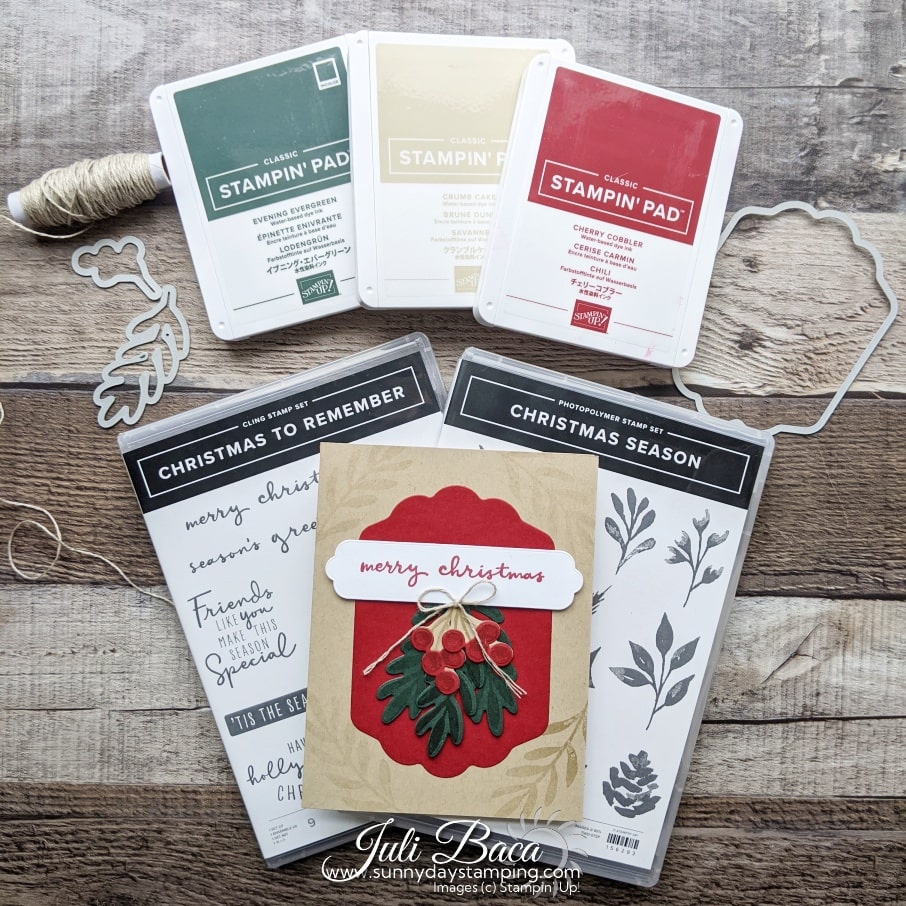
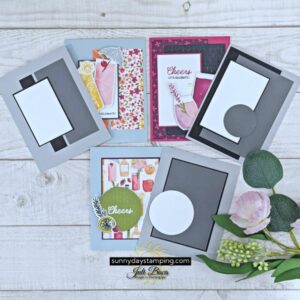
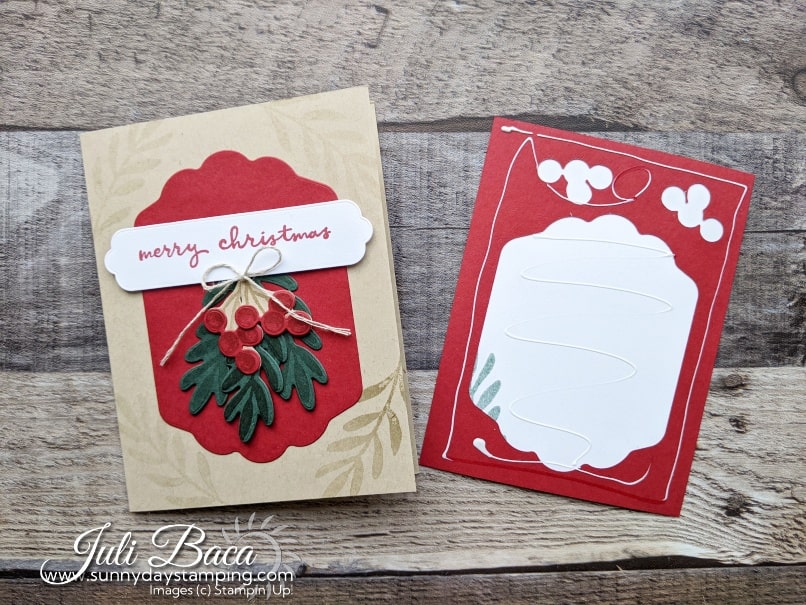
This is the first project in my Christmas Series! I will be posting a new Christmas project every Monday & Thursday this month! In this card, I will show you how to enlarge a die cut and also give you some paper saving tips! Let’s get started!
Measurements & Supplies
Measurements:
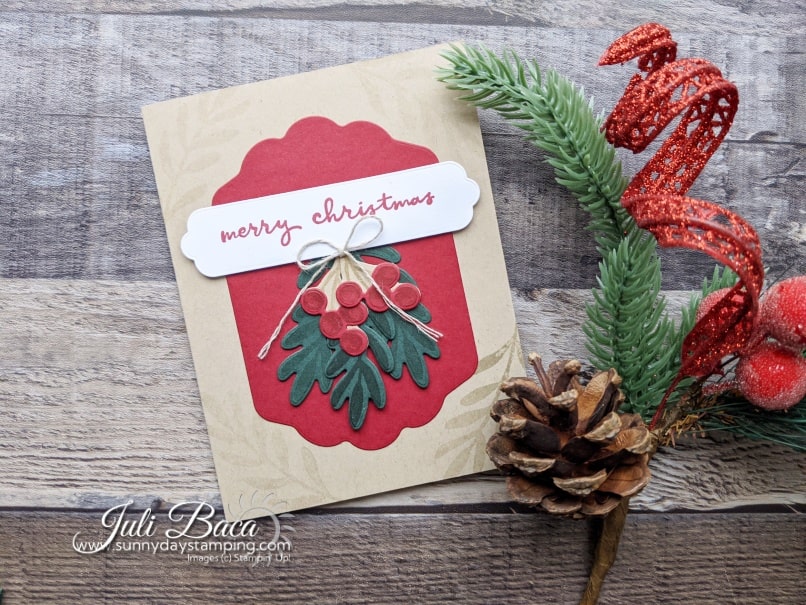
Rich Razzleberry/Soft Succulent Variation:
- Crumb Cake cardstock card base: 8 1/2” x 5 1/2” (scored at 4 1/4” and folded)
- Soft Succulent cardstock scrap for leaf die cuts (3)
- Basic White cardstock scrap for berries (2) and sentiment die cuts
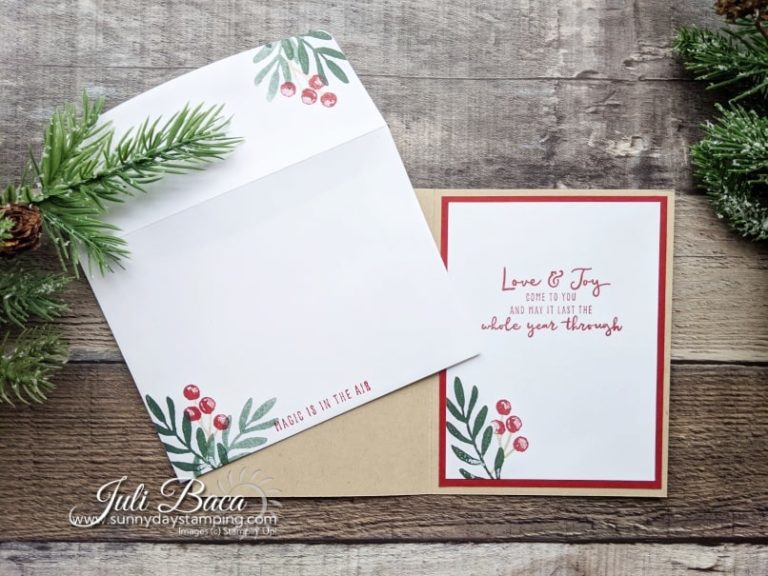
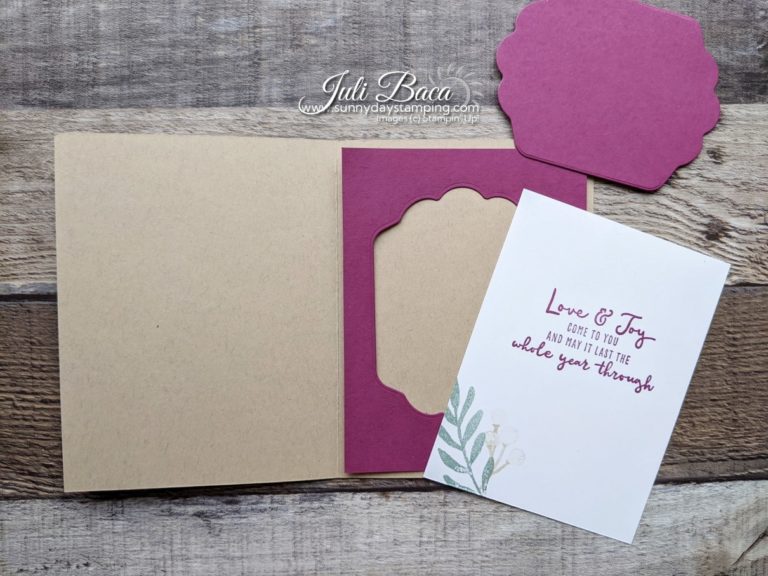
- Rich Razzleberry cardstock for inside (cut shield out of this piece): 5 1/4” x 4”
- Basic White cardstock for inside: 5” x 3 3/4″
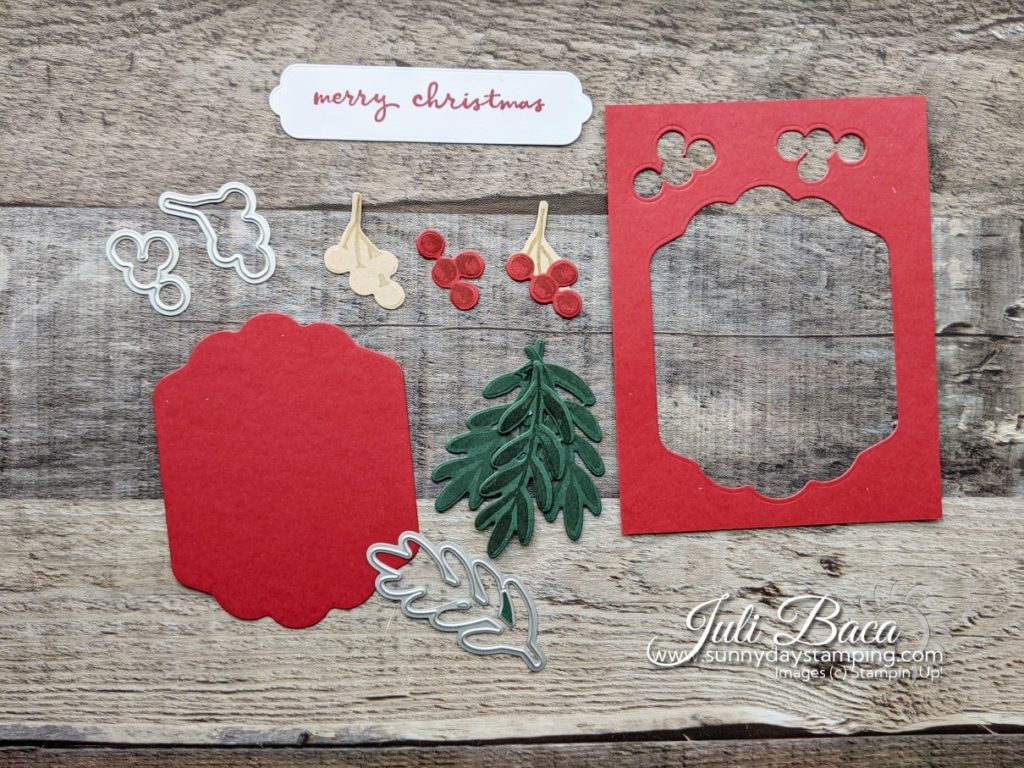
Cherry Cobbler/Evening Evergreen variation:
- Crumb Cake cardstock card base: 8 1/2” x 5 1/2” (scored at 4 1/4” and folded)
- Evening Evergreen cardstock scrap for leaf die cuts (3)
- Crumb Cake cardstock scrap for stem die cuts (2)
- Basic White cardstock scrap for sentiment die cut
- Cherry Cobbler cardstock for inside (cut shield and berries out of this piece): 5 1/4” x 4”
- Basic White cardstock for inside: 5” x 3 3/4″
free project sheet downloads at bottom of post
-
Save
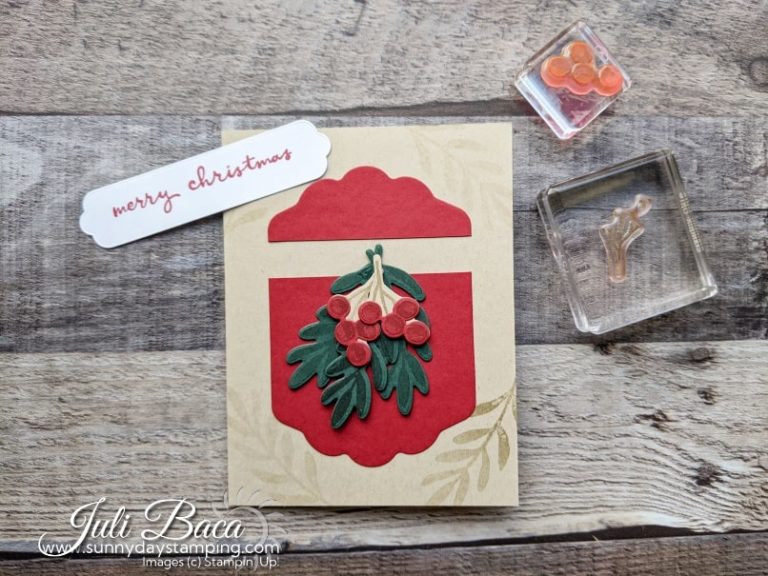
How to Enlarge a Die Cut
-
Save
Cut the large “shield” die near the top. Separate it to enlongate the image. Use the sentiment to cover the gap!
Paper Saving Tip
-
Save
-
Save
-
Save


