Cut & Flip Method for Easy Card Making

Cut & Flip Method for Easy Card Making
  • Save

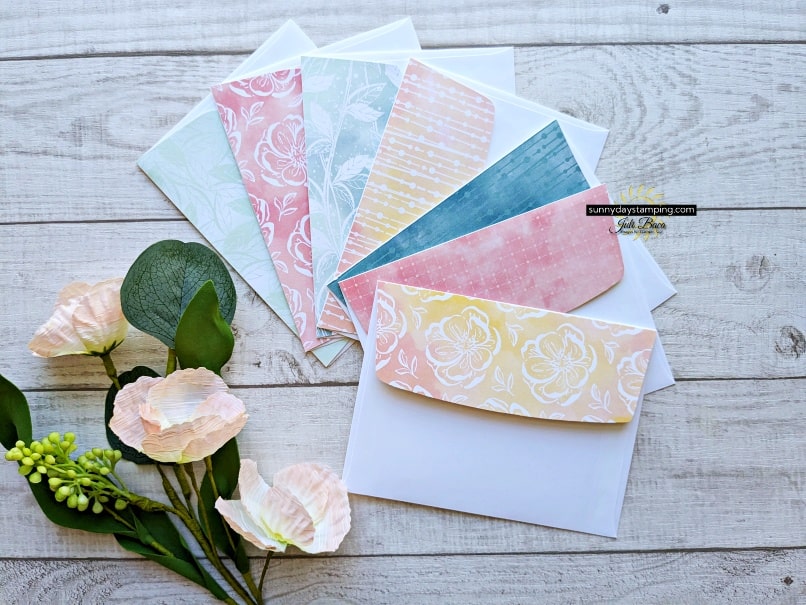
Make quick and easy cards with the Cut & Flip Method!  I’ll show you exactly how to cut the paper to not only decorate the card, but create a matching envelope with one piece of patterned paper…with no waste!  I’ve got stamping tips for you too, because I want you to be able to make these at home the easy way!  Watch video for all the tips!

Measurements

Petal Pink

  • Card Base: 8 1/2″ x 5 1/2″
    • Score at 4 1/4″

Basic White

  • Front Layer: 3 7/8” x 5 1/8”
    • Punch oval out of this layer
  • Inside Layer: 5 1/4″ x 4”


Designer Series Paper

  • Layer: 3 3/4” x 5”
  • Strip: 3 3/4″ x 1”
  • Envelope: 2 1/4″ x 6”

*Keep reading for paper cutting tips!

Get My FREE Print & Make Project Sheets

  • Save
Sign up for my free email and get project sheets delivered right to your inbox every week! If you are already an email subscriber and would like past project sheets, just let me know the name of the ones you want. Thank you for subscribing!

Get Ideas!

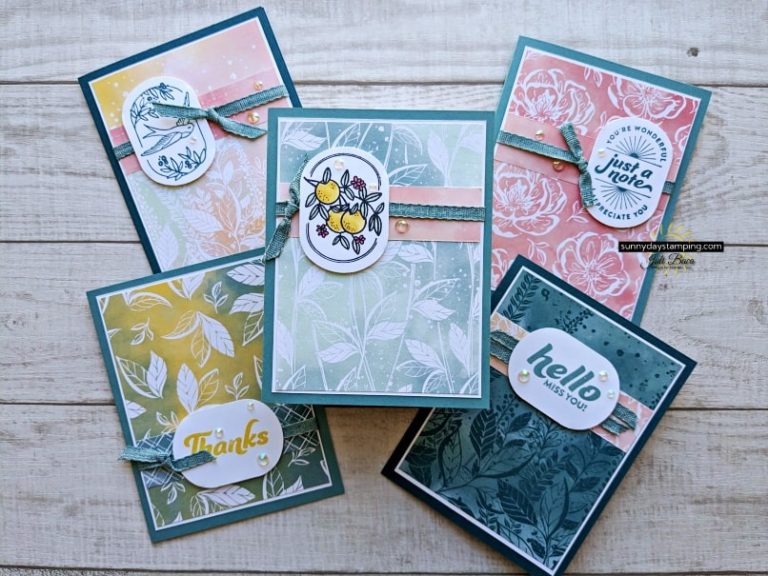
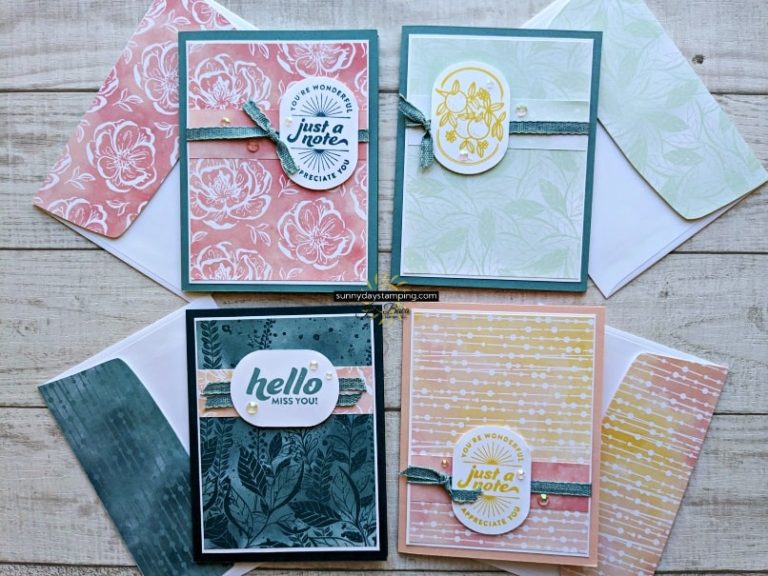
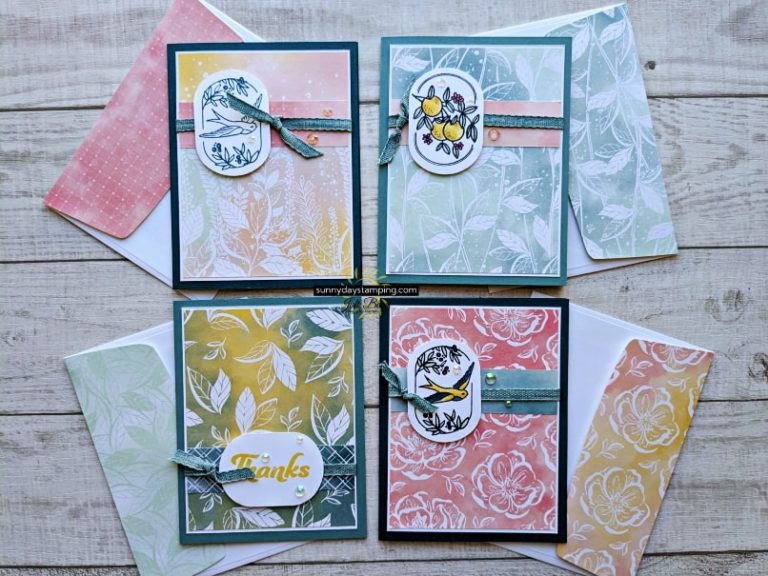
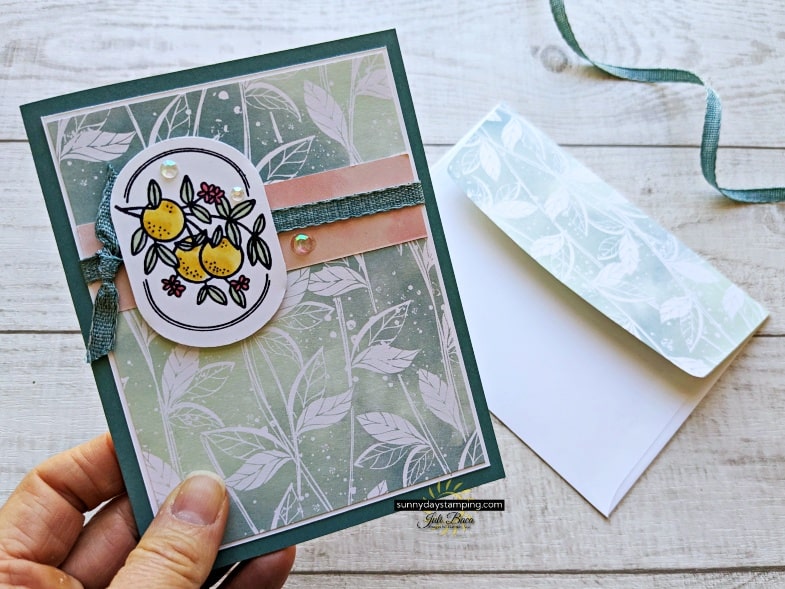
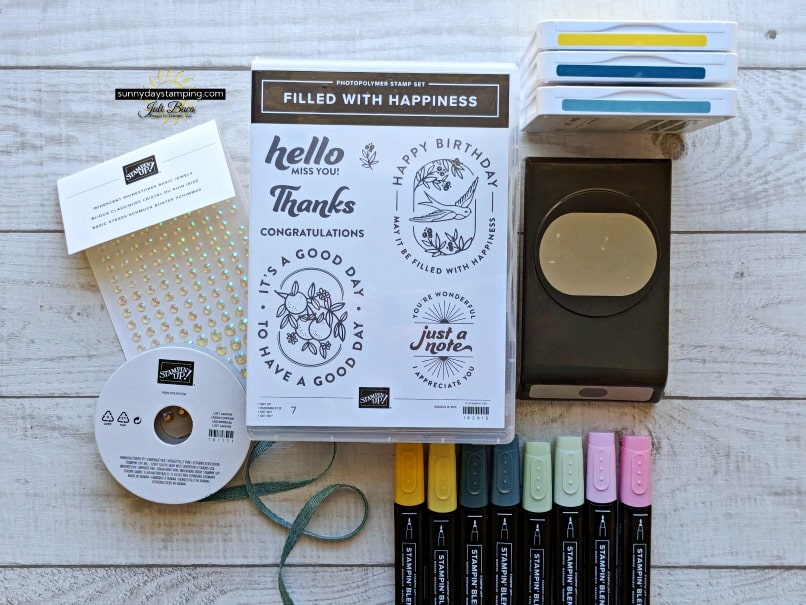
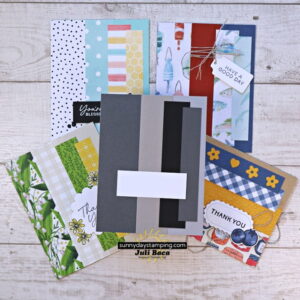
Start by choosing your favorite pack of Designer Series Paper.  All of the colors will work perfectly together to make a lot of cards!  Next choose one color of cardstock and an ink color.  These will match perfectly to the patterned paper because that is what Stampin’ Up! is so awesome at!  Choose any focal point for the front of the card!

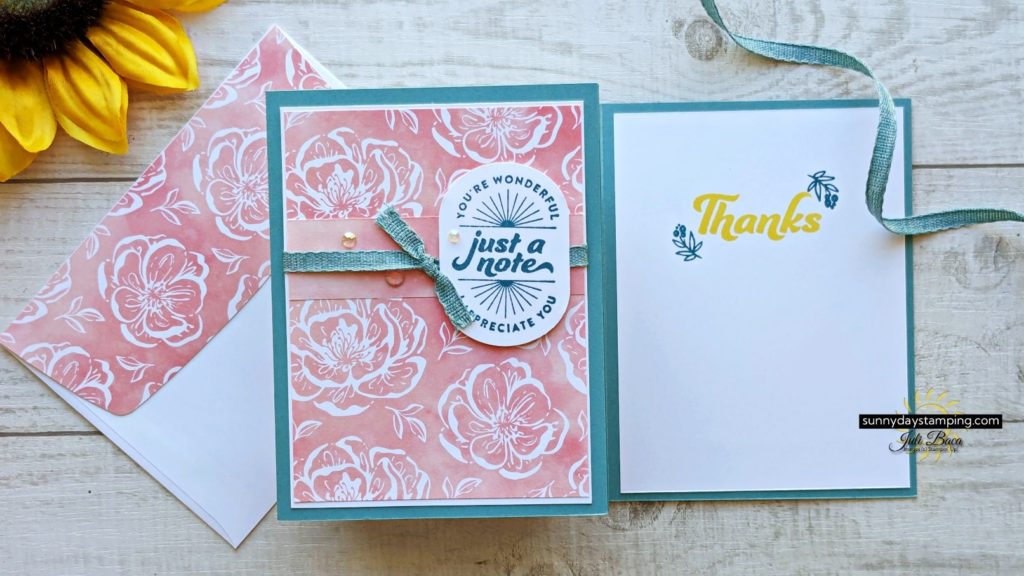
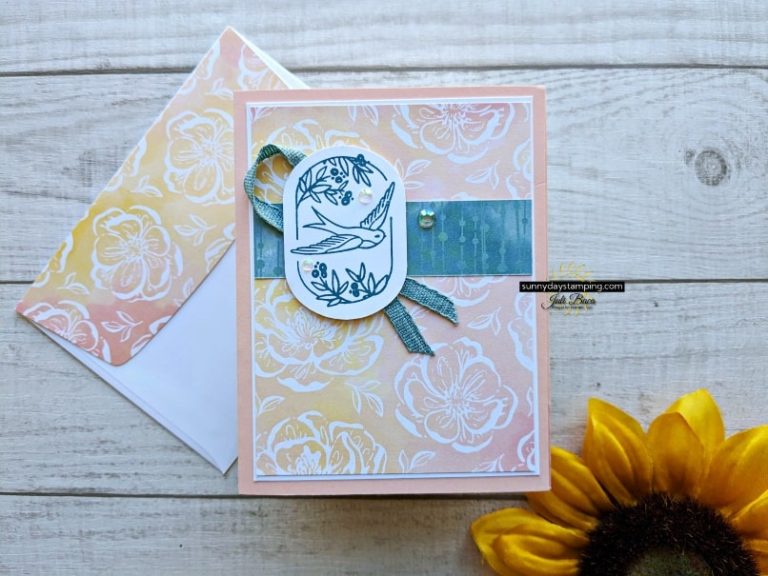
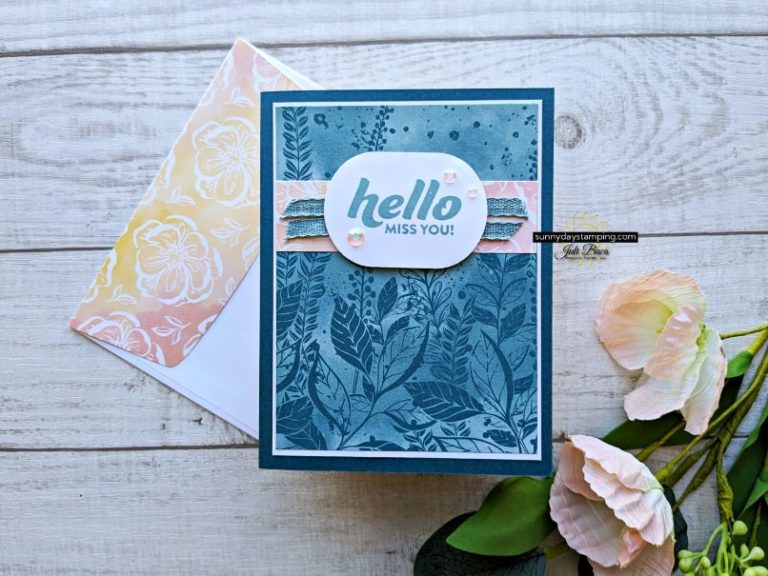
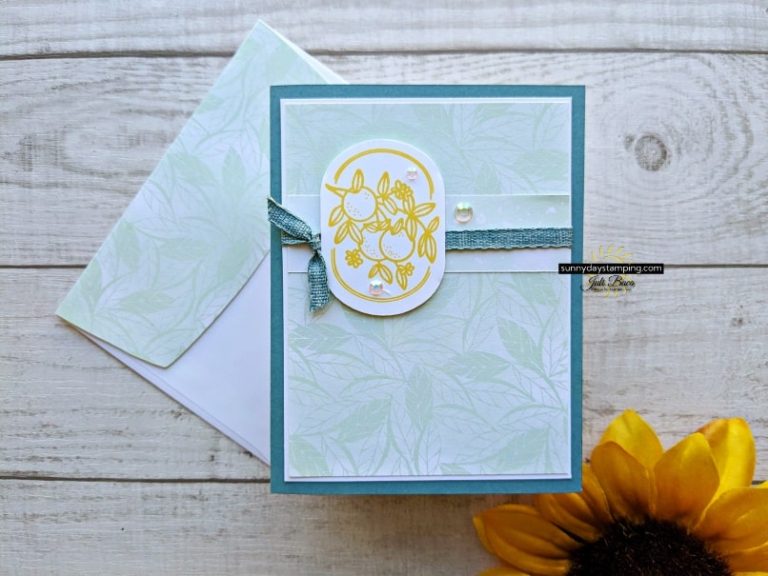
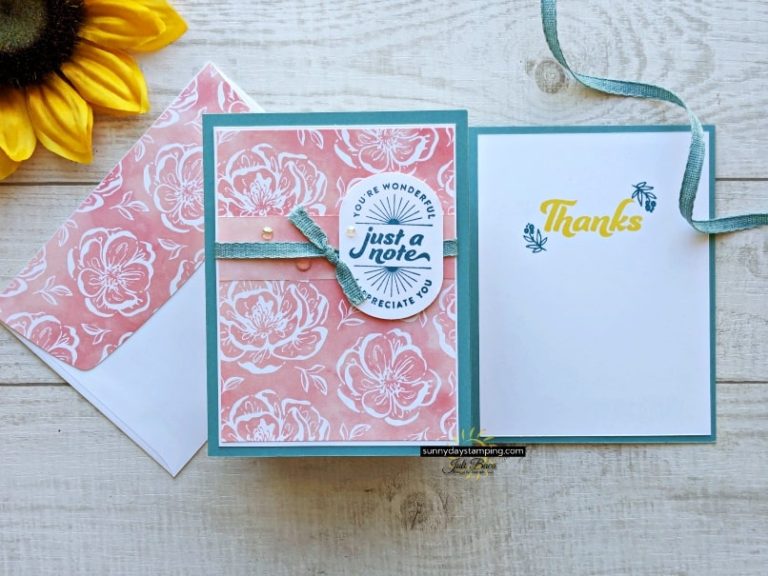
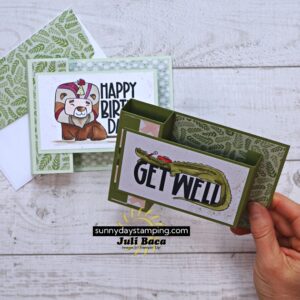
I used the Filled with Happiness stamp set and the Modern Oval punch to create the focal point for each card.  You can keep it simple and just use one color to stamp the image.  Another option is to use Stampin’ Blends to color in the images (see photo below).

  • Save

Helpful Diagrams

  • Save

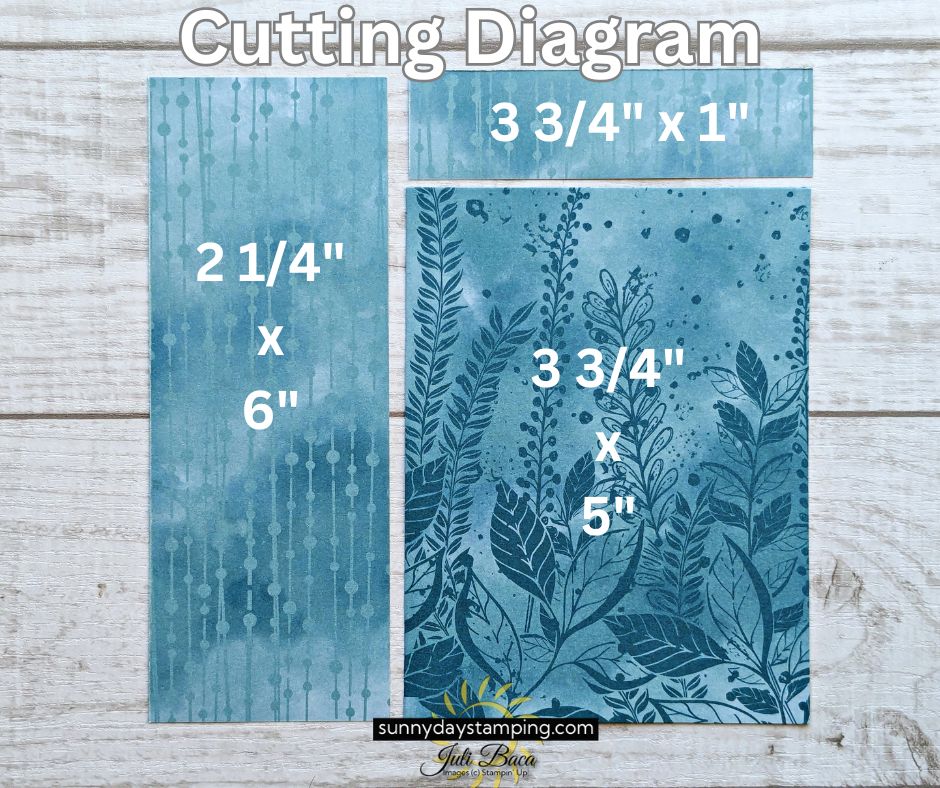
Follow the instructions in the video for the easy way to cut the paper.  This is what it will look like when you cut the pieces for the front of the card and the envelope!  There’s no wasted paper!

  • Save

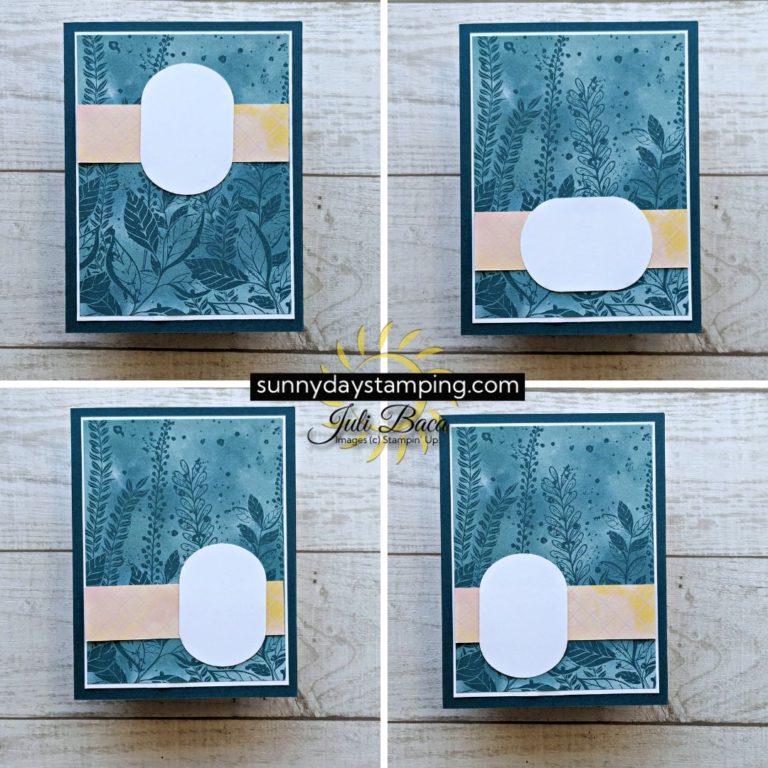
Above are 4 different ways you can place the focal point on your card! 

Don't Forget to Make the Insides and Envelopes Pretty!

  • Save
  • Save

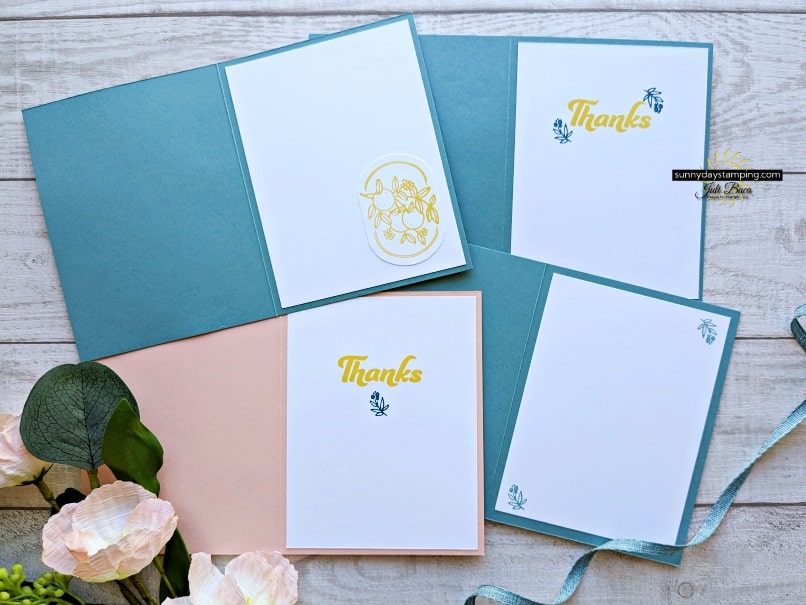
Add a stamp to the back of the card and something pretty to the inside!  Above are some examples to give you ideas.


It’s easy to decorate the envelope and we already cut the paper for it earlier!  Watch the video to learn how!

Want to Make These Cards?

Click the button below for the full list of all the supplies I used.  If you want to purchase anything, simply add them to your cart.  

Don’t forget to use my host code (at the top of my website) to earn points towards a FREE STAMP SET of your choice!

Sale-a-Bration ENDS SOON!

February 29th is the last day to get free products with every $50 you order!  New freebies were added to the selection of products available for free (see photo for some of them)!

The free gift that comes in your starter kit also ends at the end of February. 

  • Option 1: Free Stampin’ Glass Mat Studio
  • Option 2:  Add an extra $30 to your starter kit (a total of $155 in products for just $99).

Earn free products when you shop, host or join!  Jan-Feb 2024

Choose a free product from the Sale-a-bration exclusive selection with every $50!  If you “host” by collecting orders from friends or your personal order is $300, you get $30 to spend on any product of your choice!

Join my team and choose one of 2 free gifts to add to your starter kit!  The Stampin’ Glass Mat Studio ($60 value) or add an additonal $30 in products.  The starter kit is $99 with free shipping and you choose $125 in products!  Click to find out more benefits!

Thank you so much for visiting my website today!  I would love to answer any of your questions, please reach out to me through e-mail!  If you would like to place a Stampin’ Up! order, I would be thrilled if you selected me to be your demonstrator.

You might also be interested in:

Comments

No comments yet. Why don’t you start the discussion?

Leave a Reply

Your email address will not be published. Required fields are marked *