Take the guesswork out of measuring card layers! When your creative juices are flowing, you don’t want to have to stop to measure for a card layer. My team lead, Jackie Bolhuis at Klompenstampers.com, showed me this idea and I use it every time I design a card! I took her idea a step further and pre-cut white cardstock layers for each dimension so that I could quickly get to stamping without having to pull out my paper trimmer first. Check out the video for more explanation!
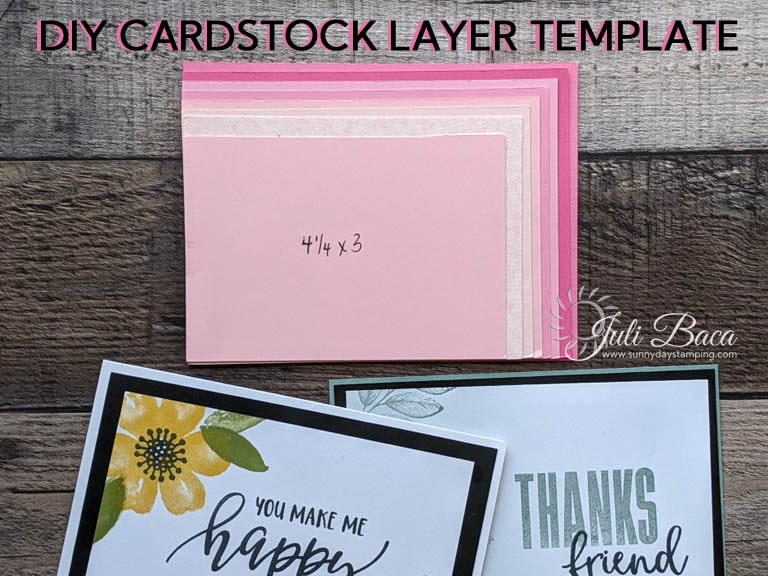
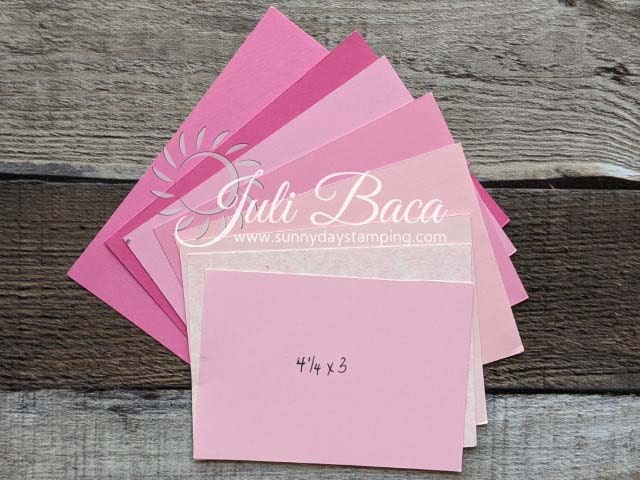
TIP 1: Make a set of card layer templates. Cut and label them with these dimesions.
5 1/4” x 4”
5 1/8” x 3 7/8”
5” x 3 3/4”
4 7/8” x 3 5/8”
4 3/4″ x 3 1/2″
4 5/8” x 3 3/8”
4 1/2″ x 3 1/4”
4 1/4″ x 3
-
Save
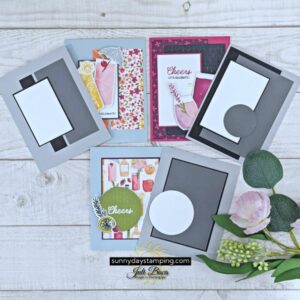
After you’ve decorated cardstock with stamping, you might want to add a layer or two underneath to frame your image and make it stand out. It can be hard to guess what the dimensions of those layers should be. Place your stamped image onto the templates to gauge what size border you want. Now you can cut your cardstock with confidence that you have the correct size.
Templates are based on the A2 size card which is the most popular size for card making (4 1/4″ x 5 1/2″) . The card layers decrease by 1/8” each size. This allows you to test your stamped image on the template to decide how wide of a border looks the best to you.
It helps to make the templates out of different colors so that you can put them back in order quickly and also so you can see the different layers. If they were all black and you wanted a double layer card, it would be hard to distinguish between the layers.
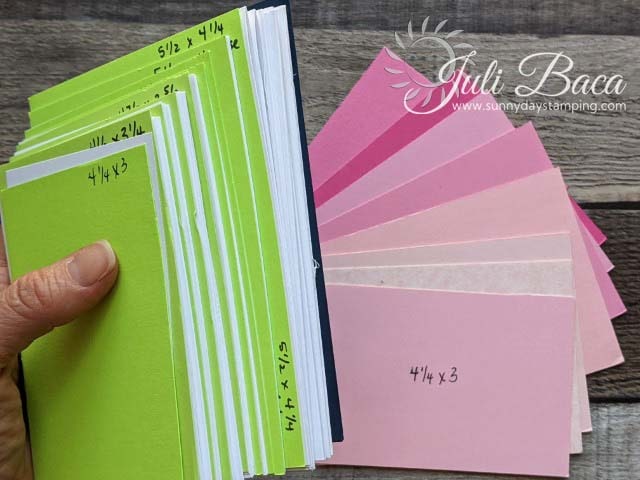
TIP 2: Pre-cut white cardstock for quick stamping!
-
Save
Get stamping right away by having the white cardstock pre-cut into a variety of different sizes. If you make a mistake while stamping, you don’t have to cut another piece of paper, you just grab another pre-cut piece from your stack. Make another set of the templates out of a single color to use as dividers between the different sizes of your white cardstock.

