Do you struggle to figure out the right size border when you are making a card? Make your life easier with a Cardstock Layer Guide! It is one of my favorite tools. Let me show you how to use it for quick and easy card making.
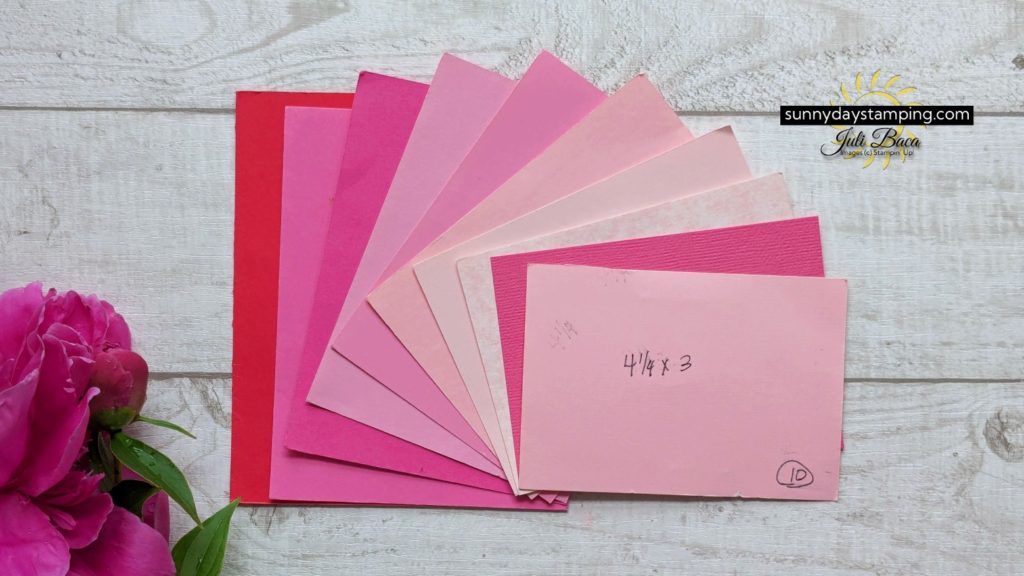
Cardstock Layer Guides are based on the A2 size card which is the most popular size for card making (4 1/4″ x 5 1/2″). The card layers decrease by 1/8” each size.
Choose a color that will stand out from the rest of the papers on your workspace
Choose different colors for each size, so you can see the difference in the layers (you can repeat the colors, but just don’t have them right next to each other).
Jackie Bolhuis at Klompenstampers gave me the idea for this tool. Click here for her website.
How to Use the Cardstock Layer Guide
Save
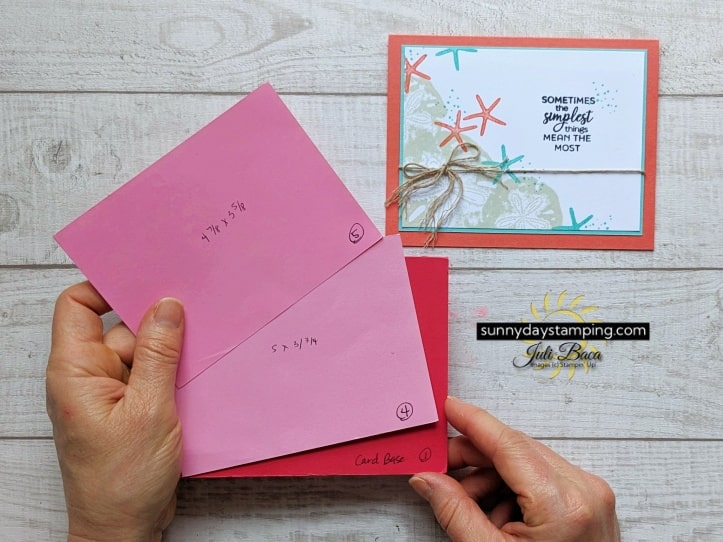
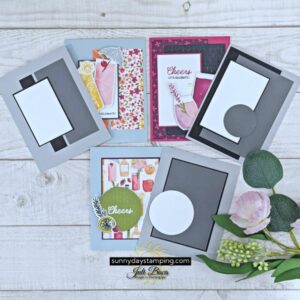
Use the Cardstock Layer Guide as a visual help in determining what size border you want to use for your focal point. Layer the different sizes until you find what you like.
Save
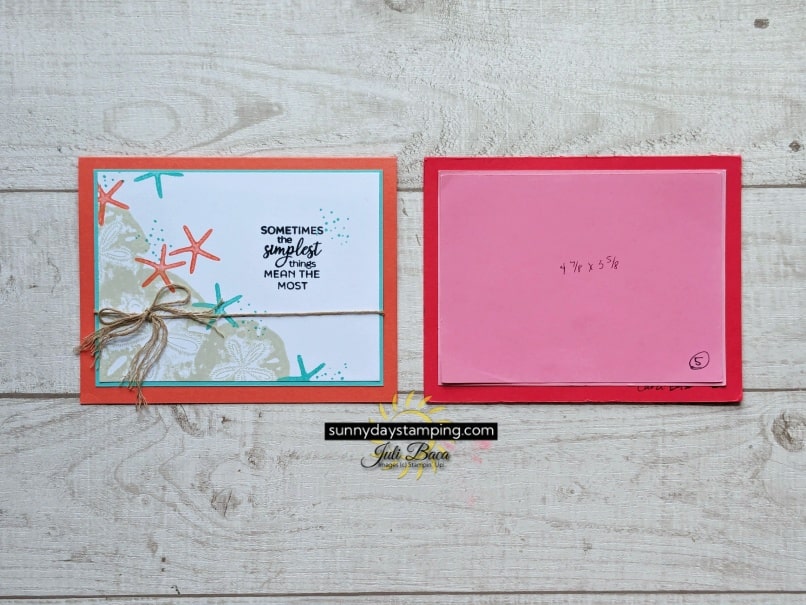
You can also use it to determine the sizes used in a card when you don’t have the measurements. Match up the guide to the layers used in the card. Now just read the measurements on the guide!
Save
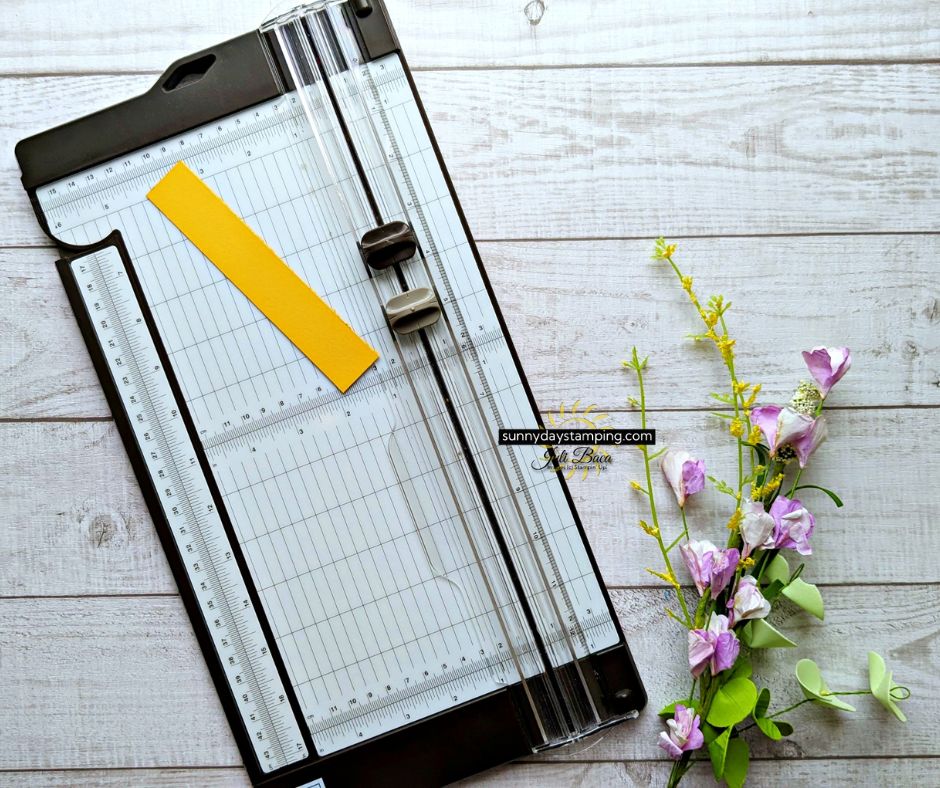
When you’ve already stamped a layer and you want to add a border, use the Cardstock Layer Guide to help you determine which size border. Sometimes that means, you have to trim your stamped image. Use the measurements on the guide to make that process easy! Watch the video for more tips!
I’m happy to help and would love to answer any of your questions. Please reach out to me through e-mail. If you would like to place a Stampin’ Up! order, I would be thrilled if you selected me to be your demonstrator.