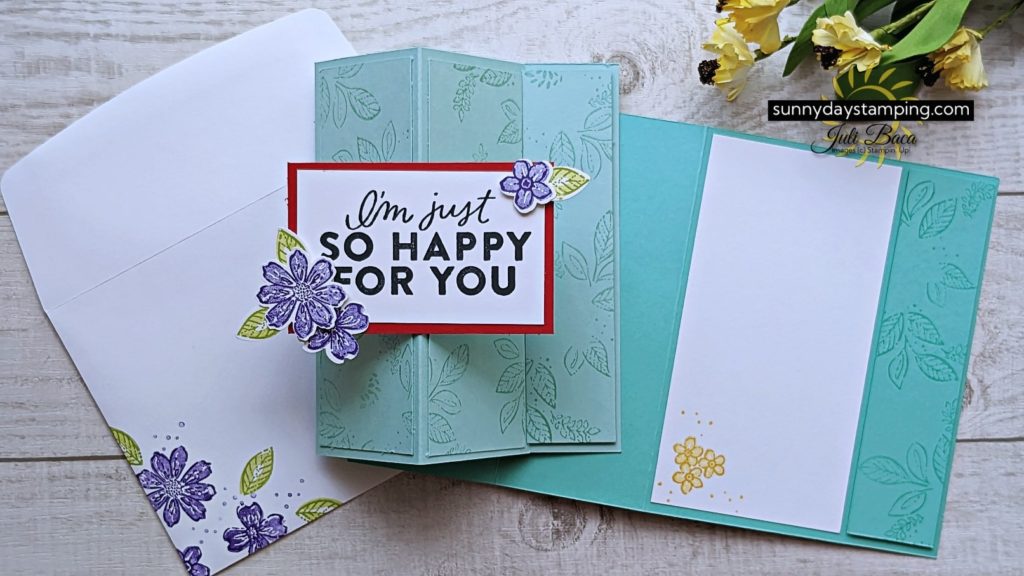
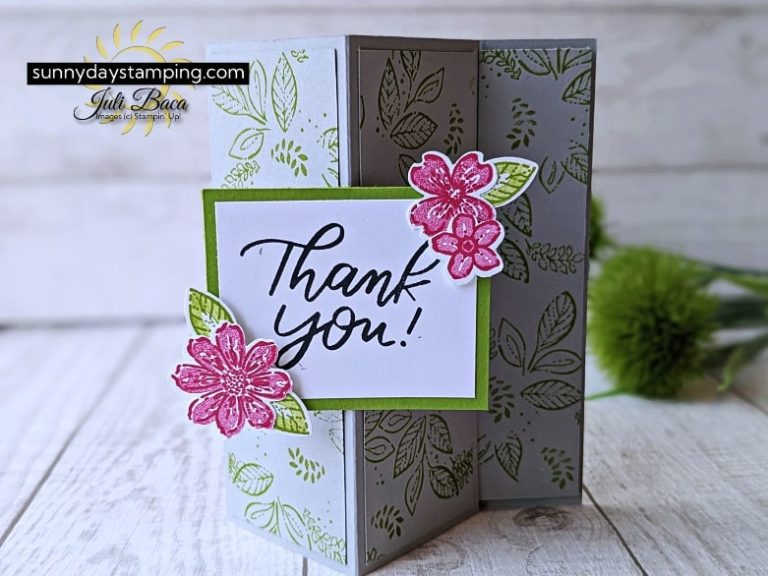
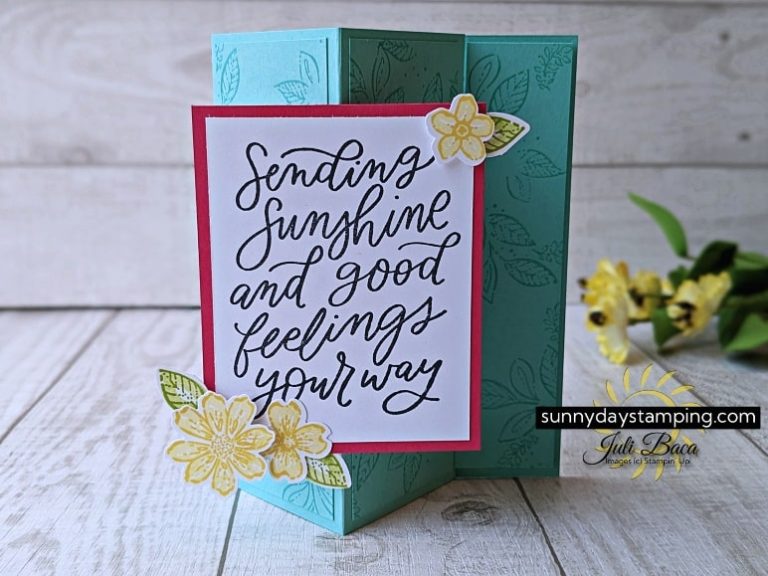
The focal point of this fun fold card appears to be floating off the card! I’ll show you the mechanism for making that magic happen. The card easily stands up so it can be displayed on a desk or mantel. The best part is that it folds flat for mailing!
Measurements
Coastal Cabana
- Card Base: 8 1/2” x 5 1/2”, scored at 2 1/8” & 4 1/4″
- Layering Panels: 5” x 5 1/4″; stamped, then with the 5” end at the top of the cutter, cut at 1 1/4″ & (2) 1 7/8”
- Hinges: (2) 2” x 2”, scored at 1”
Melon Mambo
- Cardstock Layer: use layer measurement for desired sentiment (see below)
Basic White:
- Front Stamped Layer: use Basic White measurement for desired sentiment (see below)
- Interior Stamped Layer: 2 3/4″ x 5 1/4″
- Scraps: for flowers
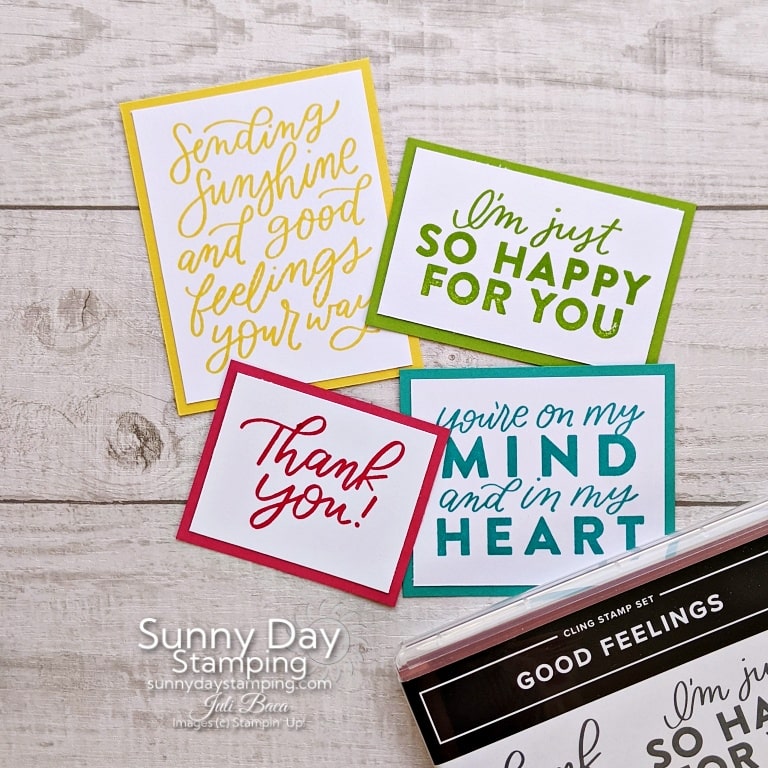
Measurements for Sentiments
SENDING SUNSHINE AND GOOD FEELINGS YOUR WAY
- Basic White: 2 3/4″ X 3 1/2″
- Layer: 3” x 3 3/4″
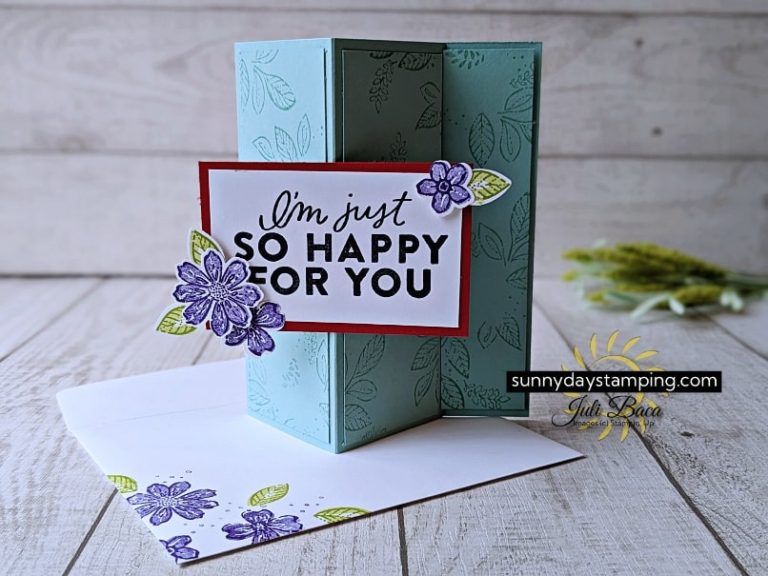
I’M JUST SO HAPPY FOR YOU
- Basic White: 3 1/4″ x 2”
- Layer: 3 1/2″ x 2 1/4″
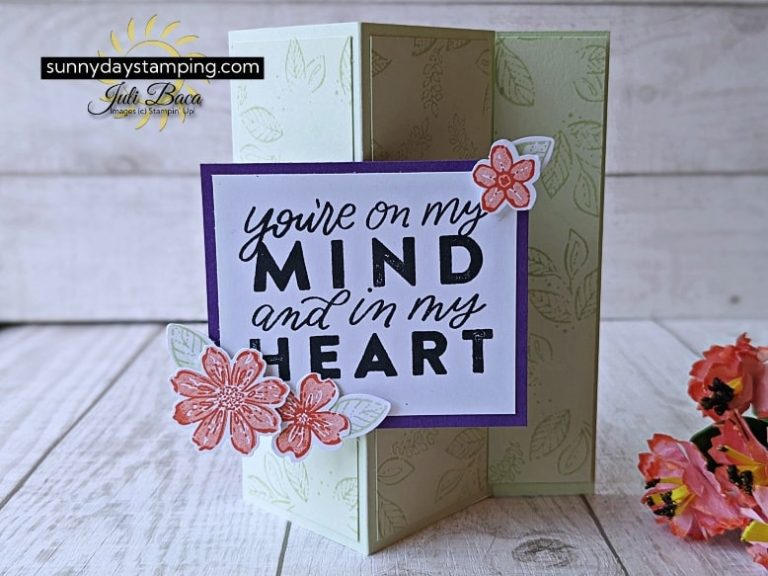
YOU’RE ON MY MIND AND IN MY HEART
- Basic White: 3” x 2 1/2″
- Layer: 3 1/4″ x 2 3/4″
THANK YOU
- Basic White: 2 1/2″ x 2”
- Layer: 2 3/4″ x 2 1/4″
Get FREE Project Sheets
Sign up for my email list to get a new project sheet FREE every week! Visit my tutorial store to purchase previous project sheets bundled by month they were released.
Easily Customizable
Have fun playing around with the colors for the background, layer for the focal point and flowers!
-
Save
-
Save
-
Save
-
Save
Color Combinations
For the backgrounds, I used a tone-on-tone (same color ink on cardstock) for a more subtle look. The “Thank You” card has a more bold background. Which way do you like best?
- Card #1 Smoky Slate, Garden Green, Melon Mambo
- Card #2 Coastal Cabana, Melon Mambo, Daffodil Delight, Granny Apple Green
- Card #3 Pool Party, Real Red, Gorgeous Grape, Granny Apple Green
- Card #4 Soft Seafoam, Gorgeous Grape, Calypso Coral
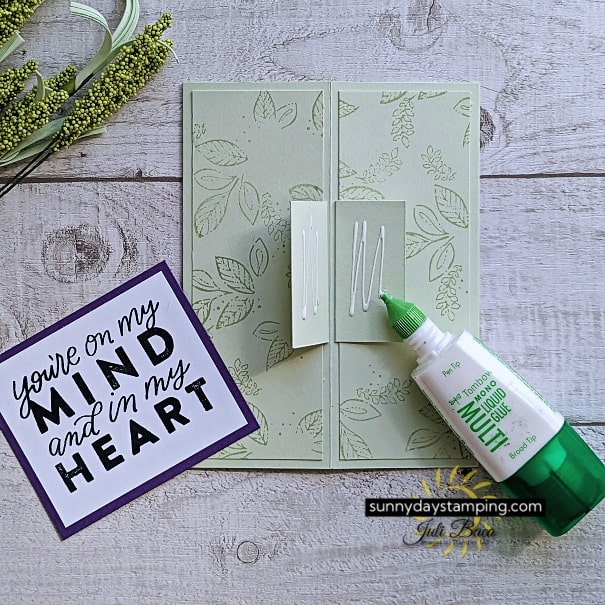
Floating Mechanism

-
Save
Glue the hinges with the folded edge towards the fold in the front of the card. Layer the panels on top to hide the mechanism.
-
Save
To add the focal point to the front of the card, place adhesive on the tabs of the mechanism. Attach the focal point!
March Specials
Add 3 card making templates to your collection from this month’s Creativity Made Simple Volume 6 Class! Use the templates for quick & easy card making.
- Creativity Made Simple Volume 6 tutorial FREE with your $50 order this month with me!
- New Kits & Online Exclusives added!
I’m happy to help and would love to answer any of your questions. Please reach out to me through e-mail. If you would like to place a Stampin’ Up! order, I would be thrilled if you selected me to be your demonstrator.

