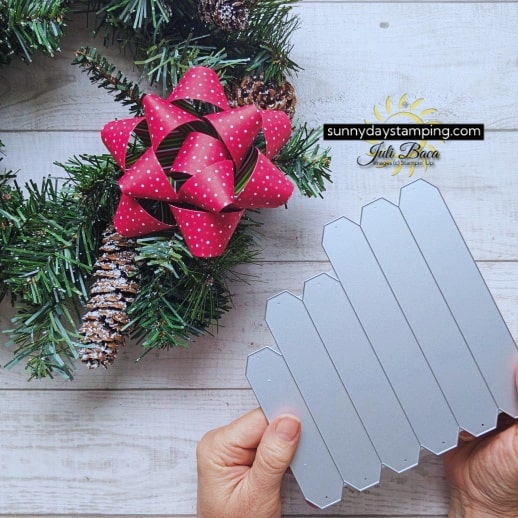
Learn how to create beautiful DIY bows effortlessly with the Take a Bow die! In this video, I’m sharing my top tips to simplify the process even further.
Click here for the paper clips I used in the video (Amazon Affiliate link)
Designer Series Paper: (2) 6”x 6”
Save
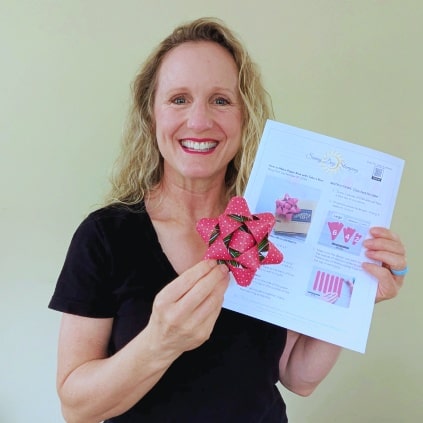
SPECIAL: Receive my written step-by-step, bow making photo tutorial free when you purchase the Take a Bow Bundle through me by October 31, 2024.
Get FREE Project Sheets
Sign up for my email list to get a new project sheet FREE every week! Visit my tutorial store to purchase previous project sheets bundled by month they were released.
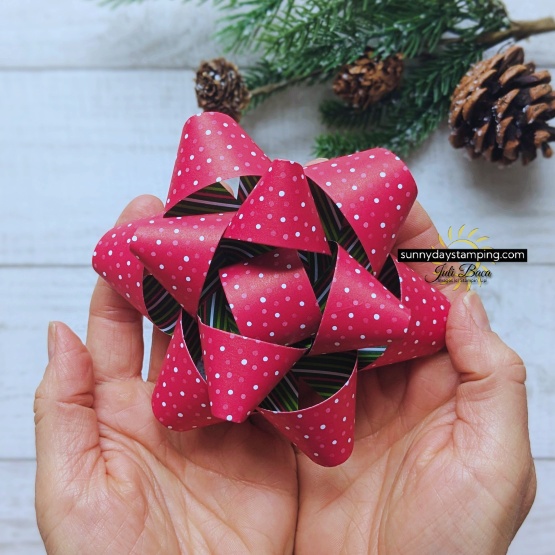
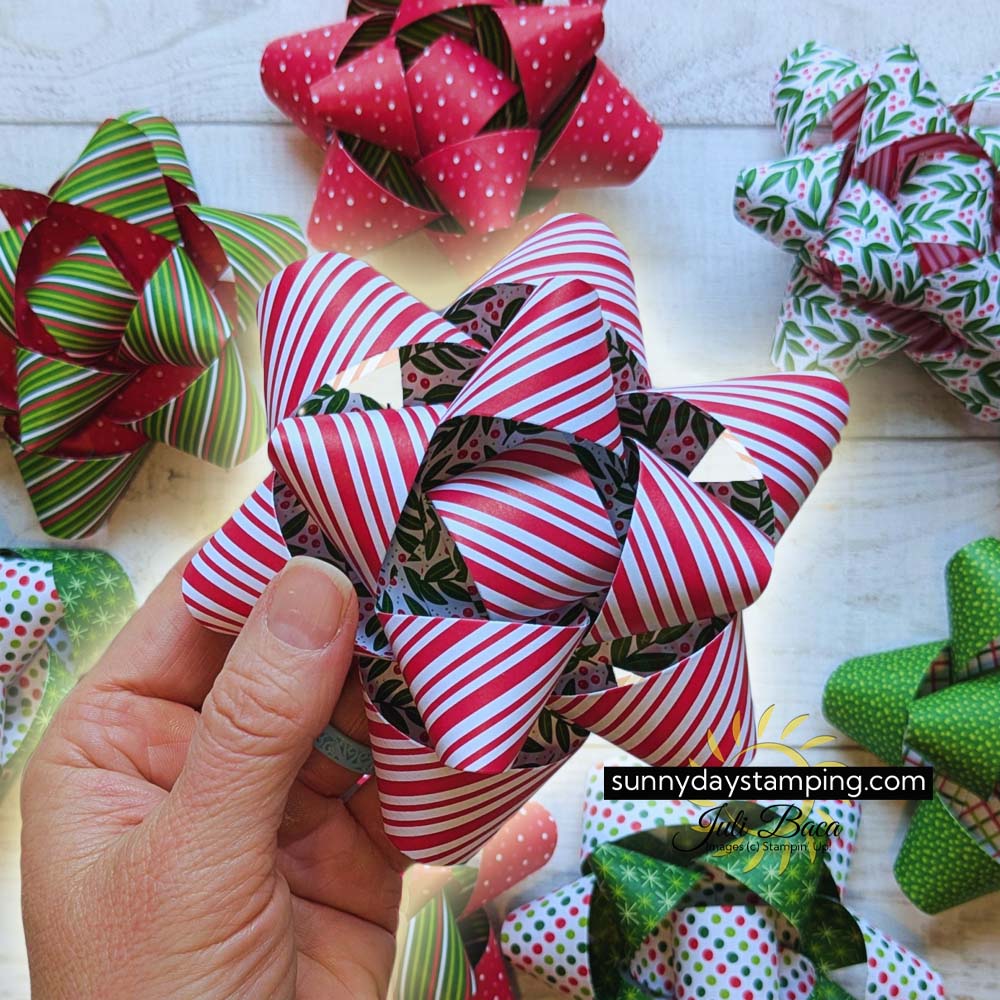
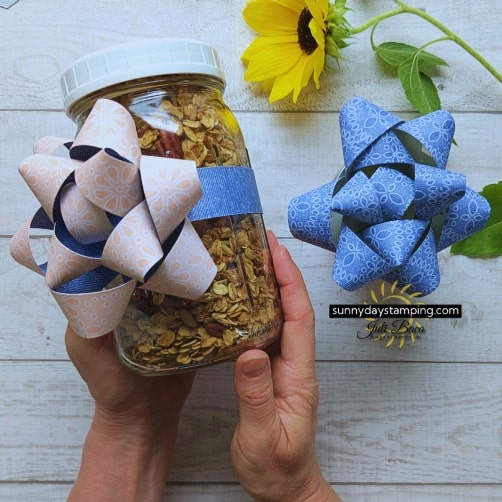
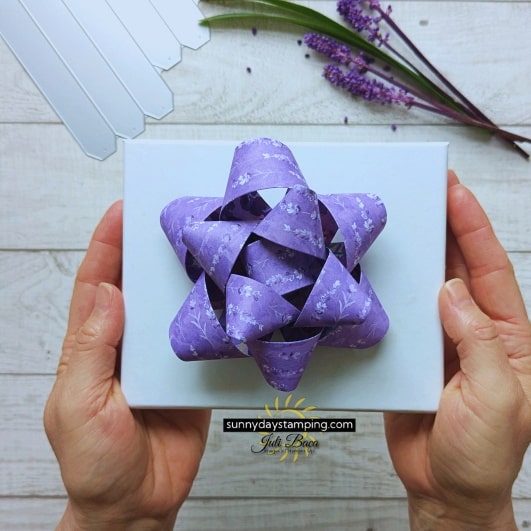
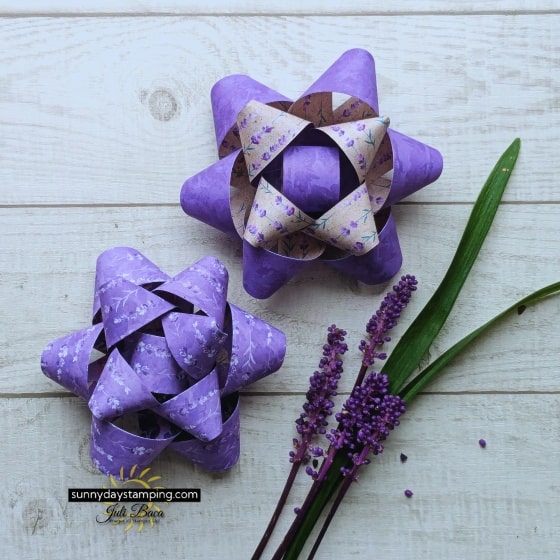
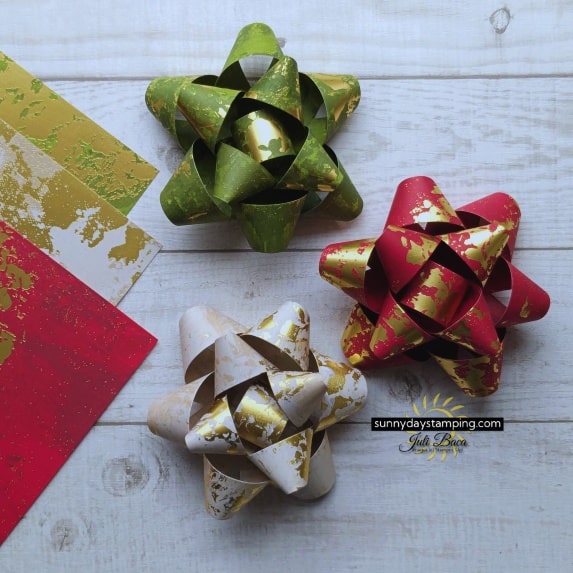
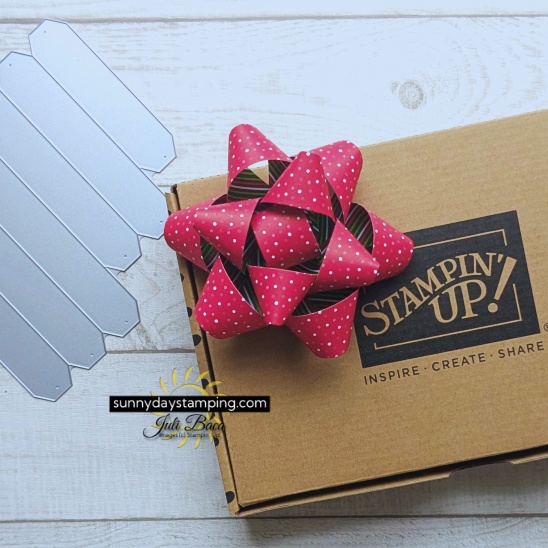
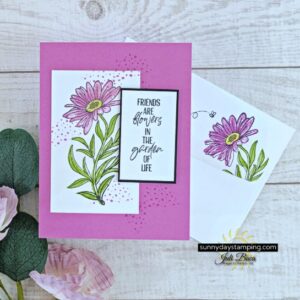
Add a touch of handmade charm to your holiday gifts or any special occasion by using different double-sided papers to create custom bows.
Save
Save
Save
Save
Save
Save
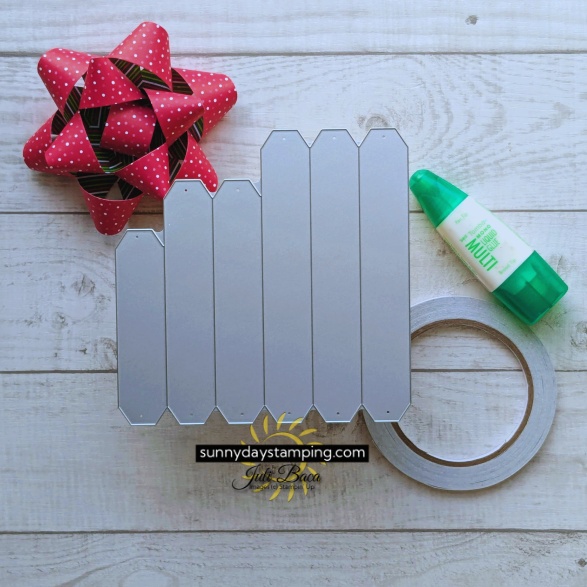
Simple Steps to Perfect Bows
1 Use the Take Your Bow die to cut 2 pieces of 6″x6″ double-sided paper.
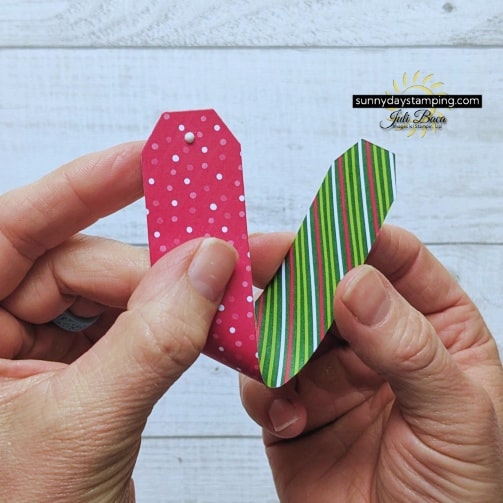
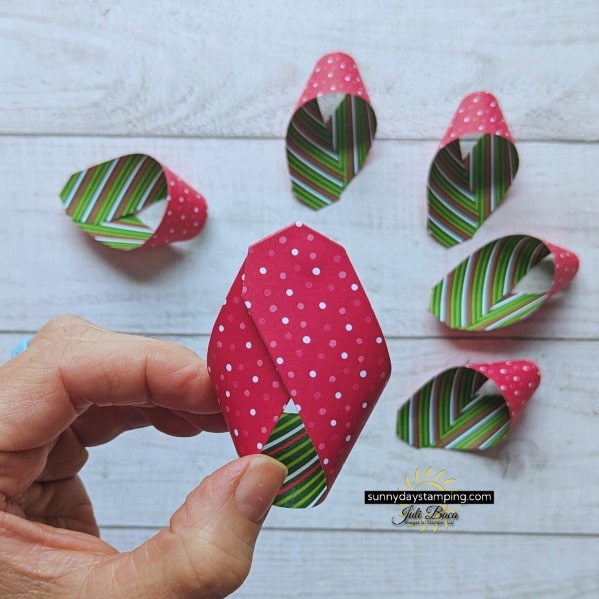
2 Organize pieces by length. Wrap and glue each piece so the same side is showing and angles line up.
Save
Save
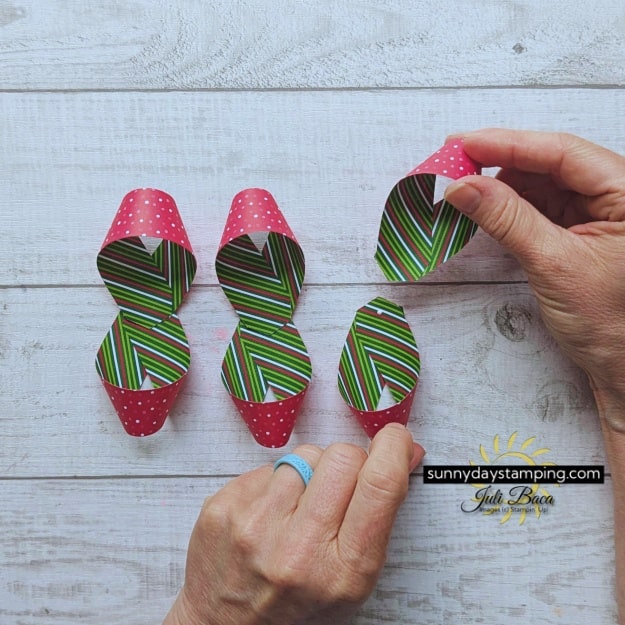
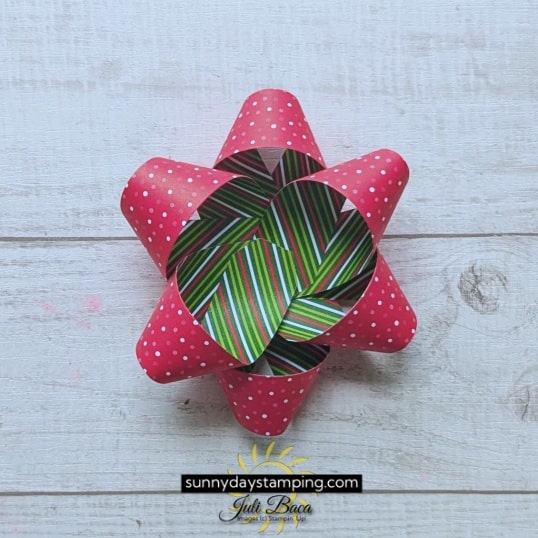
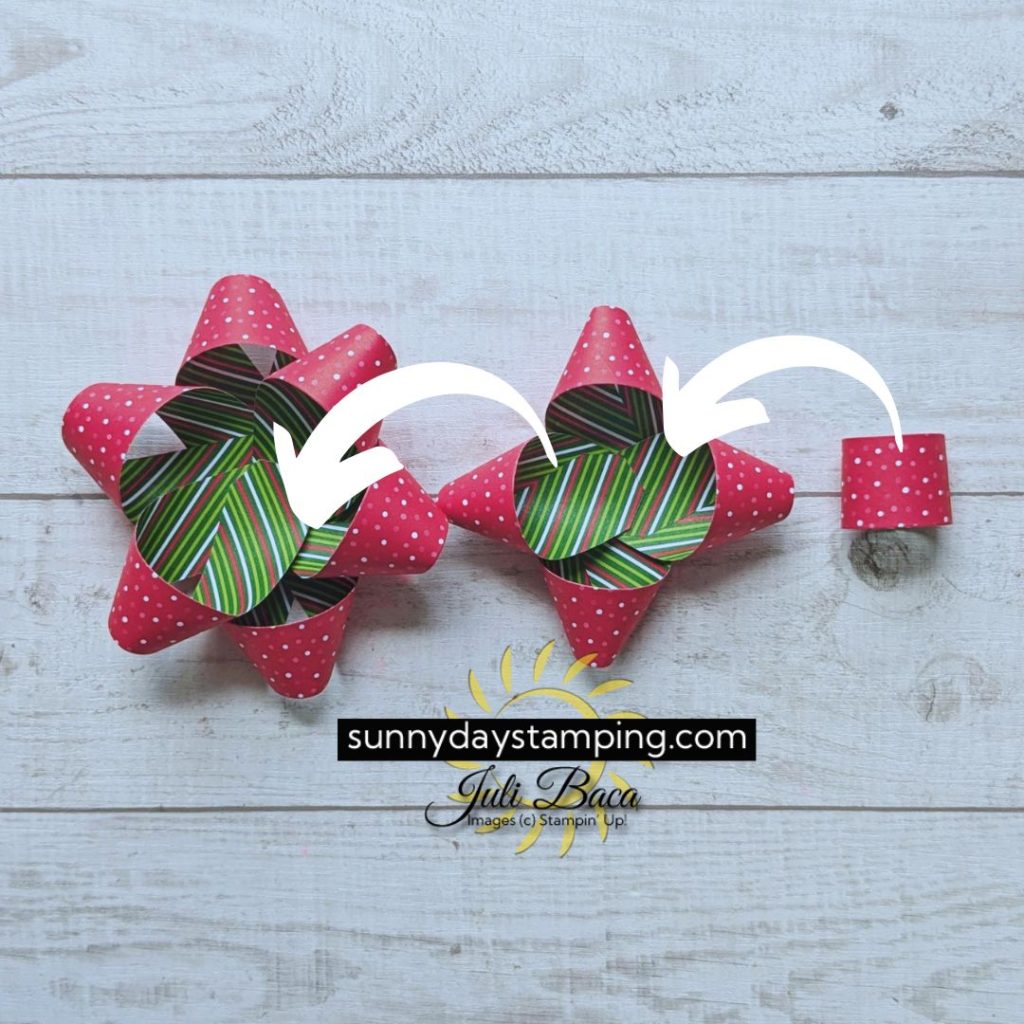
3 Glue each pair together. Make them as long as possible. You will have 3 long pairs, 2 medium pairs and 1 small for the center of the bow. Second option for bow center is to make a cylinder with one of the small strips.
Save
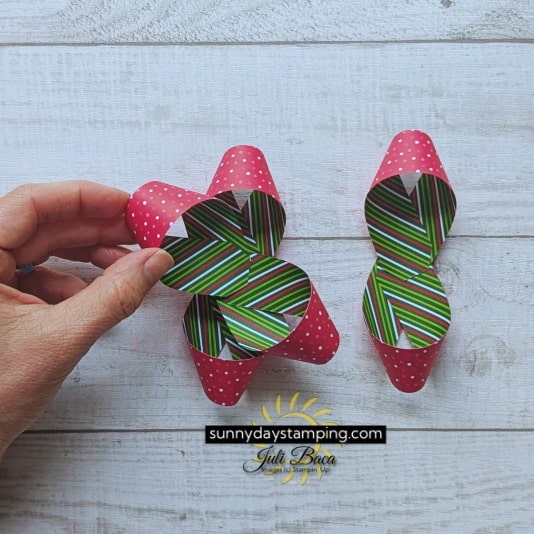
4 Assemble and glue pieces together into bow.
Save
Save
Save
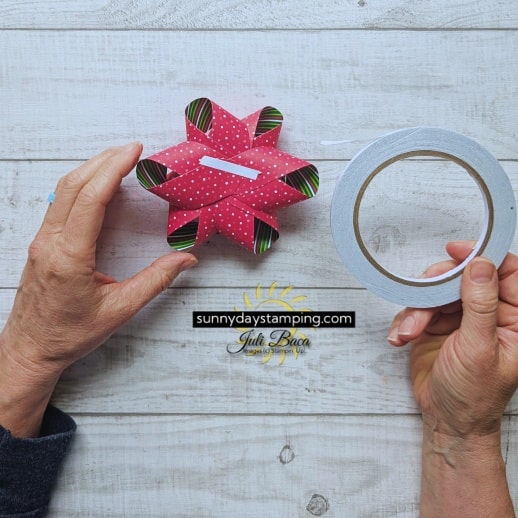
5 Add Tear & Tape to the back so the bow is ready to use when you need it (no searching for tape).
Save
Helpful Tips
Time Saving Tips:
Cut both pieces of paper at once
Use a tiny drop of glue – it will dry faster
Use paper clips for faster assembly
Add Tear & Tape to the back of bow (so it’s ready to add to a gift)
Helpful Reminders:
Place glue on the side of the paper you want to be on the outside of the bow
When gluing pairs together, make them as long as possible
Kits Make Perfect Gifts
Kits come with everything you need to make the project inside. This makes them absolutely perfect for gift giving. I use them for:
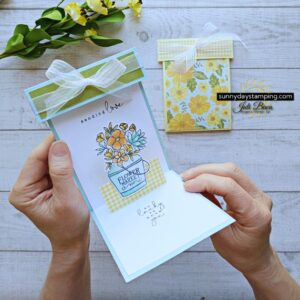
Add 3 card making templates to your collection from this month’s Creativity Made Simple Volume 6 Class! Use the templates for quick & easy card making.
Creativity Made Simple Volume 6 tutorial FREE with your $50 order this month with me!
I’m happy to help and would love to answer any of your questions. Please reach out to me through e-mail. If you would like to place a Stampin’ Up! order, I would be thrilled if you selected me to be your demonstrator.