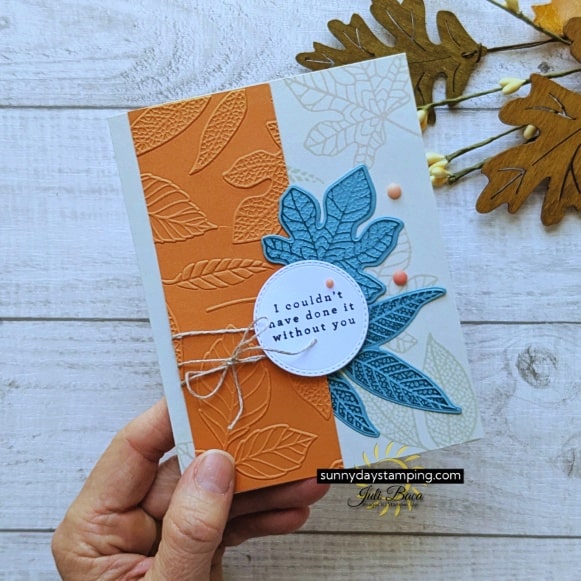
I’m sharing 3 must-have tips to help you create beautiful, eye-catching cards that truly stand out. It’s all about the details! Whether you’re a beginner or a seasoned crafter, you’ll love the two card designs I’ve created for you.
Cutting & Scoring Measurements
Basic Beige
- Card Base: 8 ½” x 5 ½”
- score at 4 ¼”
Pumpkin Pie
- Strip: 2” x 5 ½”
- Inside Layer: 4” x 5 ¼”
Basic White
- Inside Stamped Layer: 3 ¾” x 5”
- Greeting (optional): scrap
Lost Lagoon leaves (optional): scrap
Linen Thread: 18”
Get FREE Project Sheets
Sign up for my email list to get a new project sheet FREE every week! Visit my tutorial store to purchase previous project sheets bundled by month they were released.
3 Must-Have Tips
The beauty is in the details! I believe you can make stunning cards by doing just a few simple things. Here are my must-have tips to take your card-making to the next level:
-
Save
-
Save
-
Save
-
Save
-
Save
-
Save
-
Save
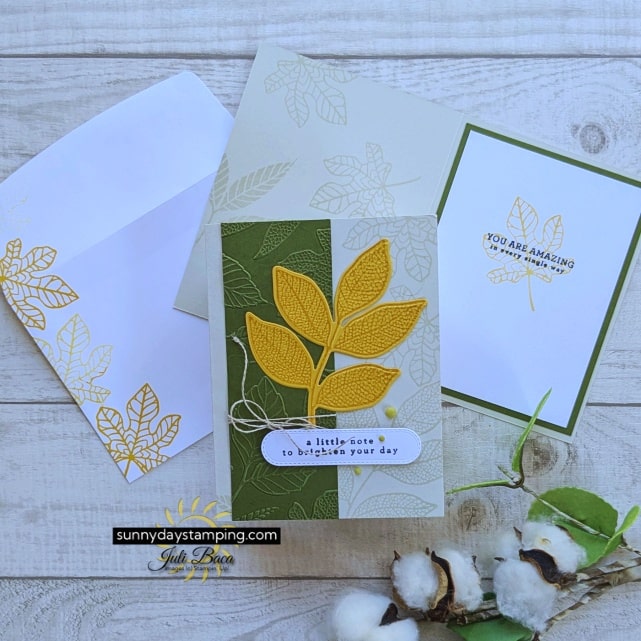
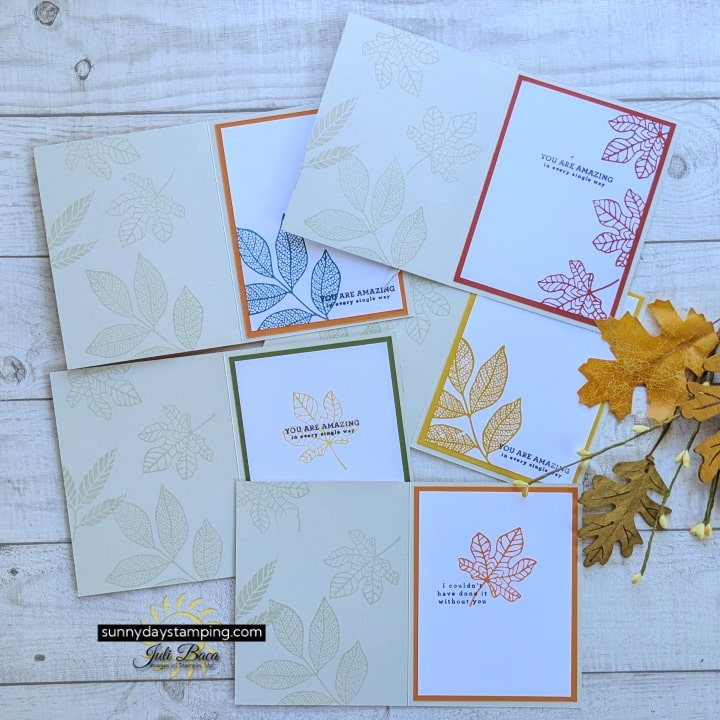
Tone-on-Tone Stamping
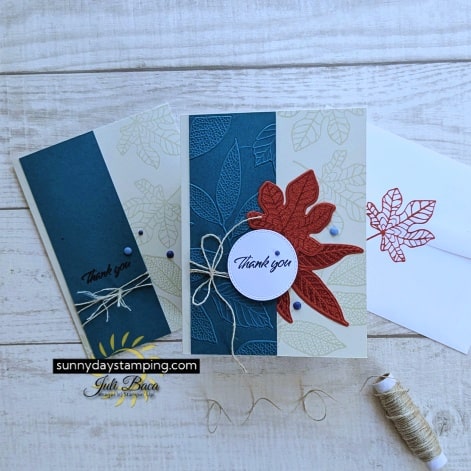
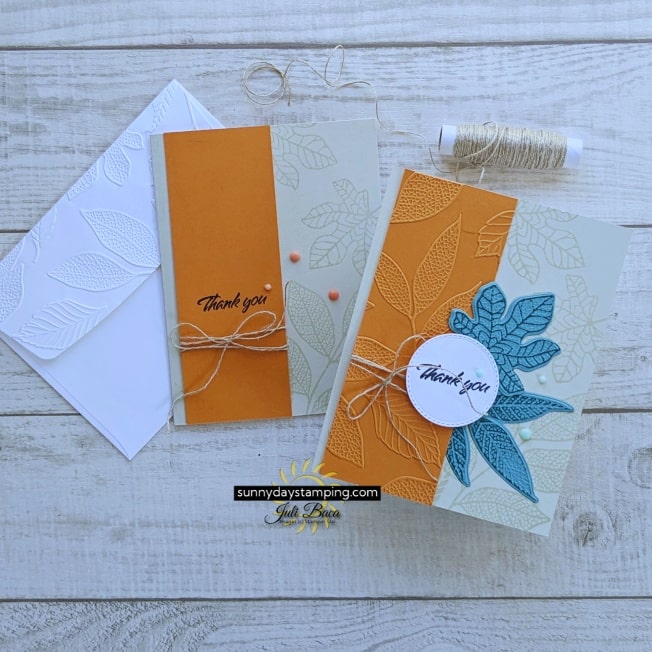
Use the same color ink as your card base and stamp subtle patterns on the front, inside, and even the back of your card. This creates a cohesive and elegant design without overwhelming the eye.Add Simple Embellishments
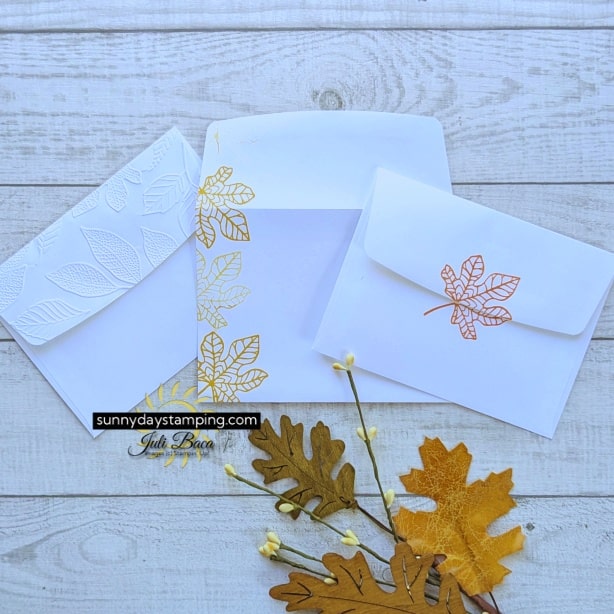
Small details make a big difference! A touch of ribbon or a few self-adhesive gems can elevate the look of your card without much effort.Don’t Forget the Envelope
A beautifully decorated card deserves an equally beautiful envelope. Add a matching design, a stamp, or even a bit of embellishment to make the whole package feel special.
Simple or Stepped Up?
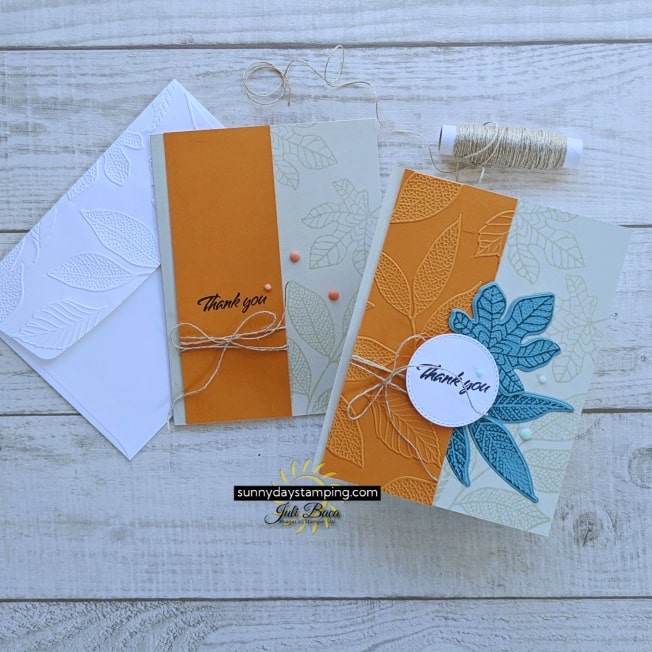
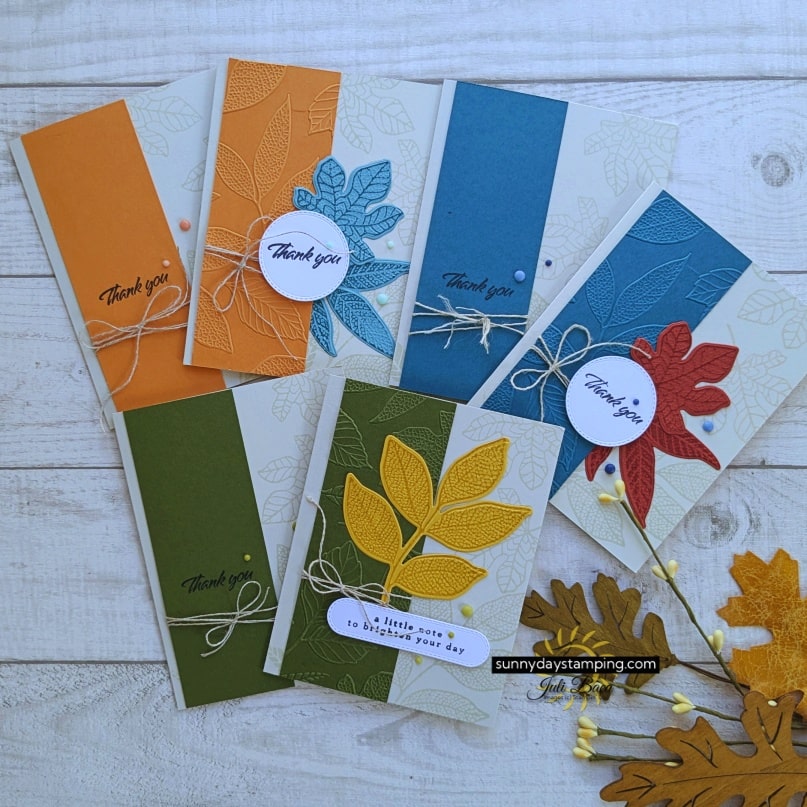
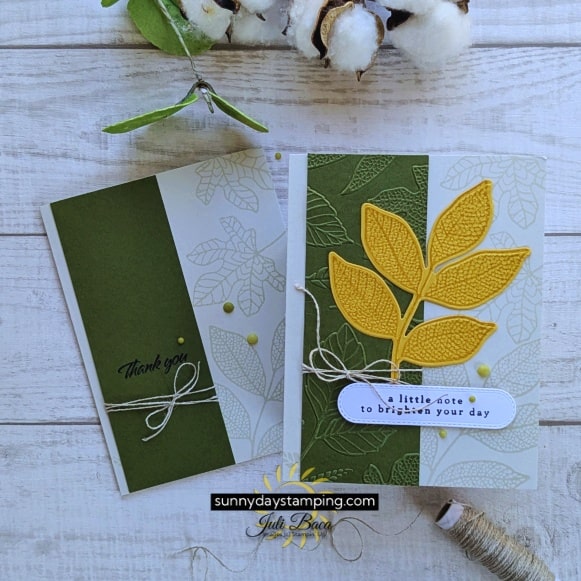
I created 2 designs for you to try! The first option is super simple, so you won’t need many supplies. The second is more advanced.

-
Save
Simple Cards
- Choose one accent color.
- Add linen thread
- Add gems
-
Save
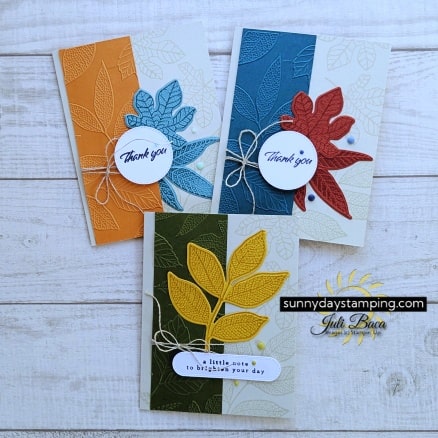
Stepped Up Cards
- Emboss the accent strip
- Die cut and stamp leaves
- Add a cut out greeting
3 Simple Ways to Make a Stunning Envelope
One easy way to set your cards apart from everything else in the mailbox and let the recipient know they are special is to decorate the envelope.
- Place one stamp on the back like a seal.
- Stamp along the entire left side of the envelope including the flap.
- Emboss the flap!

-
Save
Want to Make These Cards?
-
Save
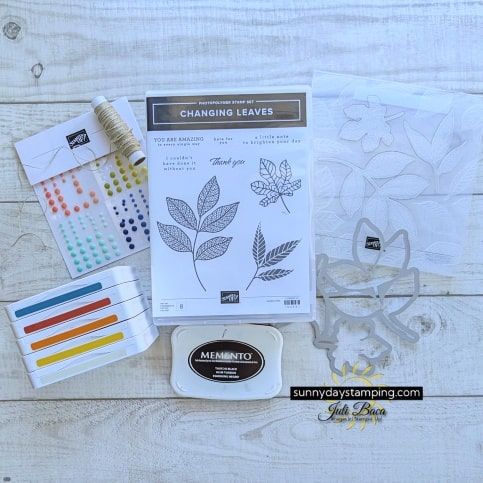
Click the button below for the full list of supplies I used for this project. If you like any of them, simply add them to your cart.
Don’t forget to use my host code (at the top of my website) to receive my monthly project sheet bundle for FREE if your order is $50.
May Specials
I’m happy to help and would love to answer any of your questions. Please reach out to me through e-mail. If you would like to place a Stampin’ Up! order, I would be thrilled if you selected me to be your demonstrator.

