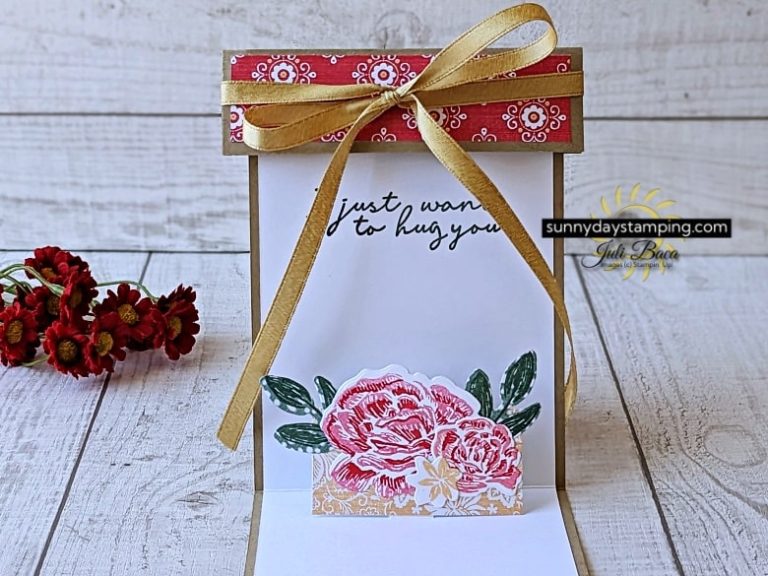
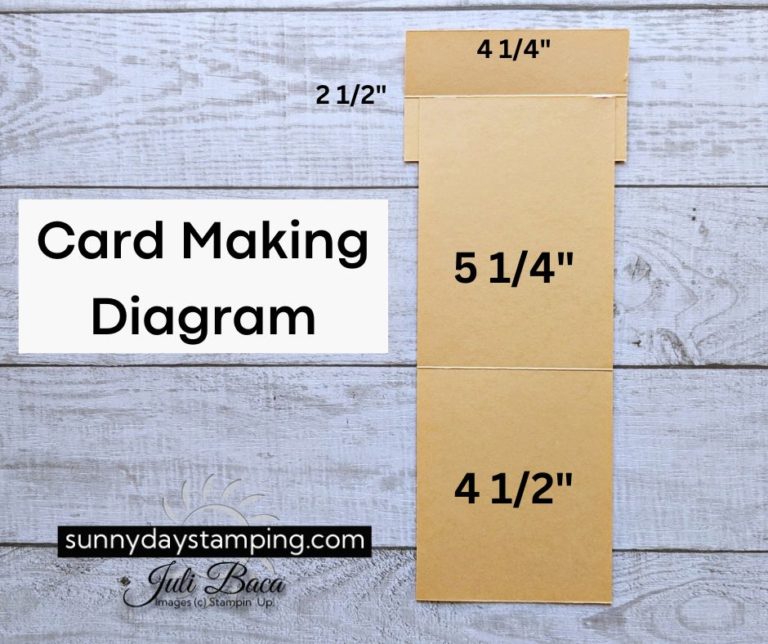
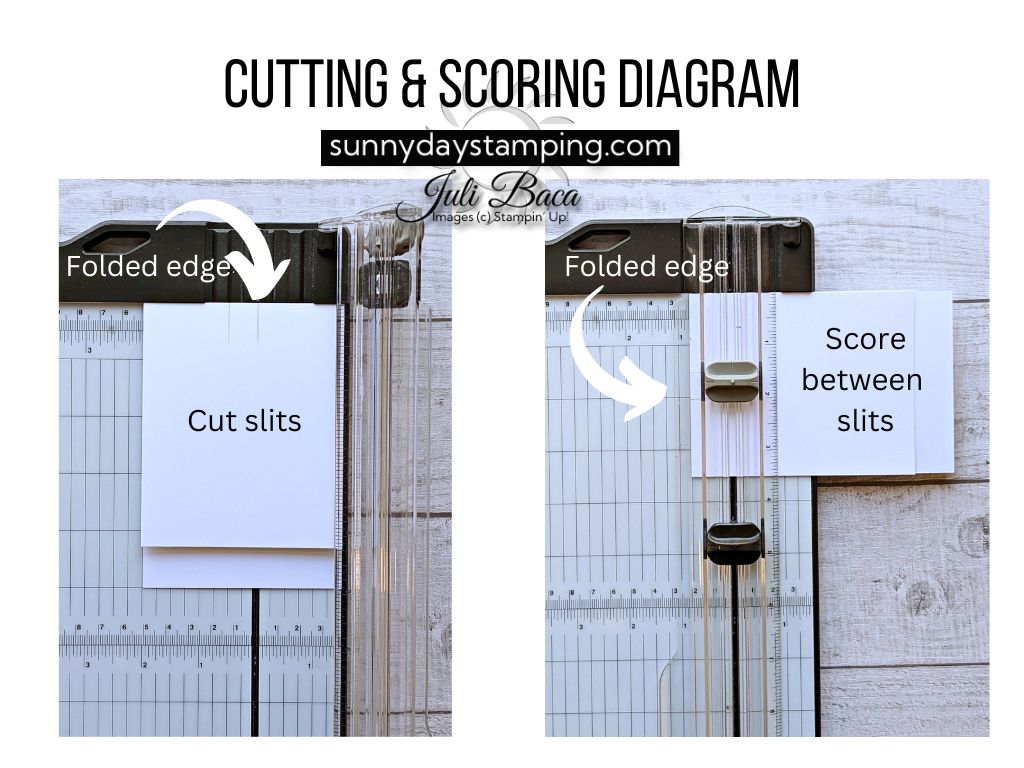
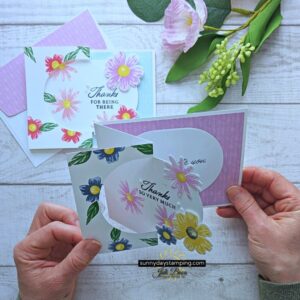
with folded edge toward base of Paper Trimmer, cut ¾” slits at 1 ½” & 2” to create pop up.
1” x 2 ¼”
Scrap for flowers inside
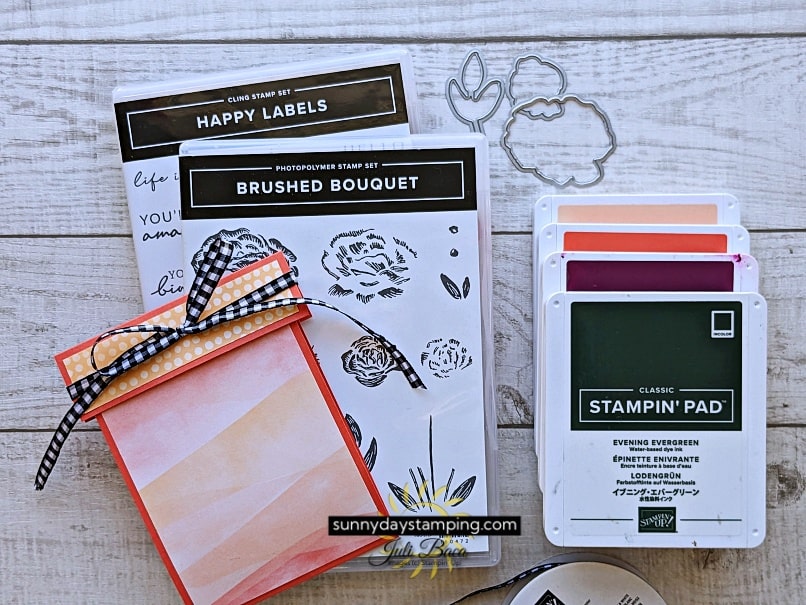
Designer Series Paper:
3 ½” x 4 ¼”
1” x 4”
1 ¼” x 2 ½” (used if need to attach several pieces to the pop-up element)
Ribbon: 24”
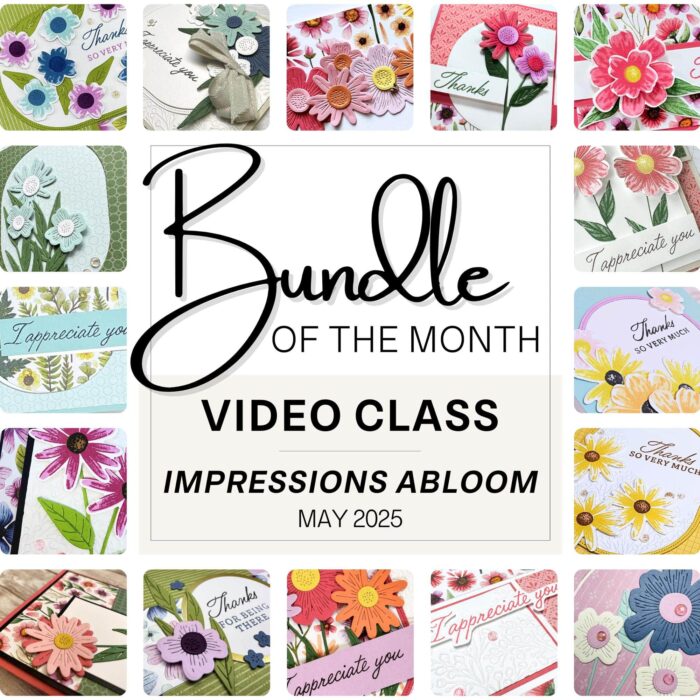
Get FREE Project Sheets
Sign up for my email list to get a new project sheet FREE every week! Visit my tutorial store to purchase previous project sheets bundled by month they were released.
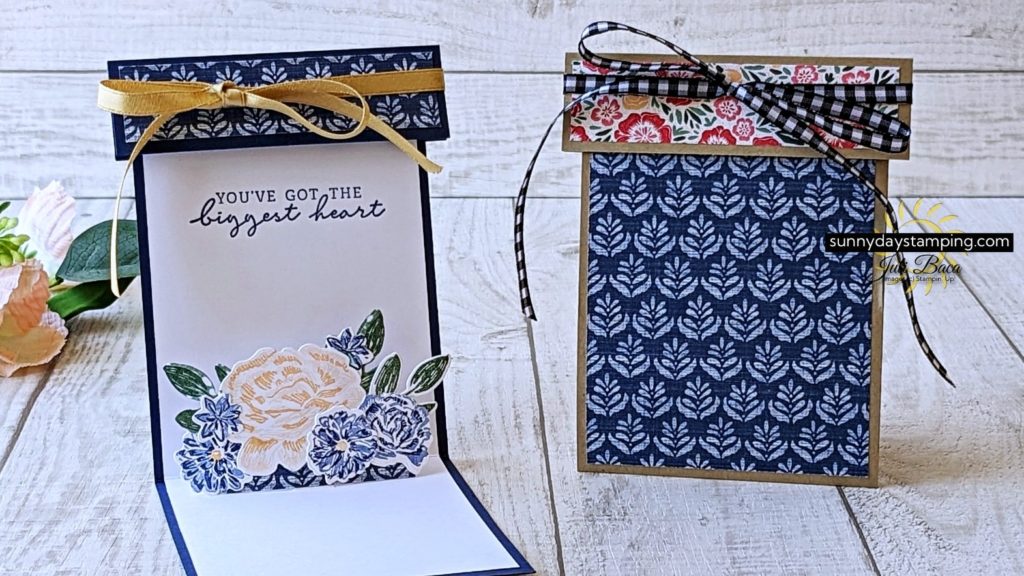
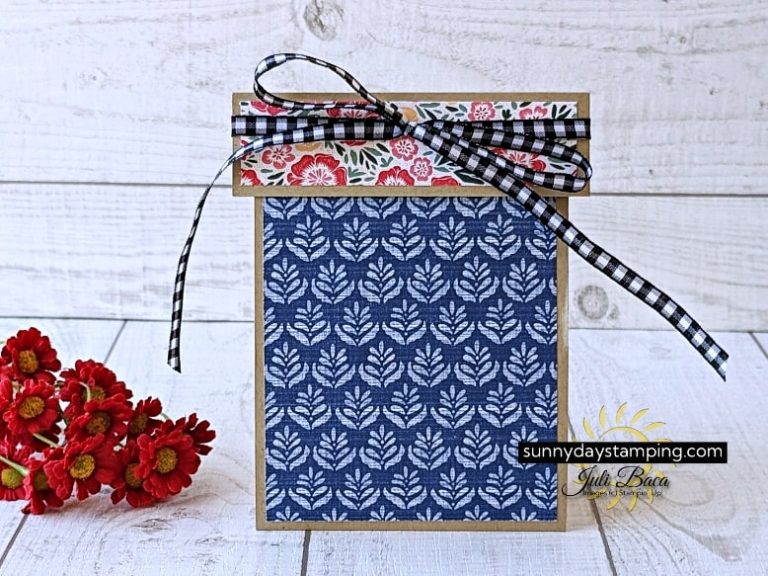
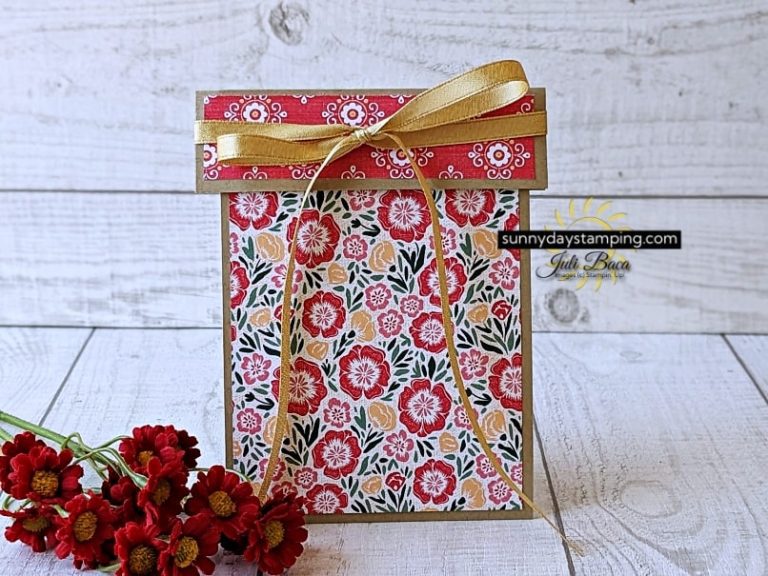
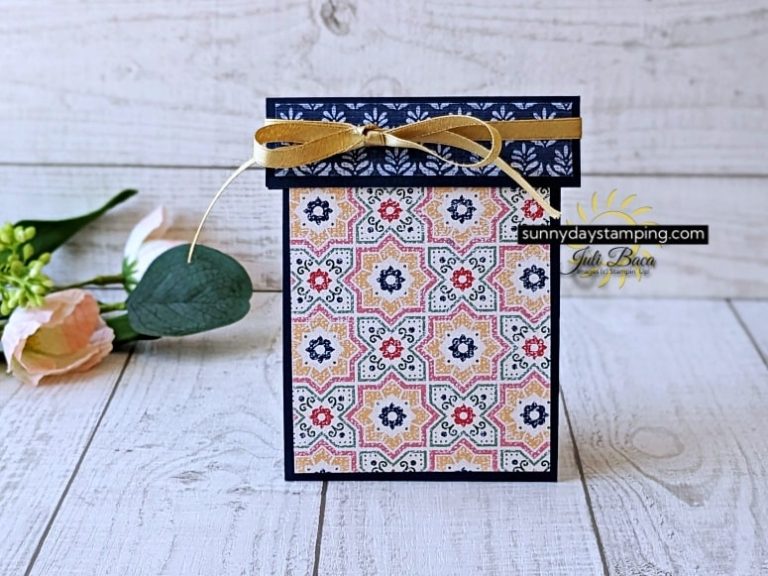
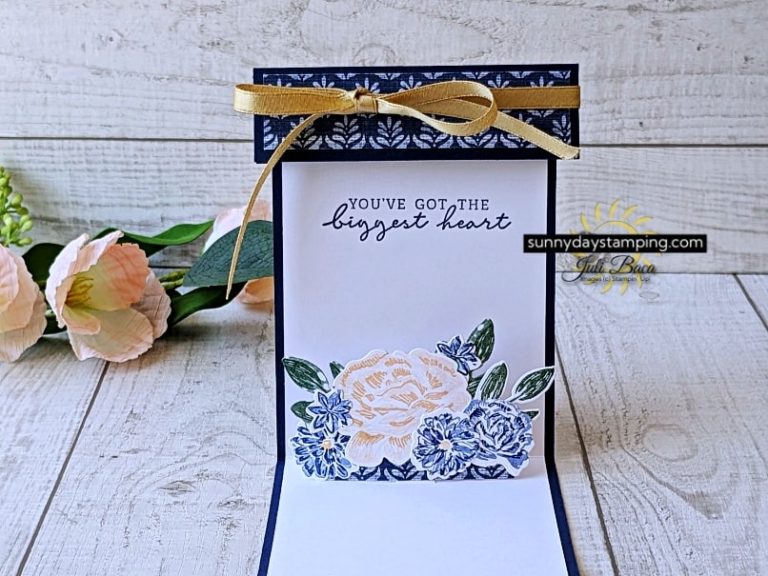
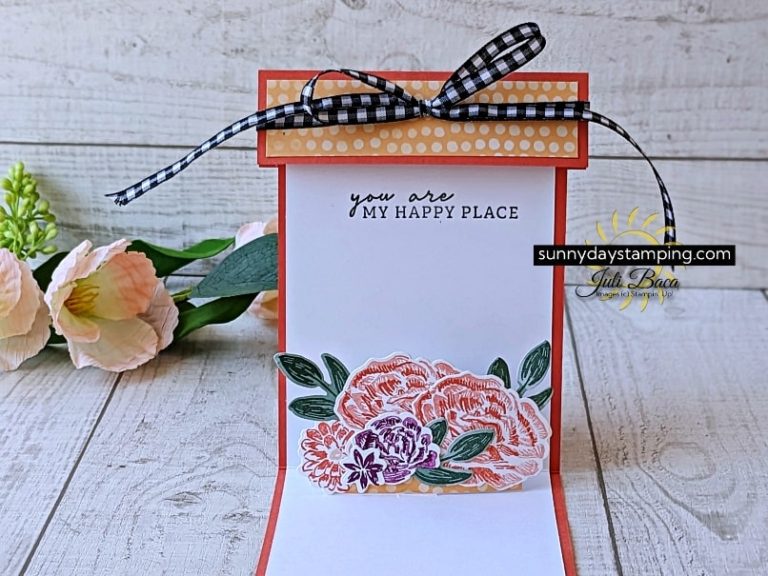
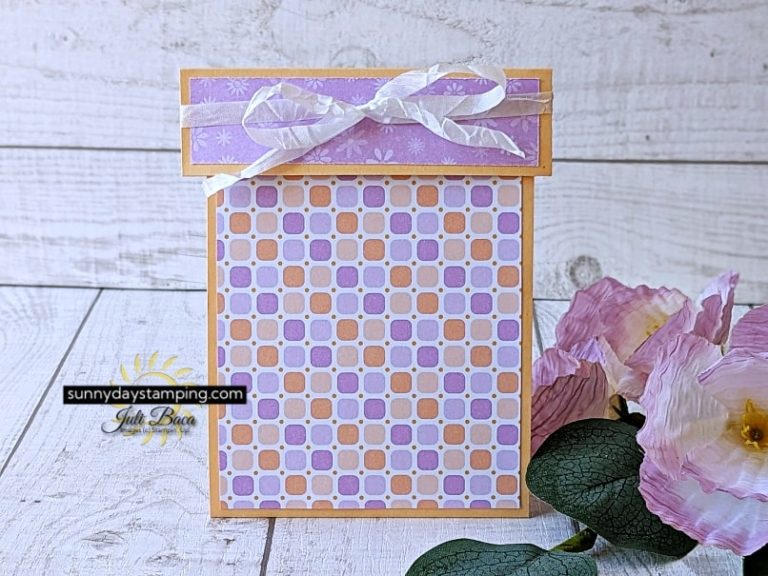
Let the Designer Series Paper do the work of decorating the front of the card. For the inside, choose your favorite bundle and just use the colors from your DSP to determine the cardstock and ink you will use.
Save
Save
Save
Save
Save
Save
Save
Save
Save
Save
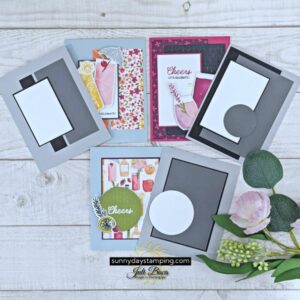
Helpful Diagrams
Watch the video for detailed assembly instructions.
Save
Save
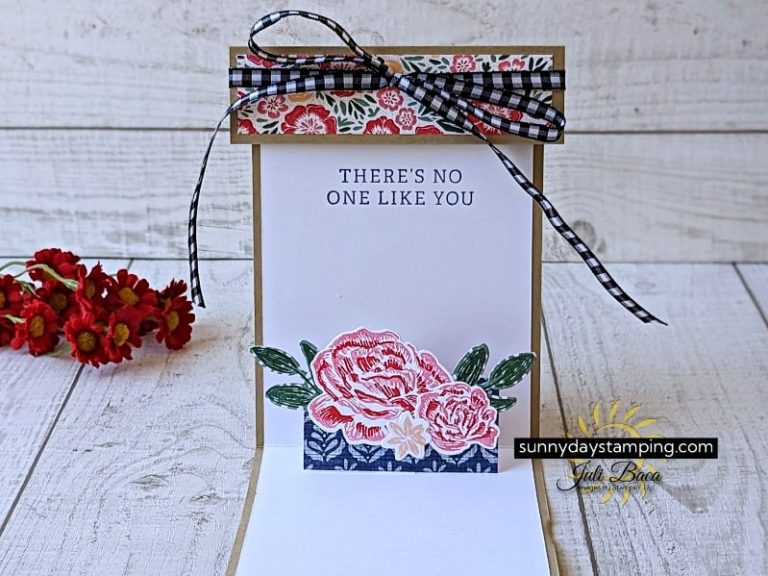
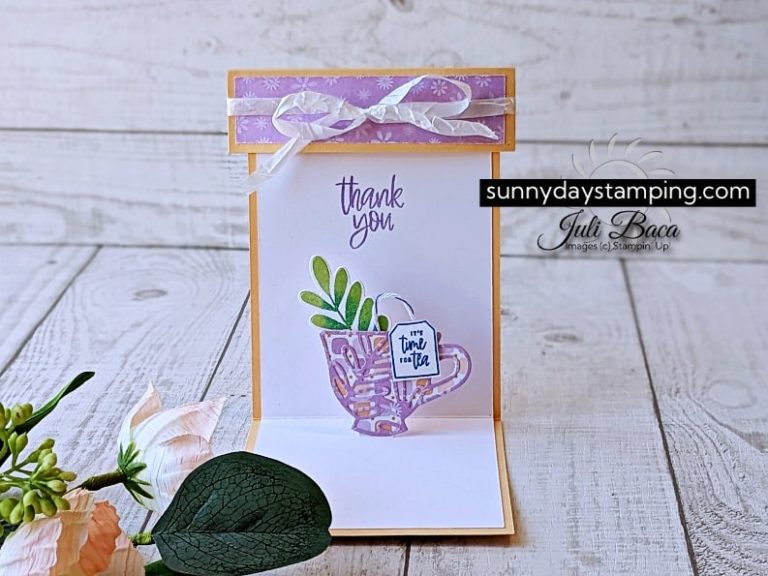
It’s so easy to make that special pop-up feature on the inside of the card. Watch the video for full instructions! Use the above diagram for extra clarification.
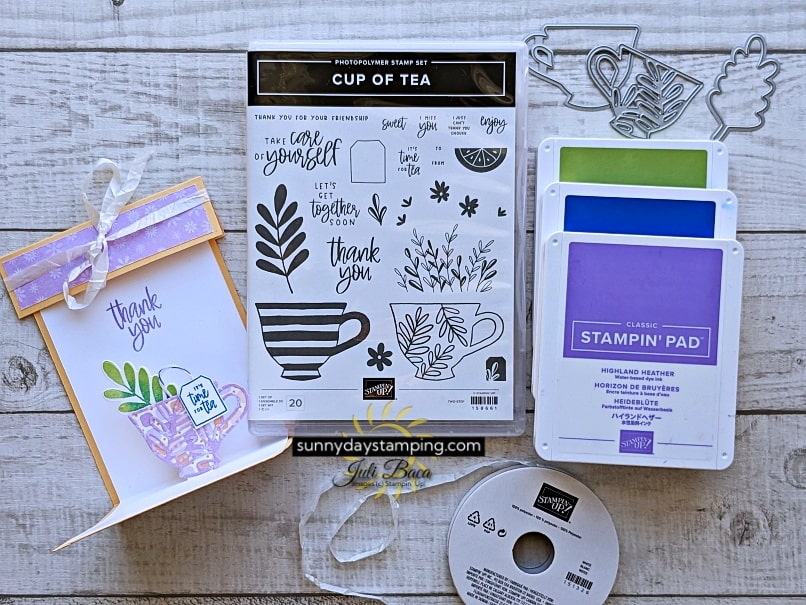
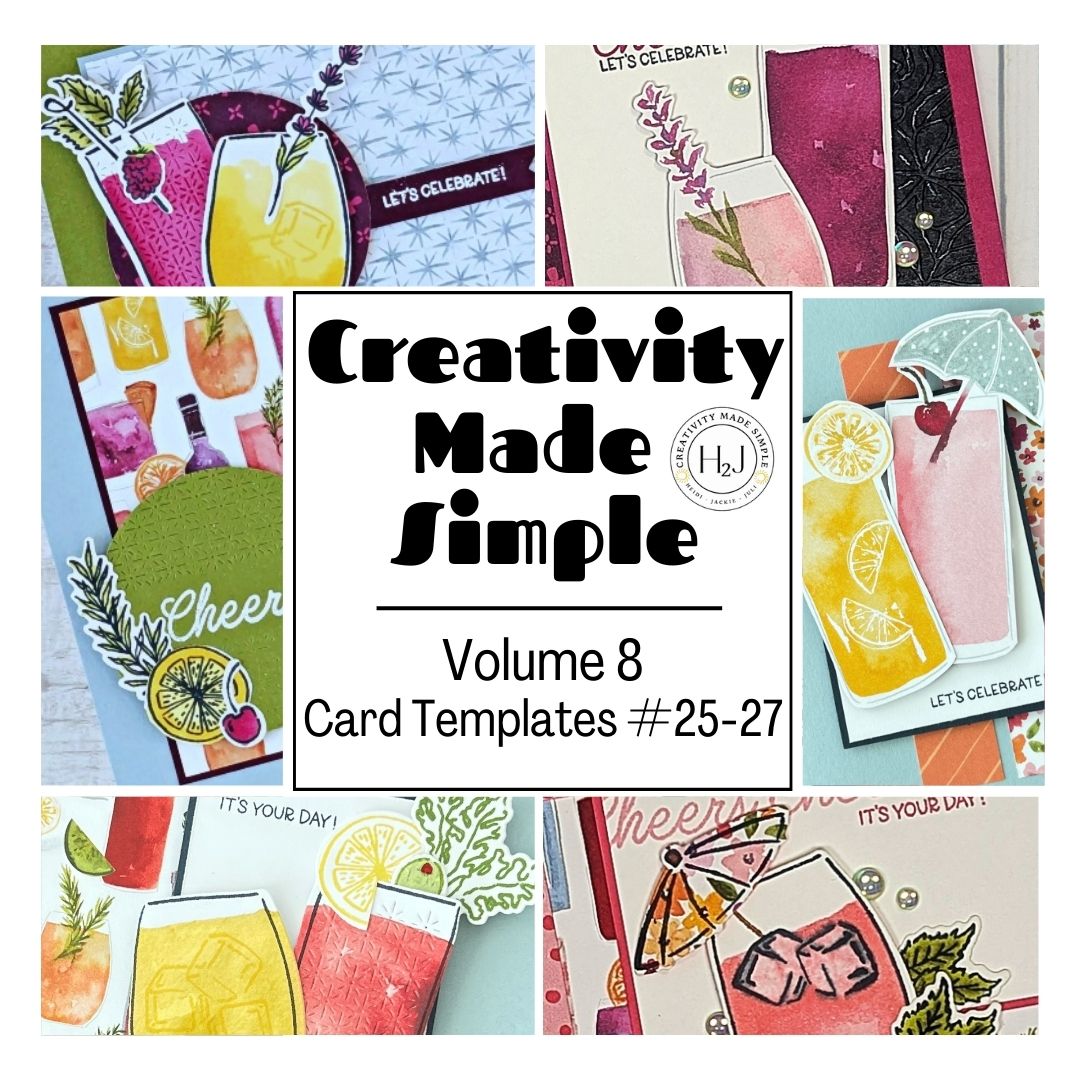
Supply Lists for Variations
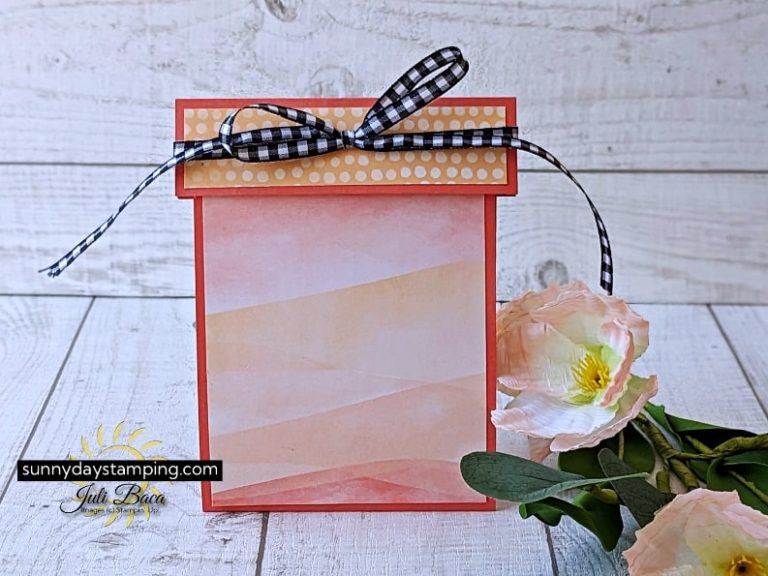
Click the photos (or buttons) below to add the additional supplies needed to make these card variations.
I’m happy to help and would love to answer any of your questions. Please reach out to me through e-mail. If you would like to place a Stampin’ Up! order, I would be thrilled if you selected me to be your demonstrator.