Christmas Card for Beginners PLUS Options for Experienced Stampers
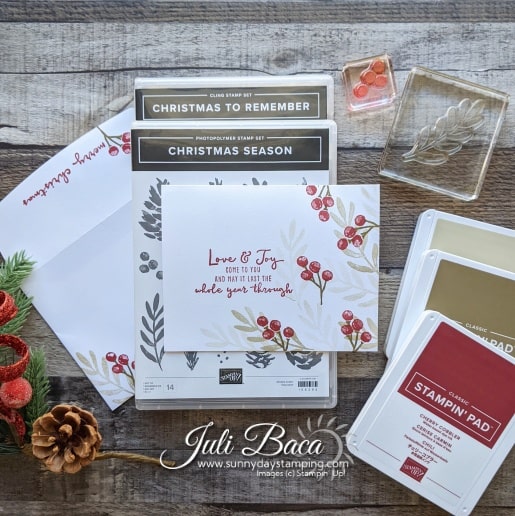
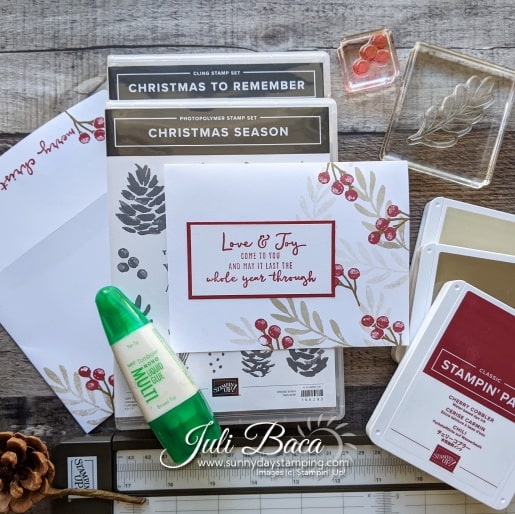
Are you a beginner stamper? This project is a perfect introduction into stamping because you don’t need glue or a paper trimmer, just stamps, ink and paper! Are you a more experienced crafter? You will LOVE this quick and easy project, plus I give you some ideas on how to step this card up a little bit if you have the supplies. Check out the video below.
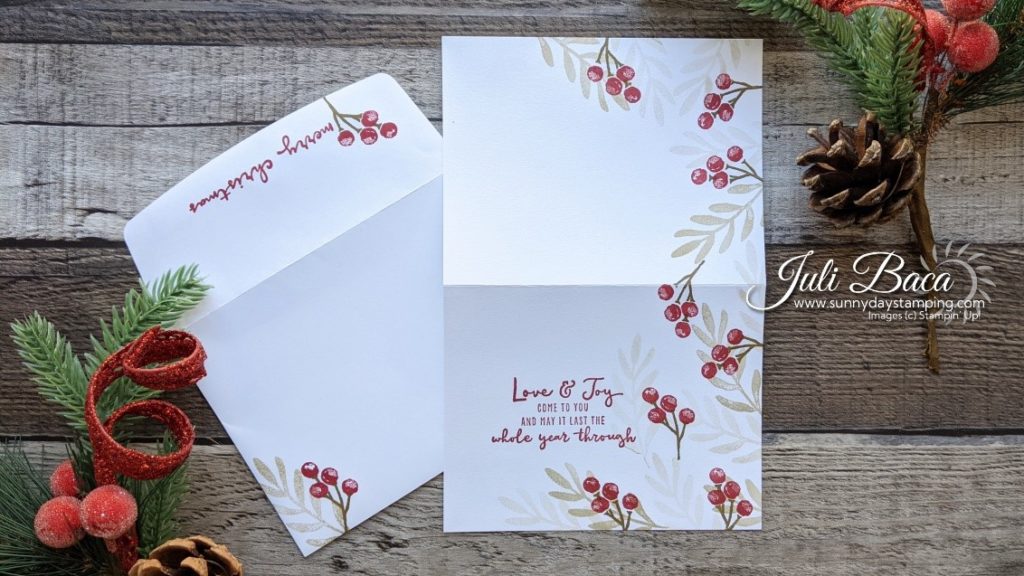
Grab yourself a pack of notecards and envelopes to make this project super fast! The notecards are even pre-scored! Don’t fold them yet though, we are going to stamp with them open so that even the back of the card looks beautiful!
Avoid This Common Mistake
Save
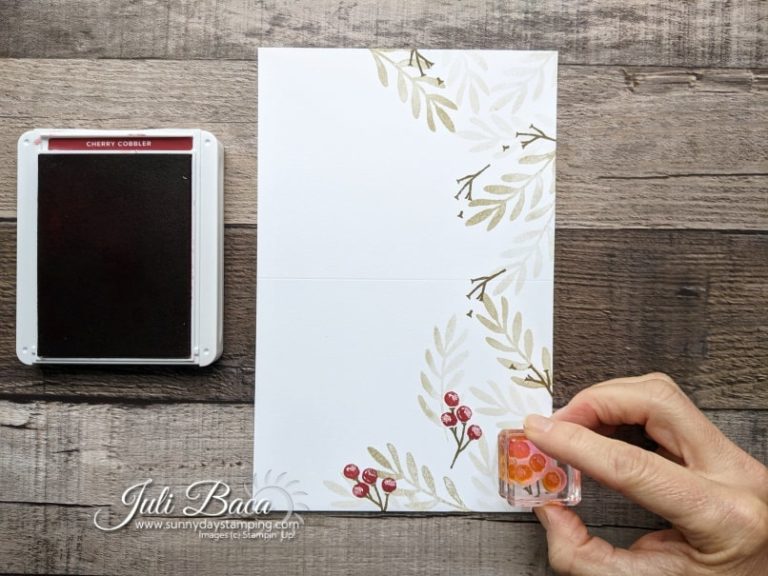
TIP: When you are stamping without re-inking, be aware that whatever part of your stamp was not on the paper for the original stamping will be darker in color creating a harsh line.
Stamp Stems Next
Save
TIP: Stamp the stems of the berries first! When I stamped the berries first, my stems were sometimes upside down because of the way I rotated my berries when I didn’t want them to be.
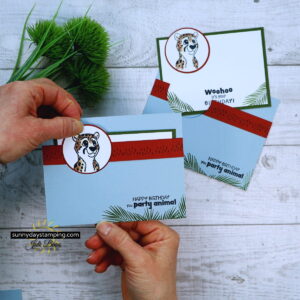
How to Step Up Your Card to the Next Level
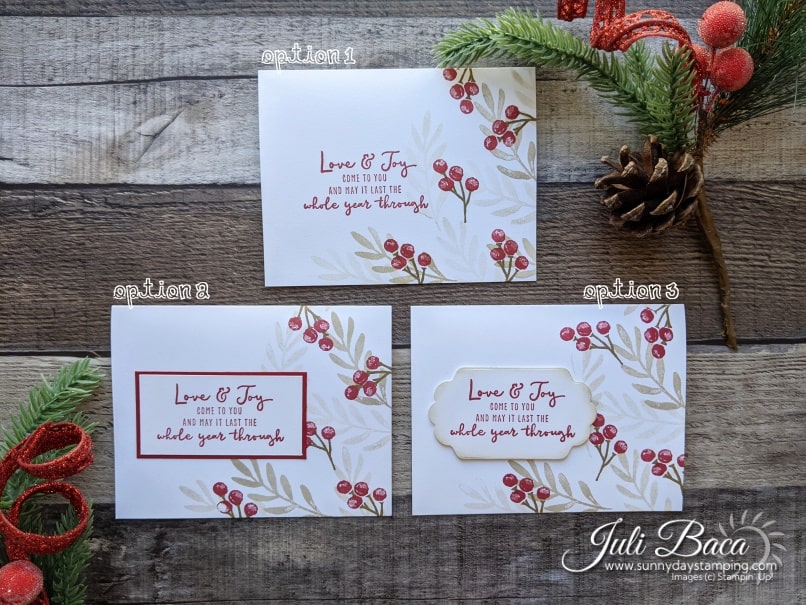
If you have the supplies, you can step up this project to the next level by adding a cardstock frame around your sentiment or even a die cut piece.
Save
Option 2: Stamp your sentiment near the edge of a scrap paper and then cut it out. Sometimes measuring takes more time than just winging it! Next cut out a piece of Cherry Cobbler cardstock that is 1/8” wider and longer than the white sentiment layer. Glue those pieces together and then glue them to your card.
Save
Option 3: Cut the sentiment with the die from the Seasonal Labels die set. Give your die cut sentiment an aged look by rubbing a blending brush with Crum Cake ink along the edges. Pop up the sentiment with some Stampin’ Dimensionals.