-
Save
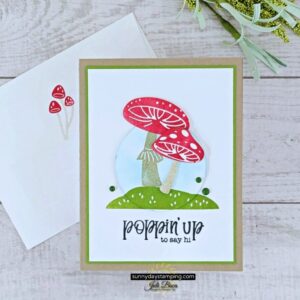
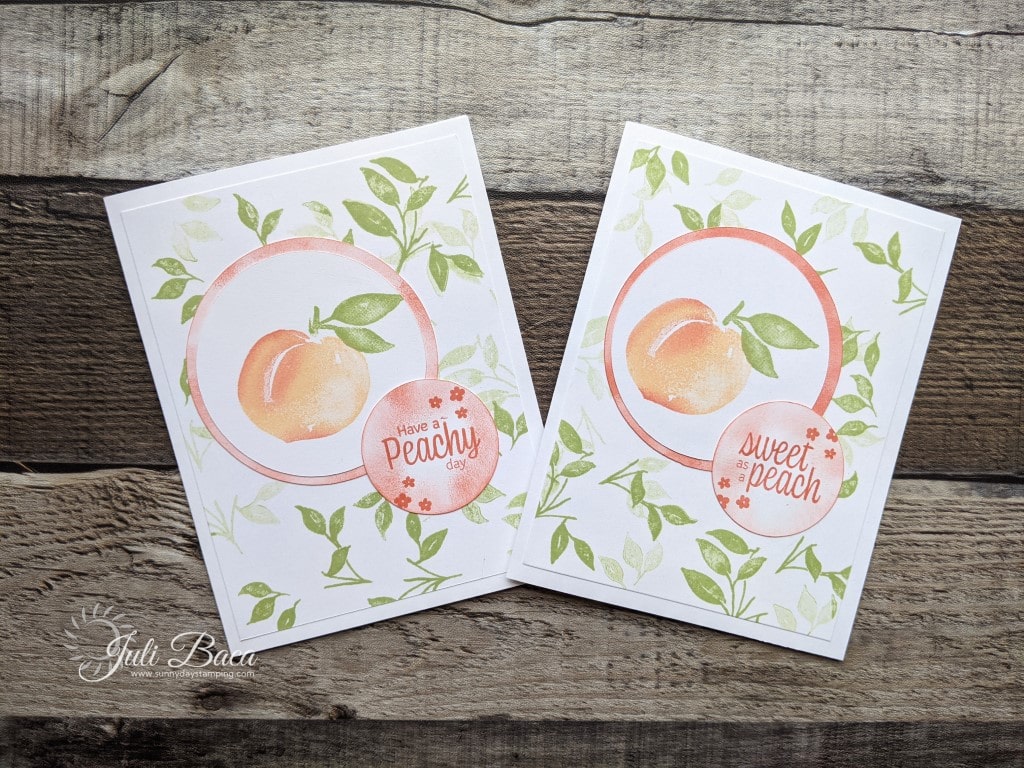
Make a sweet, summer card for someone you love and appreciate! Don’t have coordinating patterned or colored paper? No problem! Let me show you how to use this stamp set to create your own! Click the video to see how.
For more detailed tips on how to create a realistic peach, watch this 1-minute tutorial!
-
Save
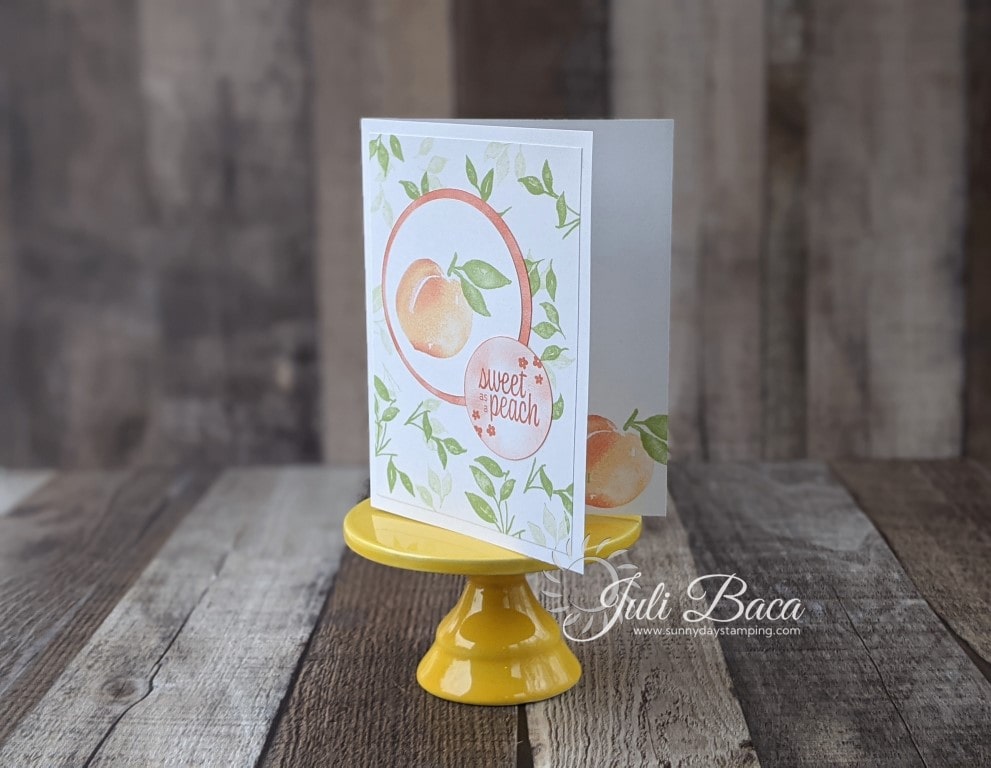
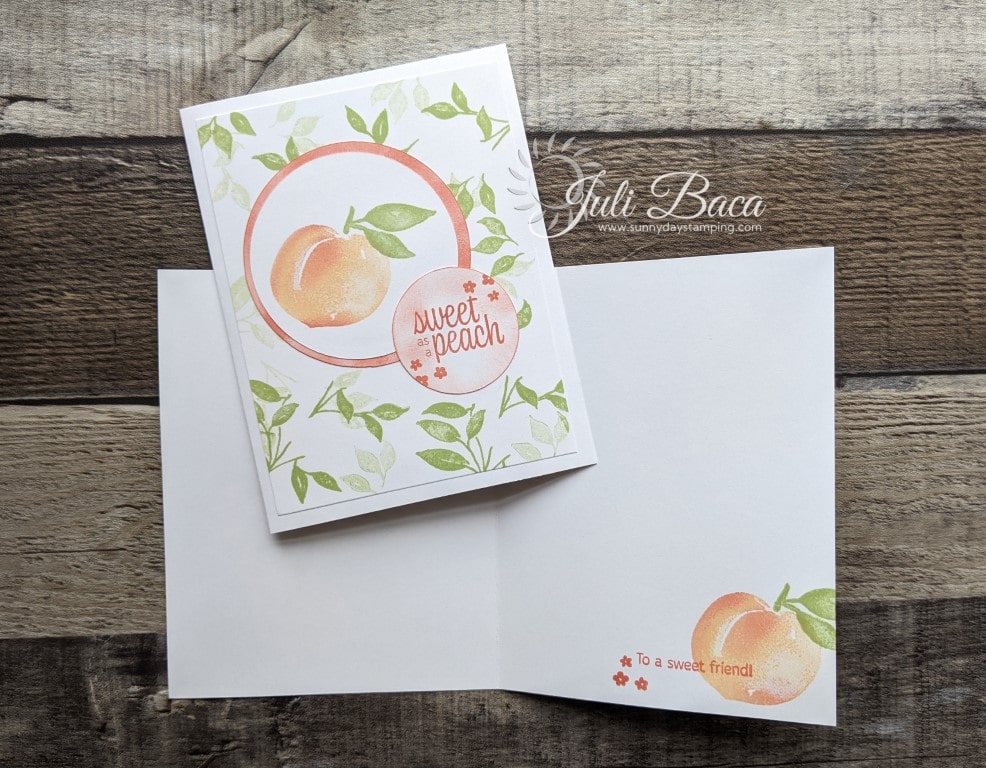
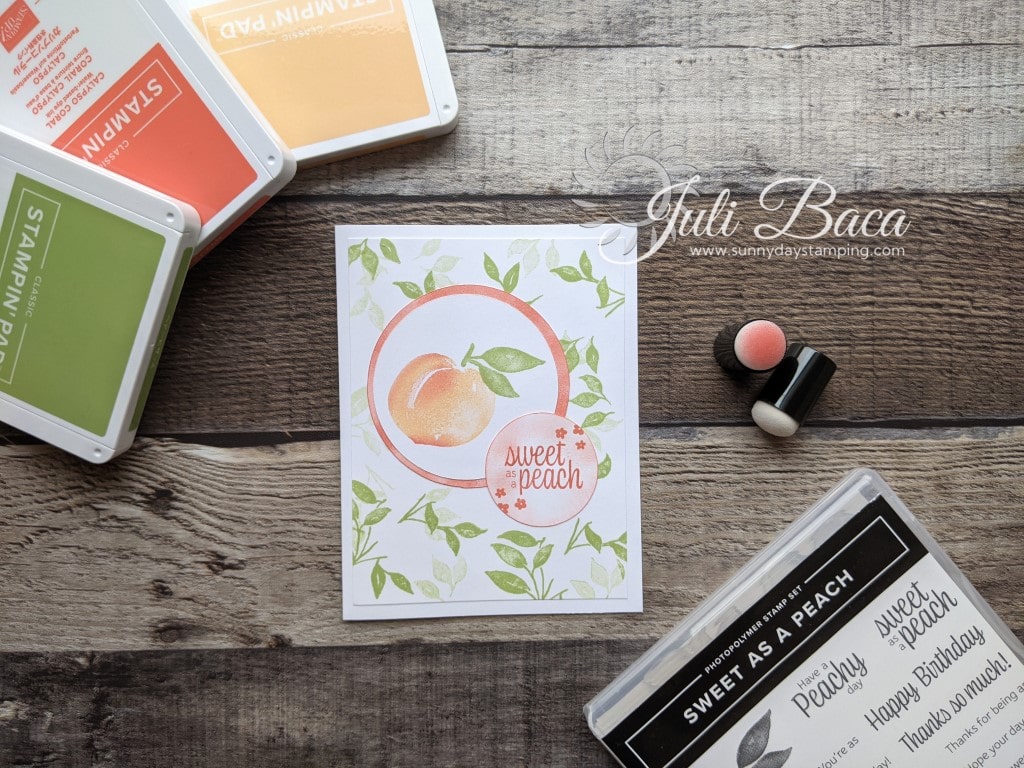
I used the Sweet As A Peach Stamp Set to create this festive card! Scroll to the bottom of the post to get all the measurements and supply list.
TIP: When creating an interesting background, stamp your image with full ink strength then rotate it and stamp it again without re-inking. You will get two shades of the same color without having to purchase two colors of ink.
-
Save
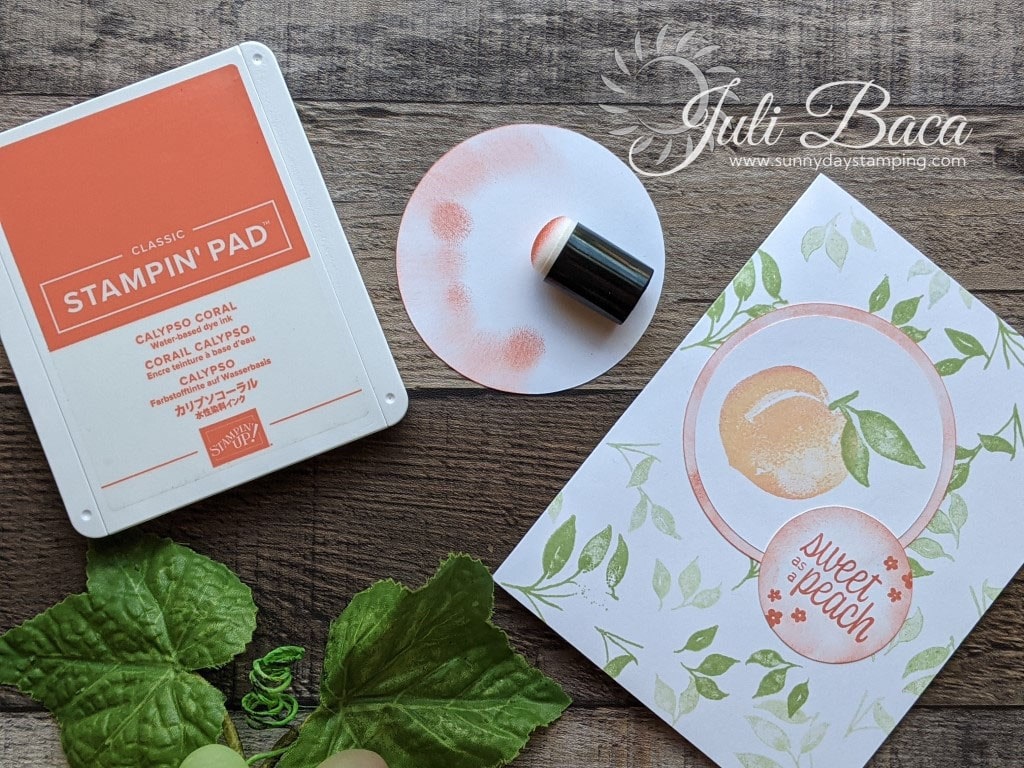
To create colored cardstock that perfectly coordinates with your card, use a sponge dauber to lightly ink white cardstock. No need to ink up the entire piece, just color the area that will show when you add additional elements to the card.
TIP: Pull the ink from the inside of the circle all the way off of the edge to ensure no white shows around the edges. Drag the sponge dauber directly along the edge of the paper to create a darker border.
-
Save
Have fun decorating the inside of the card, too!
-
Save
Measurements:
Basic White cardstock for card base: 8 1/2″ x 5 “1/2”
Basic White cardstock for exterior: 5 1/8” x 3 7/8”
Or Pear Pizzaz cardstock for exterior: 5” x 3 ¾”
Basic White for circles: 2 7/8”, 2 5/8” and 1 5/8”
Supply List:
Sweet As A Peach Stamp Set | |
Pale Papaya Stampin’ Ink Pad | |
Calypso Coral Stampin’ Ink Pad | |
Pear Pizzaz Stampin’ Ink Pad | |
White Cardstock | |
Sponge Daubers | |
Layering Circle Dies | |
Acrylic Block A | |
Acrylic Block C | |
Acrylic Block D | |
Acrylic Block G | |
Multipurpose Liquid Glue | |
Paper Trimmer | |
Mini Stampin’ Cut & Emboss Machine |

-
Save


