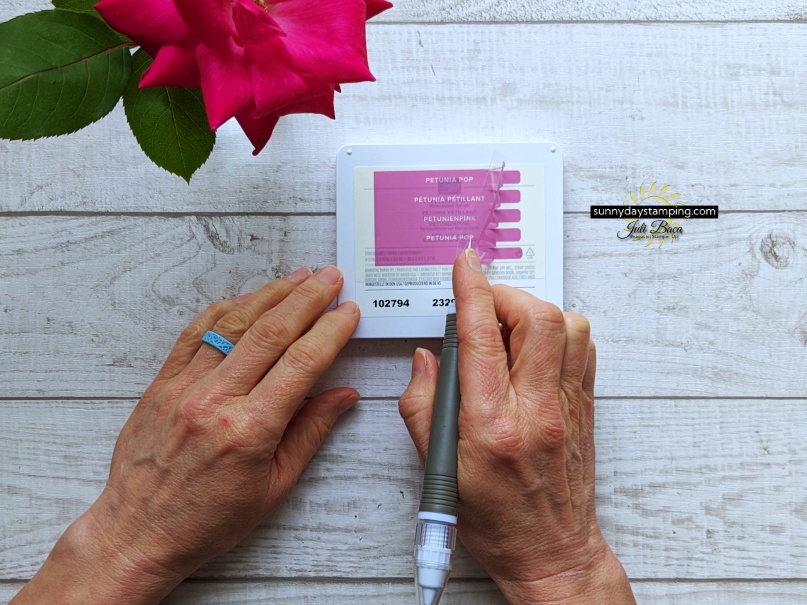
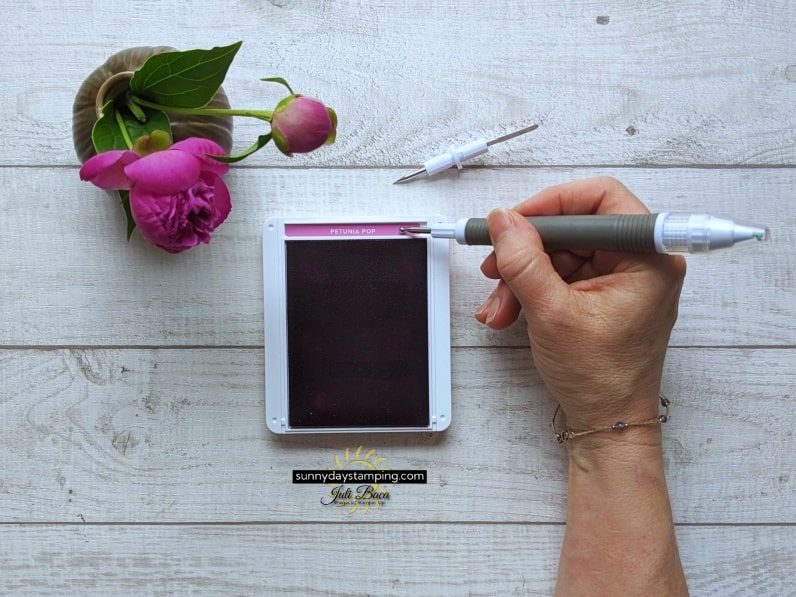
Unwrap your Stampin’ Pad. On the back are several labels that you can use to identify the color of the ink pad.
Save
Use the Take Your Pick Tool to adhere them. This will prevent the oils from your fingers from getting on the label causing it to lose its stickiness because you may need to reposition the sticker. I never get it on the first try. Hahaha!
Save
Use the stylus end to rub the label into place. This will prevent ink from getting on your fingers!
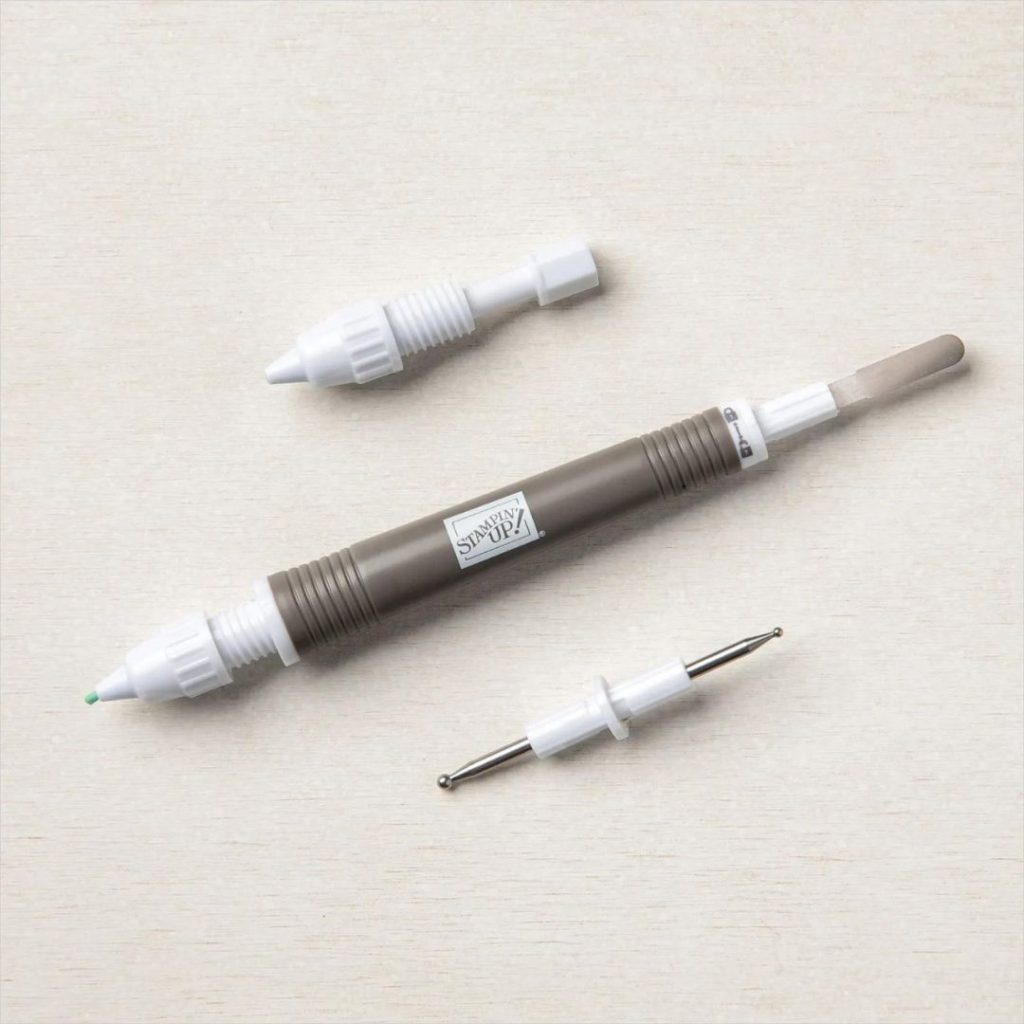
Tacky putty end for picking up small objects, sequins, paper elements
Paper piercer for adhering labels and removing backing from Stampin’ Dimensionals
Mini spatula for picking up self-adhesive embellishments
Large stylus for scoring and shaping paper
Small stylus for scoring and shaping paper
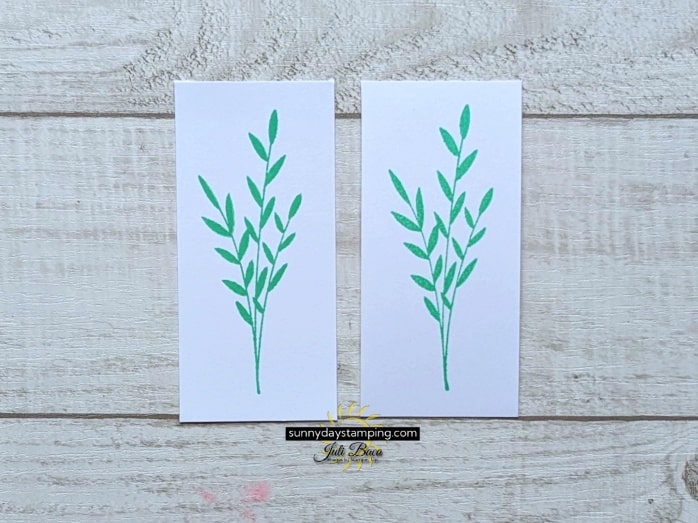
Tip for Crisp Stamped Images
Save
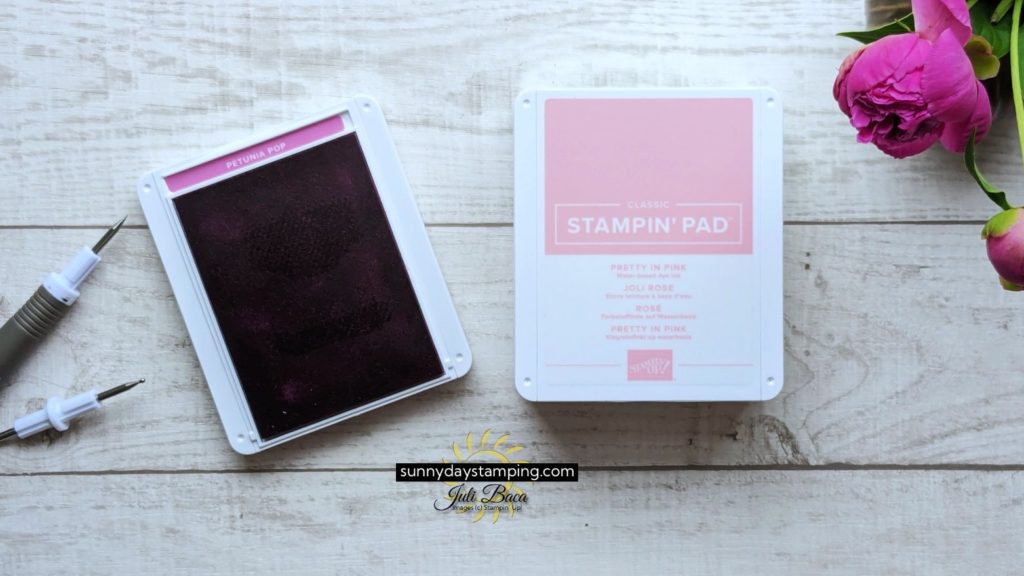
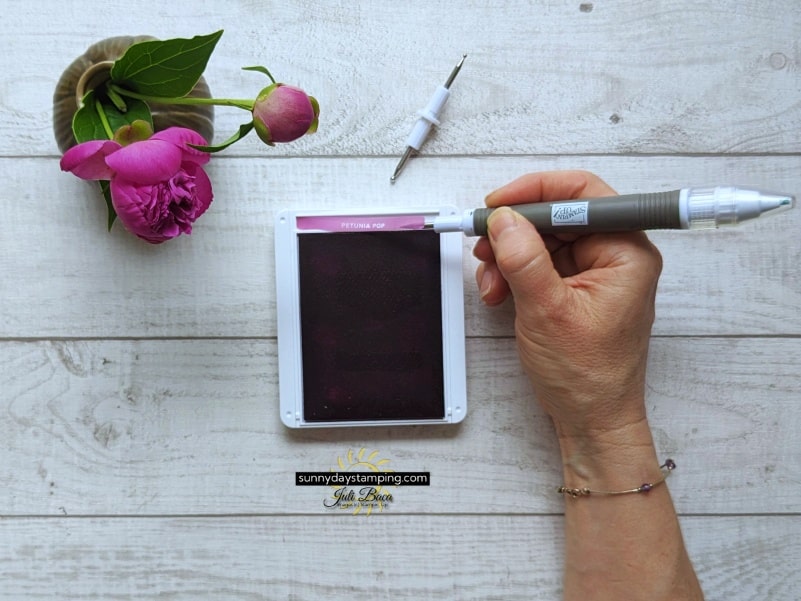
The image on the left is blurry because there is too much ink on the stamp. This happens frequently with new Stampin’ Pads because they are generously saturated with ink.
Save
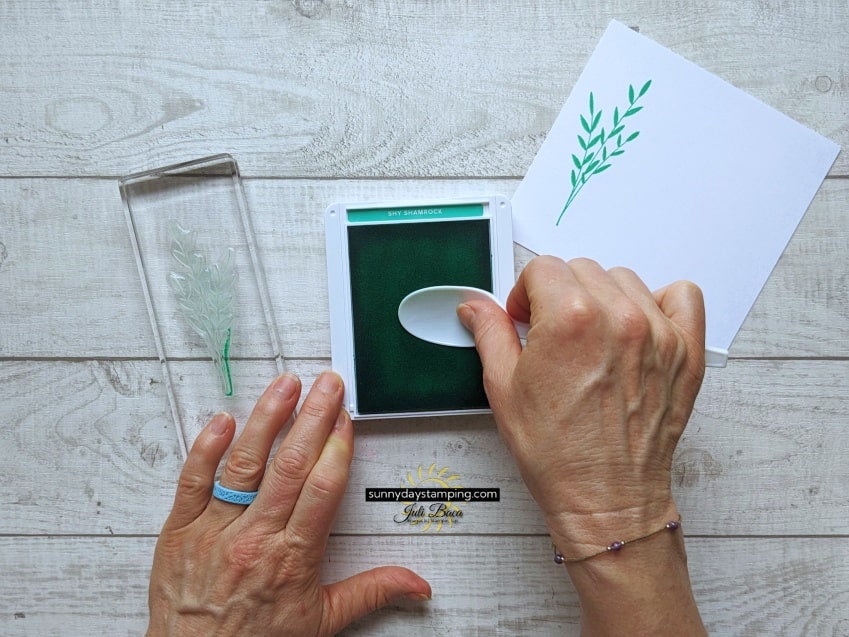
Easily fix this by gently pushing the ink from the center to the edges of the Stampin’ Pad. Now when you stamp your image, there will be the correct amount of ink and the image will be crisp!
I’m happy to help and would love to answer any of your questions. Please reach out to me through e-mail. If you would like to place a Stampin’ Up! order, I would be thrilled if you selected me to be your demonstrator.