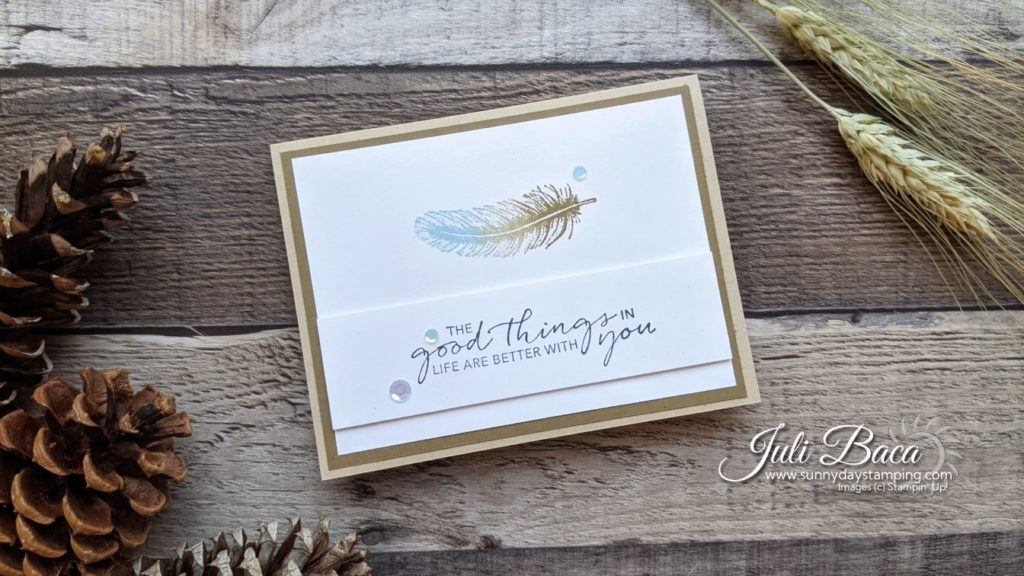
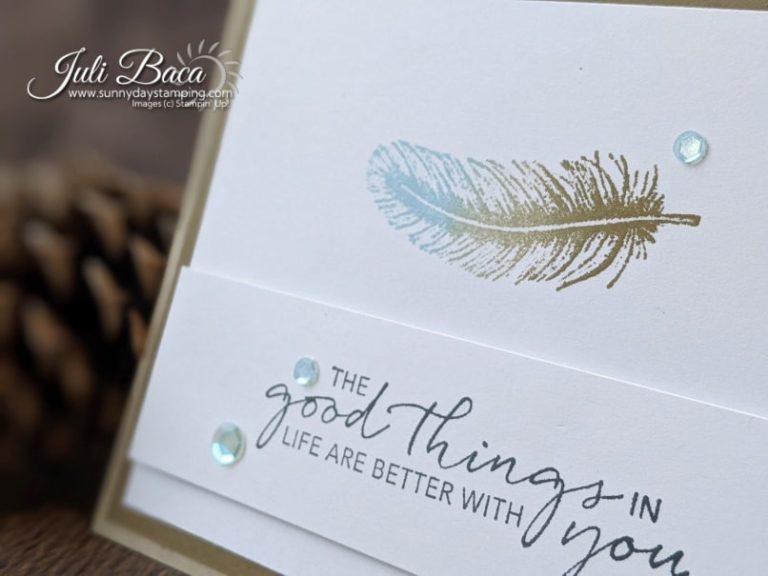
Look at that beautiful feather! It is so easy to create this impressive and eye-catching multi-color effect. Let me show you how! Click on the video.
Take the guesswork out of measuring card layers! When your creative juices are flowing, you don’t want to have to stop to measure for a card layer. My team lead, Jackie Bolhuis at Klompenstampers.com, showed me this idea and I use it every time I design a card! I took her idea a step further and pre-cut white cardstock layers for each dimension so that I could quickly get to stamping without having to pull out my paper trimmer first. Check out the video for more explanation!
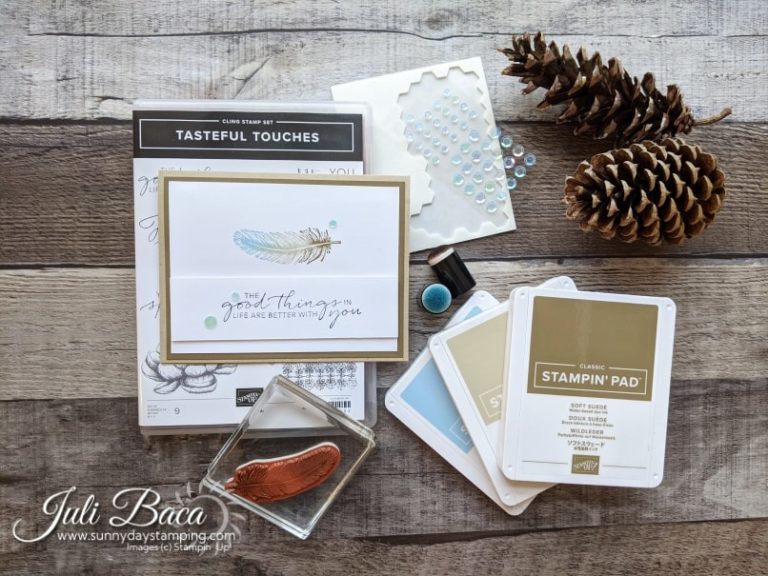
Measurements and Supplies
Crumb Cake cardstock card base: 8 1/2” x 5 1/2” (scored at 4 1/4” and folded)
Soft Suede cardstock (2): 5 1/4” x 4” (optional)
Basic White cardstock (2): 5” x 3 3/4″
Basic White cardstock scrap for sentiment: 5” x 2”
Free project sheet instant download at bottom of page
Let's Get Started!
-
Save
I love this simple card. It’s perfect to send to a guy or girl just to let them know you think they are awesome.
Start by stamping your sentiment because you will use that as a guide for where to place the feather.
TIP: Stamp the sentiment near the bottom of Basic White cardstock. Now trim the top! This is so much easier than trying to center up the stamp on a pre-cut piece of paper.
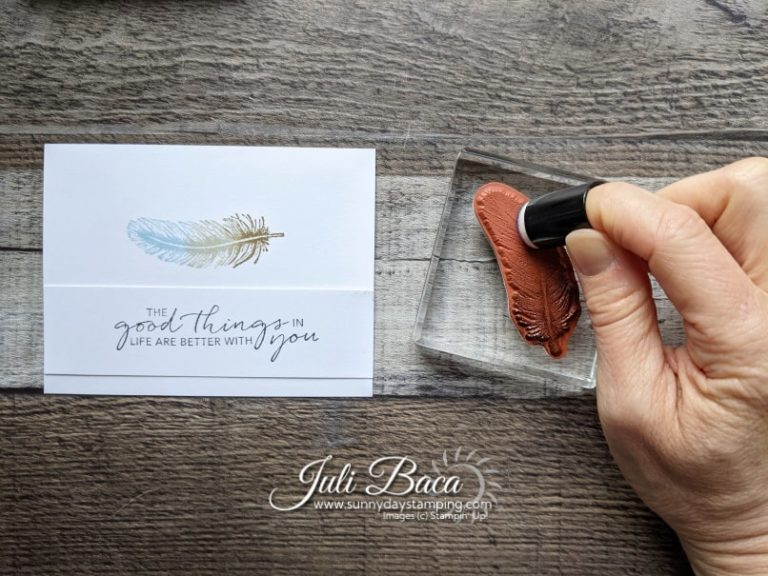
How to Achieve the Multi-Color Effect
-
Save
Use sponge daubers to add colors to your feather. I used three colors. Two muted colors and one color with a pop (Soft Suede, Crum Cake and Balmy Blue). I used my bright accent color at the top of my feather.
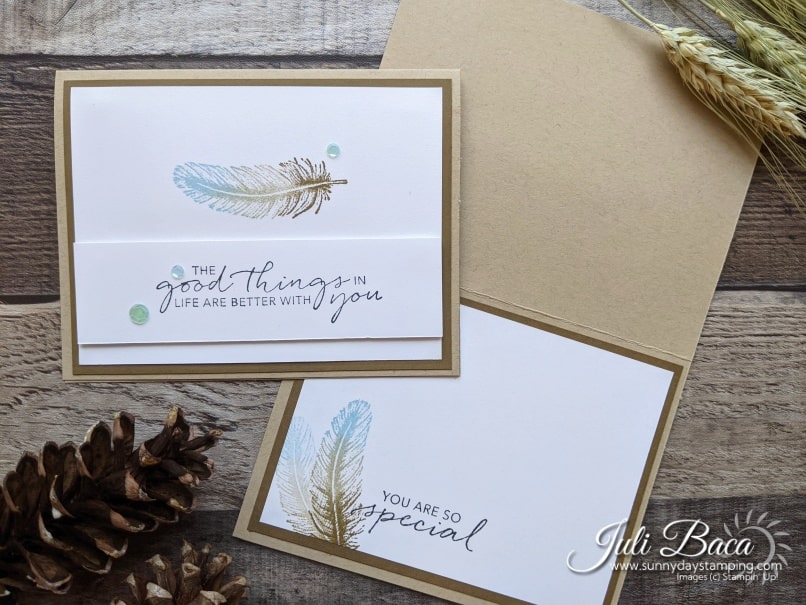
Adhere the stamped layer to the Soft Suede cardstock and then adhere that to the Crum Cake card base. Now attach the sentiment layer with Stampin’ Dimensionals. Add a few Artistry in Bloom Sequins for a little pop!
-
Save
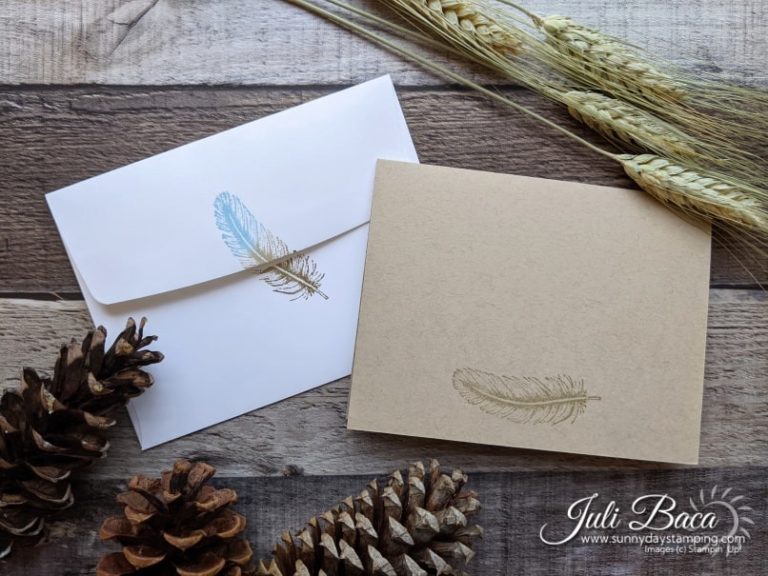
Stamp the Envelope and Back of Card
-
Save
TIP: Rinse your sponge daubers off with water until it runs clear. Dab them a paper towel a couple times then set them out to dry! Easy peasy!

