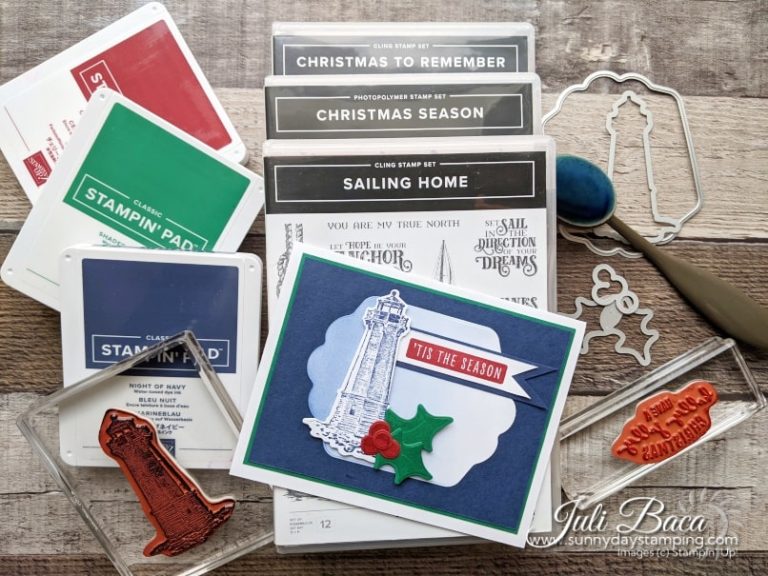
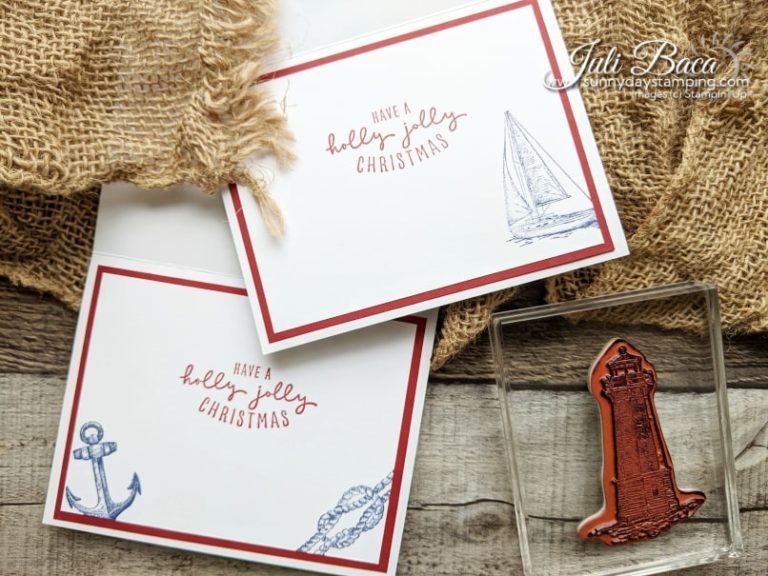
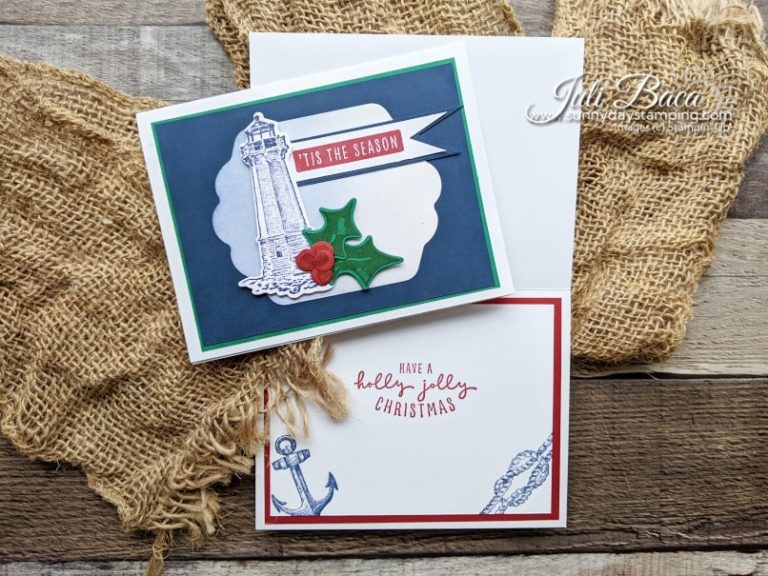
Project #3 in the Christmas Series! Check my home page to find all the other projects! This beautiful card combines the Christmas Season and Sailing Home stamp sets to make a great nautical themed Christmas card. Let me show you how to put it all together!
Measurements & Supplies
Measurements:
- Basic White Thick cardstock card base: 8 1/2” x 5 1/2” (scored at 4 1/4” and folded)
- Shaded Spruce cardstock layer (cut leaves out of this layer): 5 1/8” x 3 7/8”
- Night of Navy cardstock: 5” x 3 3/4”
- Basic White cardstock scrap for large die cut, lighthouse and sentiment: 6 ¼” x 3 ¾” if you want to have it cut all out of one piece (sentiment is about 2 7/8” x ¾”)
- Night of Navy scrap for sentiment: 3 1/8” x 3/4″
- Cherry Cobbler cardstock for inside (cut berries out of this layer): 5 1/4” x 4”
- Basic White cardstock layer for inside: 5” x 3 3/4″
If you don’t have the die sets, you can still make this card! Just cut everything out using Paper Snips. Instead of the curvy base behind the lighthouse, just cut a rectangle 3” x 4”.
free project sheet downloads at bottom of post
Let's Get Started!
-
Save
For the sentiment, stamp it at the edge of the Basic White cardstock and then trim it down (mine was 5/8” x 2 7/8”). Leave about ½” of white space to the right of the stamp to cut the tails of the flag. Use Paper Snips to cut a “V” for the flag. Cut the Night of Navy cardstock a little wider and longer (mine was 3 1/8” x 3/4″). Cut a “V”. Glue the two pieces together making sure they are lined up flush with each other on the left side. Only glue on the left side so that the flag is not stuck together on the right side. Curl the edges of the tails slightly.
Cardmaking Tip

-
Save
The berries are cut out all together in a piece of four. Cut one berry off and glue it on top of the other berries to make a nice cluster.


